Blog — March 26-30, 2018

Blog — March 26-30, 2018

March 26-30,2018

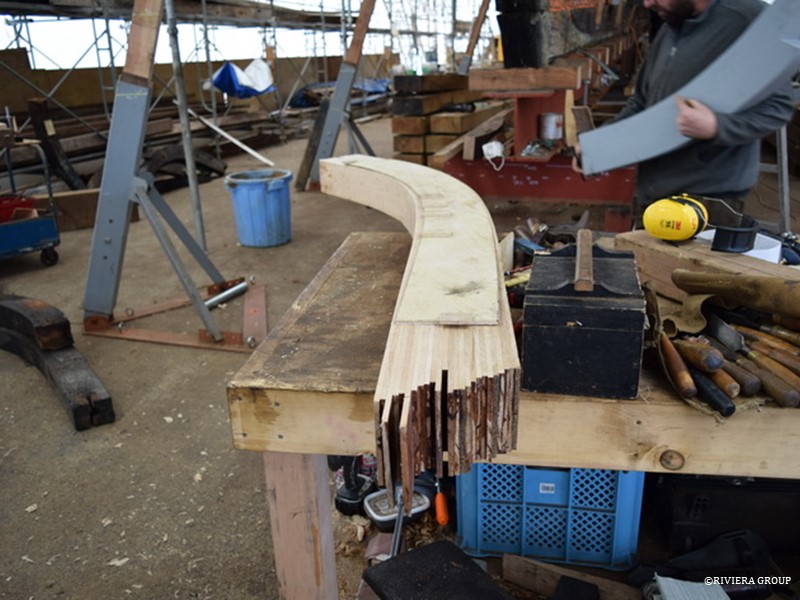
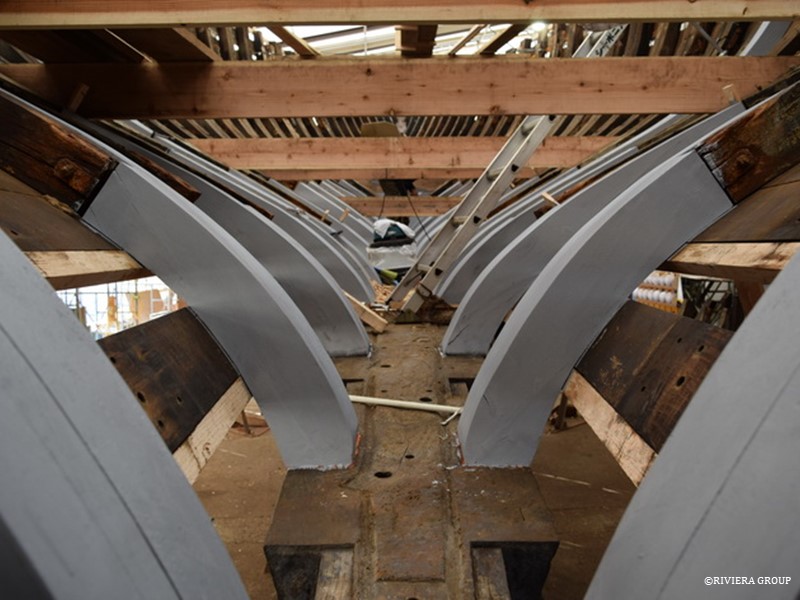
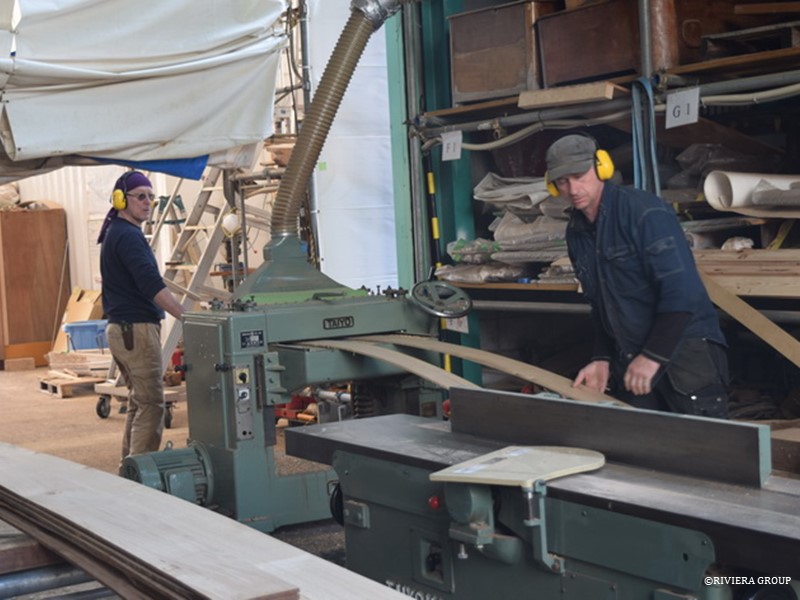
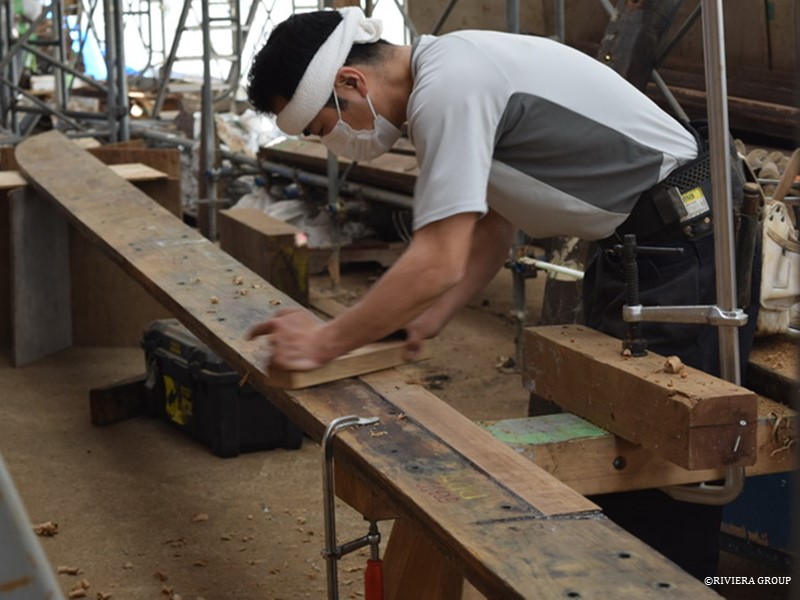
Once the deck beam laminates were sufficiently dry, they could be machined to size before being set aside to rest the exposed fresh timber. These (above) are almost ready to laminate. The laminates have to be dry before final machining to get them within the glue tolerances.


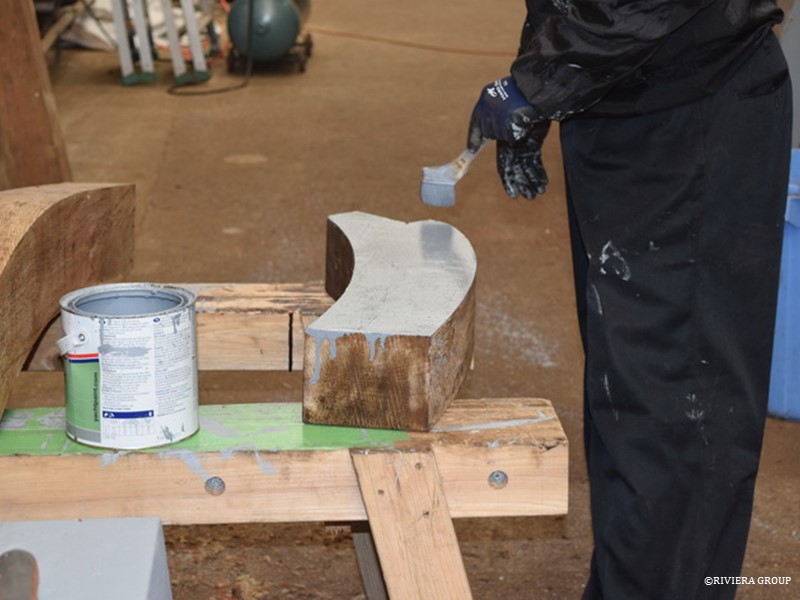
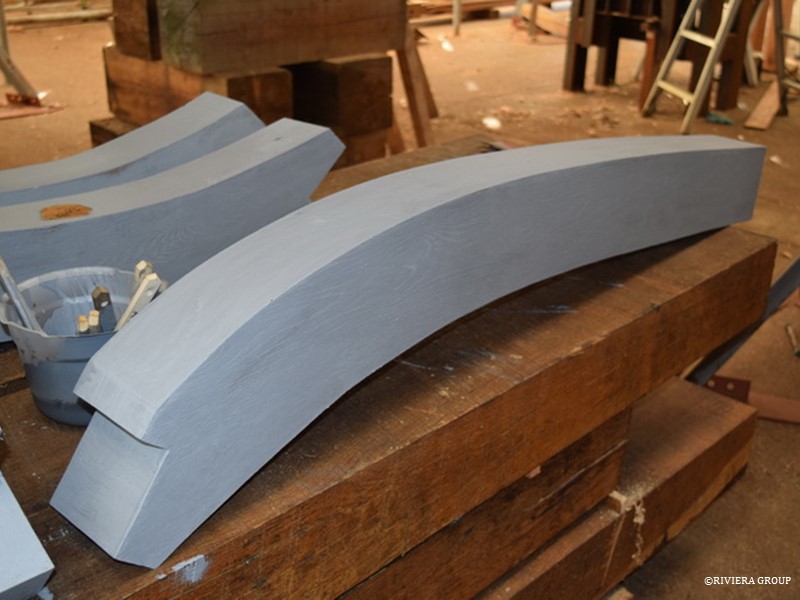
Producing the first futtocks took time, but Nico now has the process down to an art, and they take shape quickly.


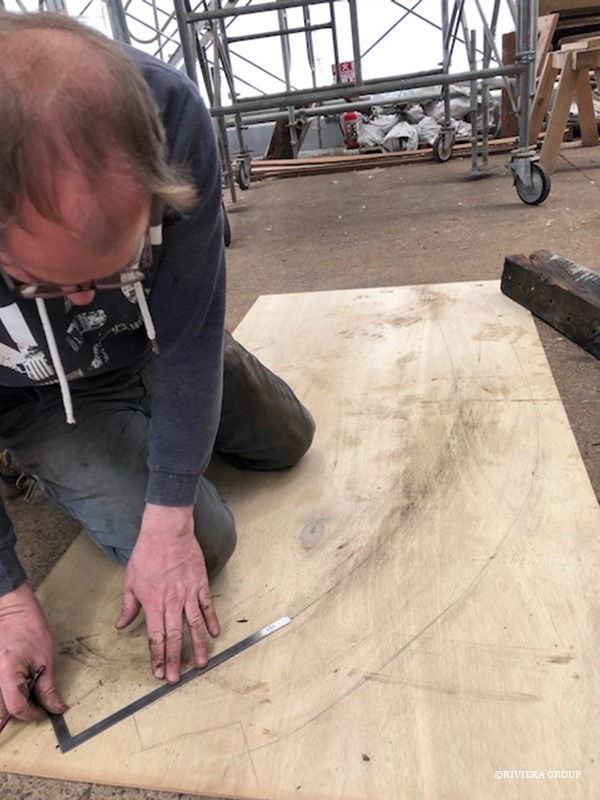
Lewis makes a plywood pattern to check the frame against the ribbands.


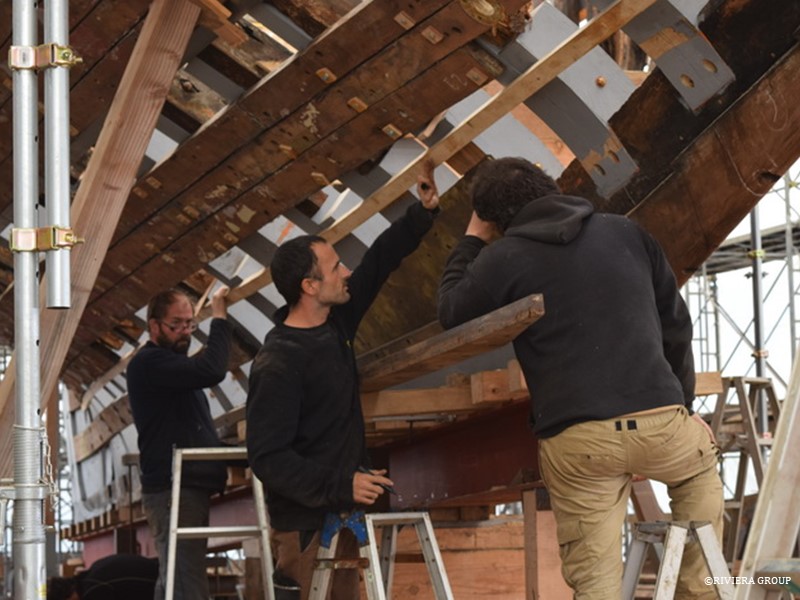
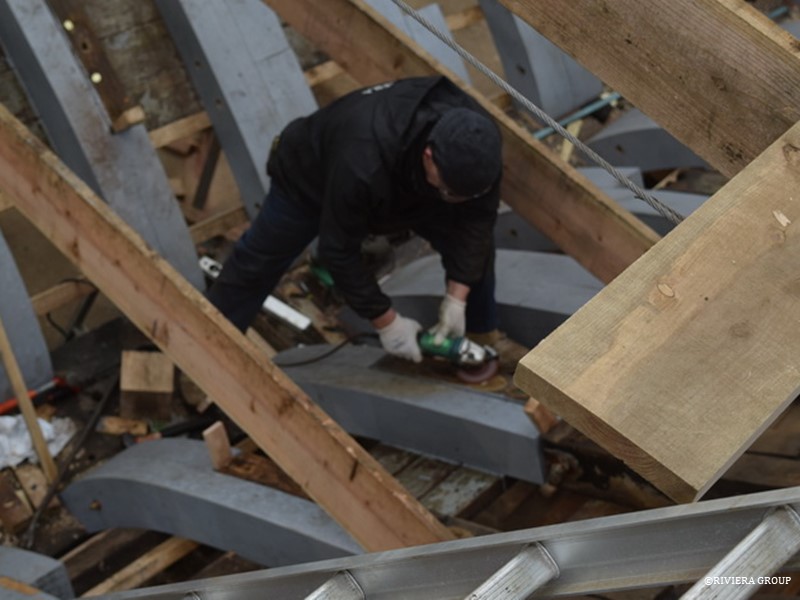
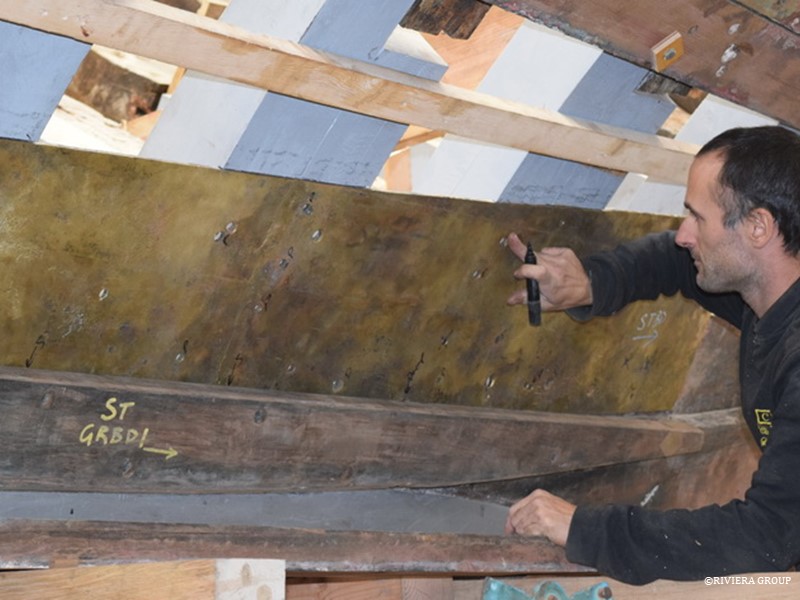
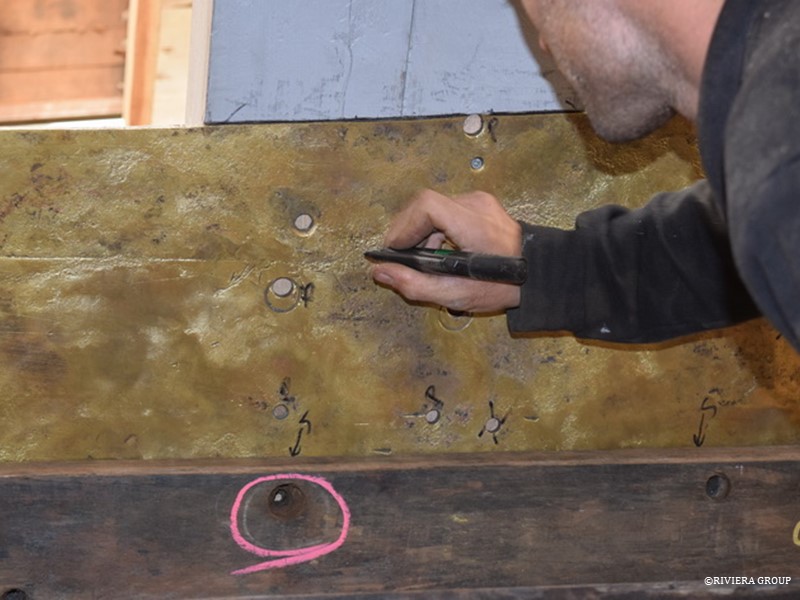
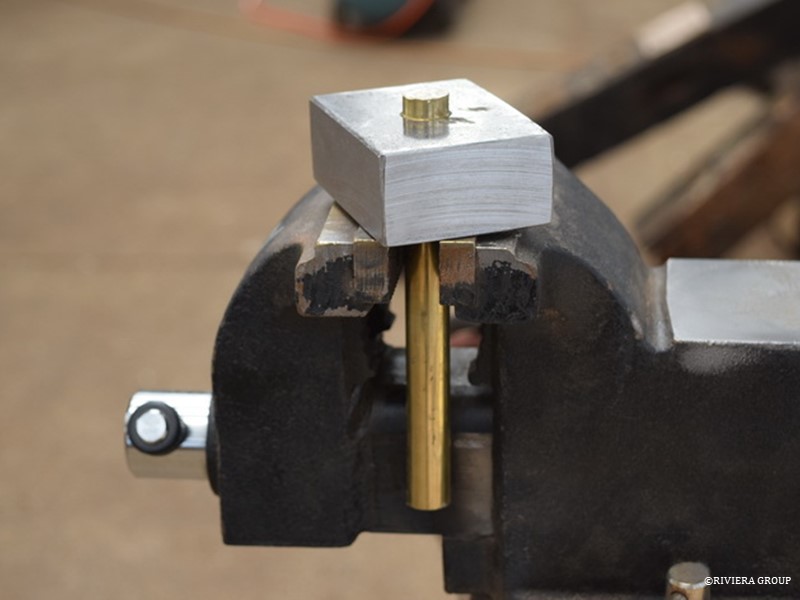
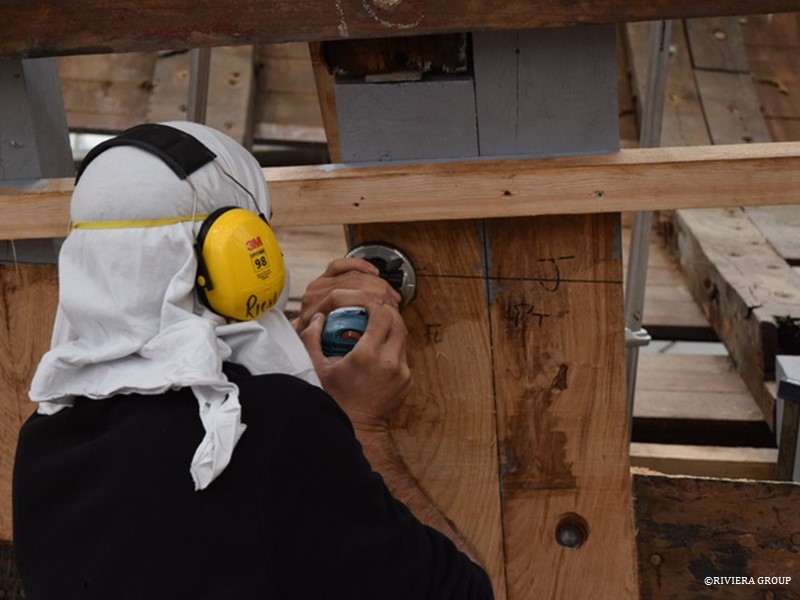
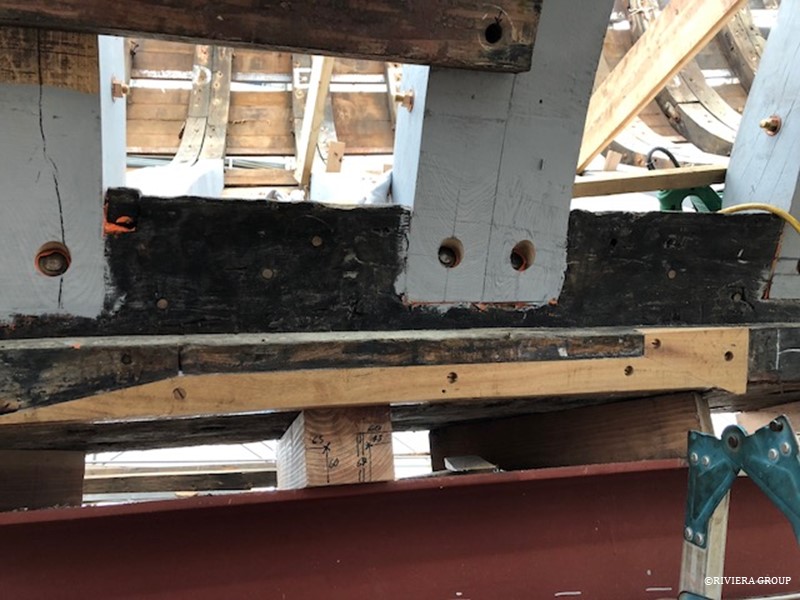
A final check of the alloy plate (above) before the rebate is cut in the backs of the frames (below).


The plate is bedded in on copious amounts of red lead putty that we made onsite from raw ingredients.


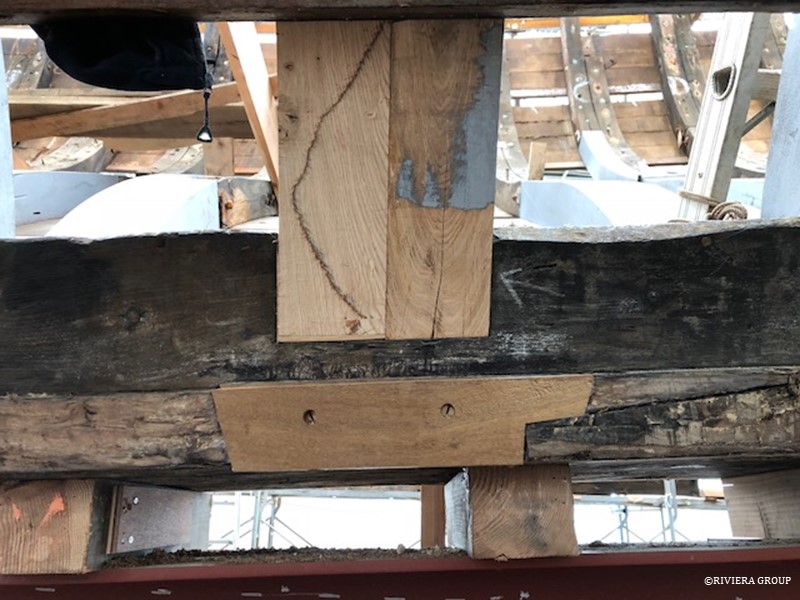
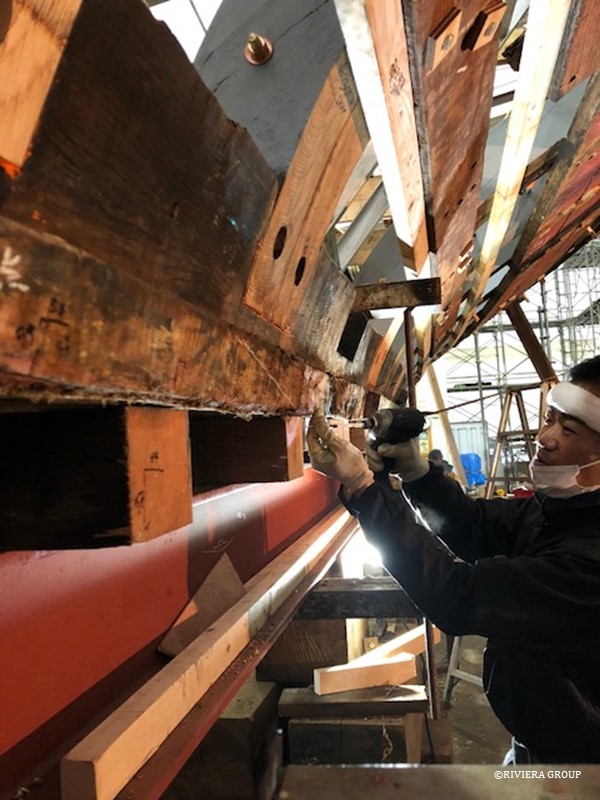
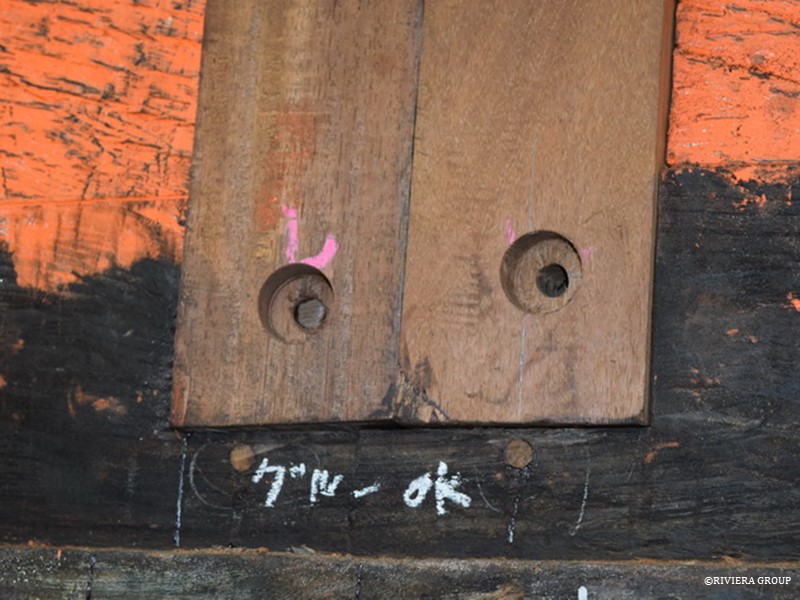
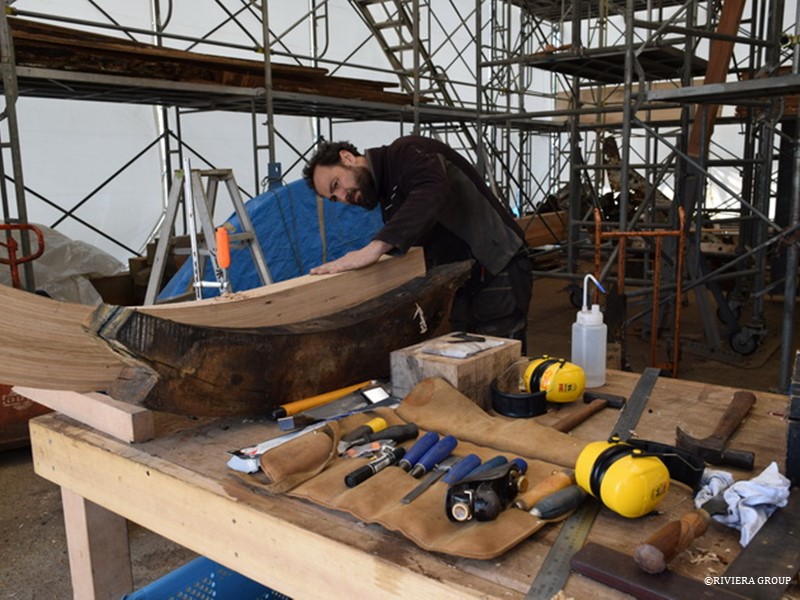
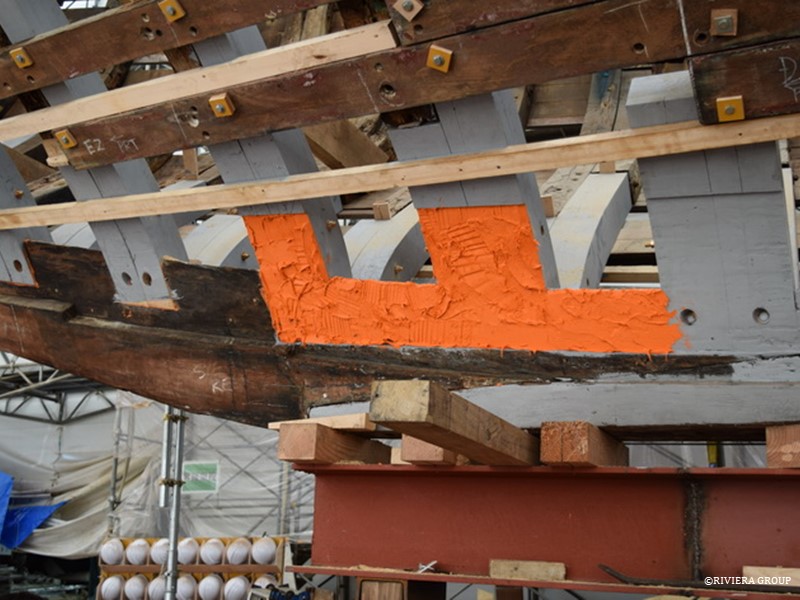
The site of Kawashima’s keel repair is ready for glue. The strange shape is due to its location adjacent to the scarph joint in the keel timber. We didn’t want to blue a patch over the joint.


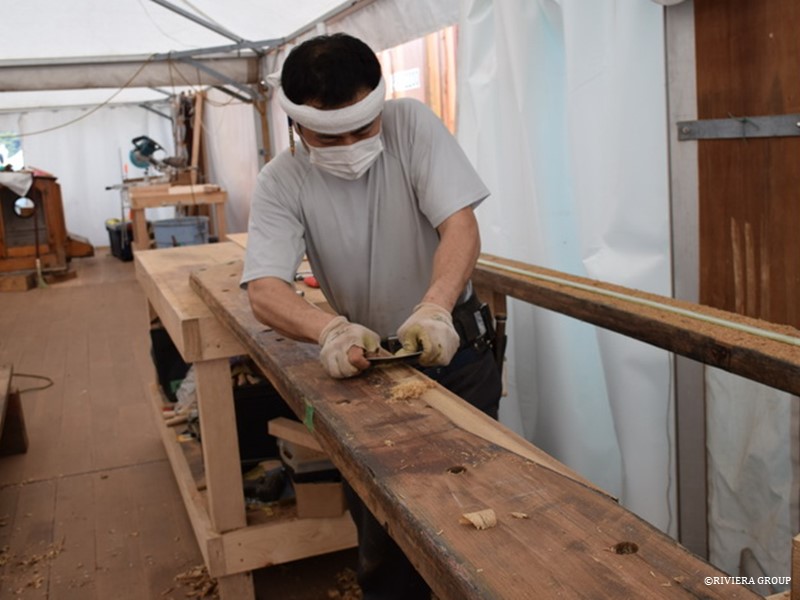
The lower edge of the keel timber had some damage from previous attempts to stop leaking with caulking. One or two areas needed to be cut out, and fresh timber was inserted.


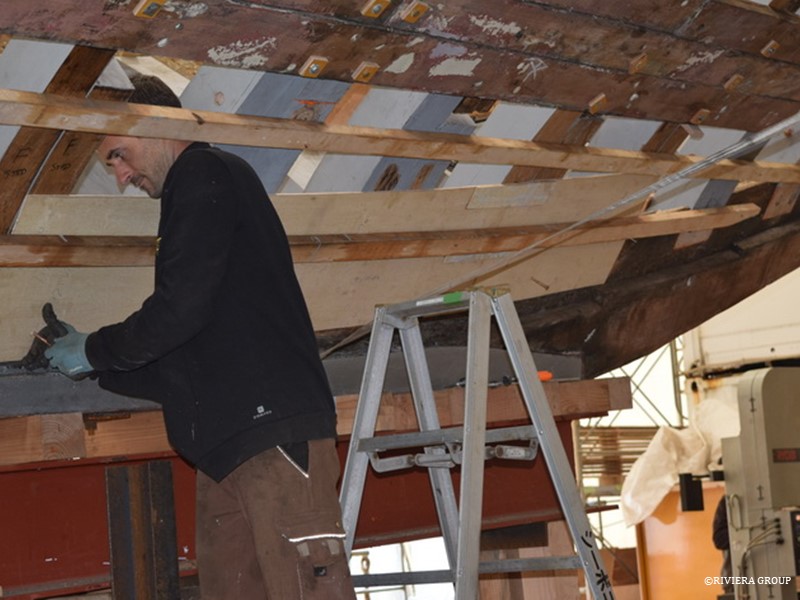
Repairing a damaged edge prior to refitting the garboard strake.

Follow Us

Restoration by RIVIERA GROUP

Restoration photos by Yoichi Yabe & RIVIERA GROUP

Text and photographs copyright © 2019
RIVIERA CO., LTD. All rights reserved.
Email : pr@riviera.co.jp

Blog — March 19-25, 2018

Blog — March 19-25, 2018

March 19-25,2018

One of the laminated frames, ready for its bevels.


Pascal (above) grinds the head from a rivet. The bung hole is thoroughly cleared, and care is taken when the rivet is driven out not to damage the edge of the hole on the exterior of the plank. A spotter outside stops the work if it looks like the head of rivet might damage the hole. Our success rate of 99% wasn’t bad, since there are always one or two rivets that refuse to play by the rules.


Kawashima is making a repair in the keel (above), while Richard checks a plywood pattern of the bronze plate against the boat (below).


The copper alloy plate, probably naval brass, is a historical remnant of a repair done many years ago. We are refitting it to help reinforce the area around the mast base.


The plate presented some issues as we need to drive plank fastenings through the plate. Richard is marking the holes (above) so that the correct fastener can be used for each hole; some of them are for rivets and others for dumps.

Follow Us

Restoration by RIVIERA GROUP

Restoration photos by Yoichi Yabe & RIVIERA GROUP

Text and photographs copyright © 2019
RIVIERA CO., LTD. All rights reserved.
Email : pr@riviera.co.jp

Blog — March 12-18, 2018

Blog — March 12-18, 2018

March 12-18,2018

Nico drills for the naval brass drift that will be used at the base of each futtock as Richard guides the drill angle. Enough frame pairs are ready and faired to begin fastening them permanently into their sockets. The frames are bedded in red lead and linseed oil.


It was decided from the beginning to paint the interior of the hull. To help slow the drying and reduce shrinkage, a coat of good quality primer was applied. The primer is porous—so while not preventing timber from drying, it will show it down. As a bonus, the first coat of primer was in place before completion of the hull (below).


A rivet is fitted through a stout piece of steel (above) prior to creating a burr with a ballpein hammer. A production line has been started to complete the approximately 1500 rivets as well as the many drifts required to fasted the frame ends in their sockets. Each naval brass rivet and drift is handmade, and fitted with a very thick washer called a clench ring. Clenching is the process of turning a burr on the end of a rod with the clench ring, creating a head (below). Rivets hold the planking to the frames, while drifts are used to hold the frame ends to the keel timber.


Here are two drifts in place. The heads end up below the surface so they don’t interfere with the garboard plank when it is fitted over it.


The shank of an original drift that broke at a spot just below the head while it was being removed. This will be pulled out with a slide hammer and some colorful language.


Kawashima has finished the repair on one of the planks, and is finishing it flush with the plank surface.


This Japanese plane (above) has been carefully laid on its side to protect its razor-sharp edge, while a western plane sits next to it, blade down. Shipwrights’ tools, especially in the early stages of restoration are prone to striking hidden nails, iron, and screws and a good edge is often quickly lost. This one has clearly lost its edge, and the owner is not concerned about leaving it blade down, a minor sin with a sharp plane.

Follow Us

Restoration by RIVIERA GROUP

Restoration photos by Yoichi Yabe & RIVIERA GROUP

Text and photographs copyright © 2019
RIVIERA CO., LTD. All rights reserved.
Email : pr@riviera.co.jp