Blog — July 23-29 , 2018

Blog — July 23-29 , 2018

July 2018 , 23-29

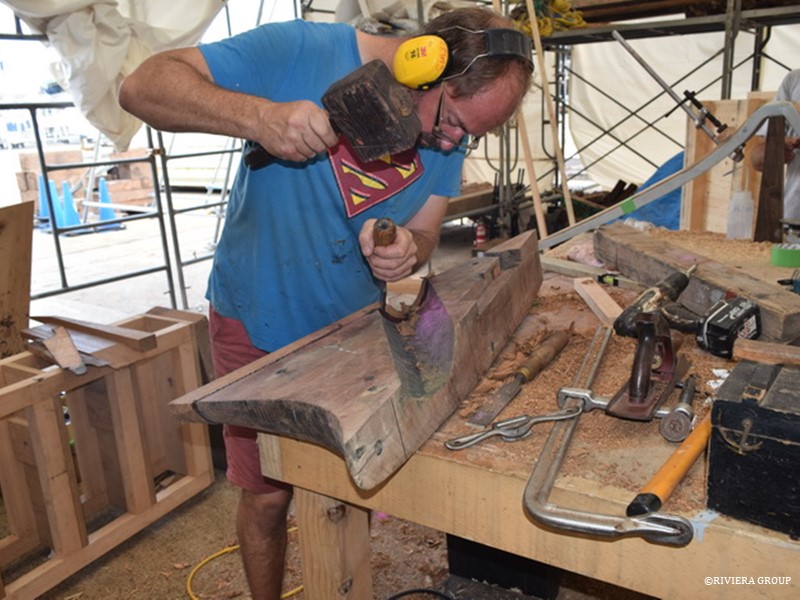
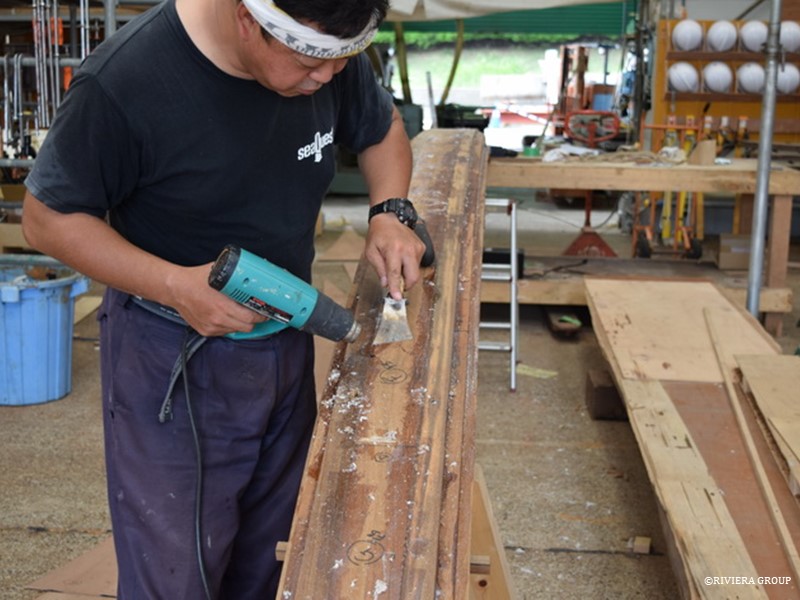
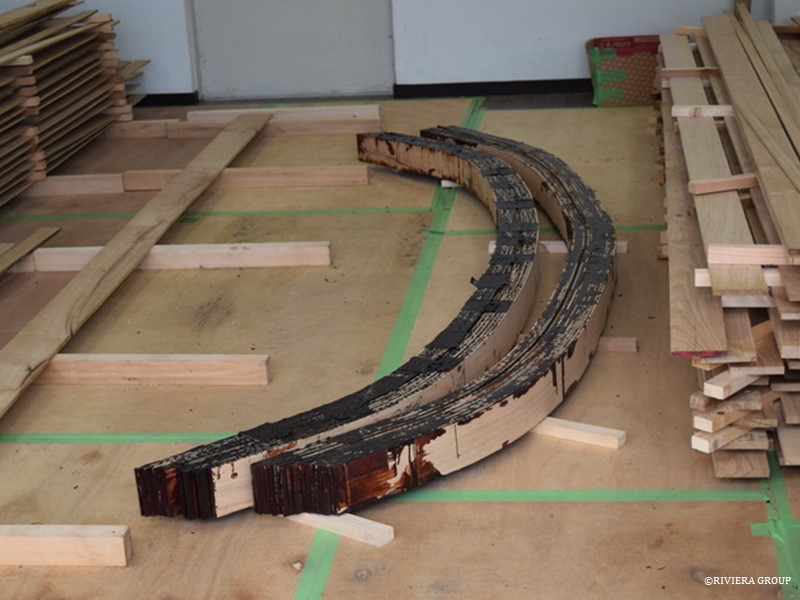
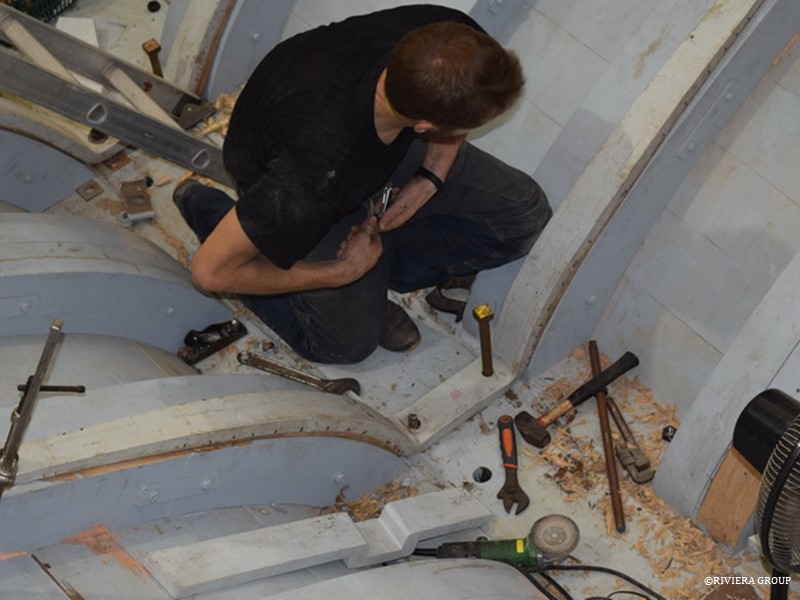
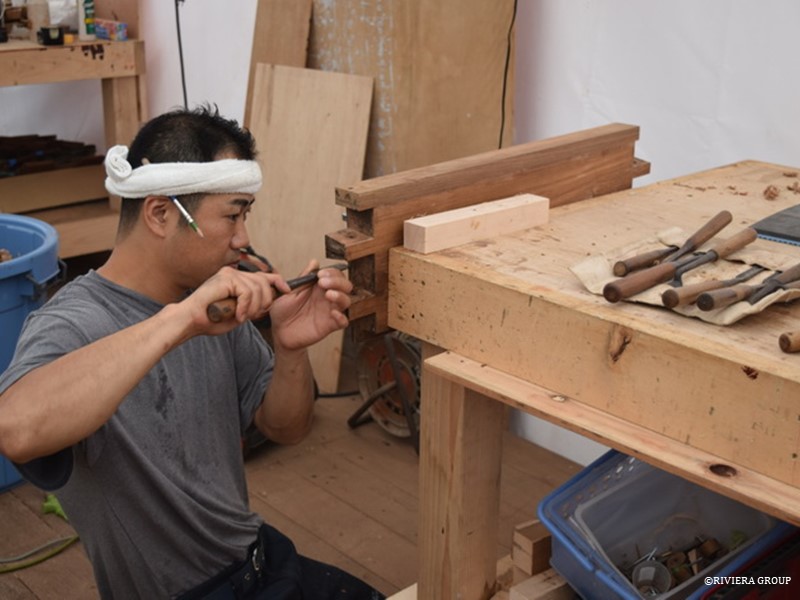
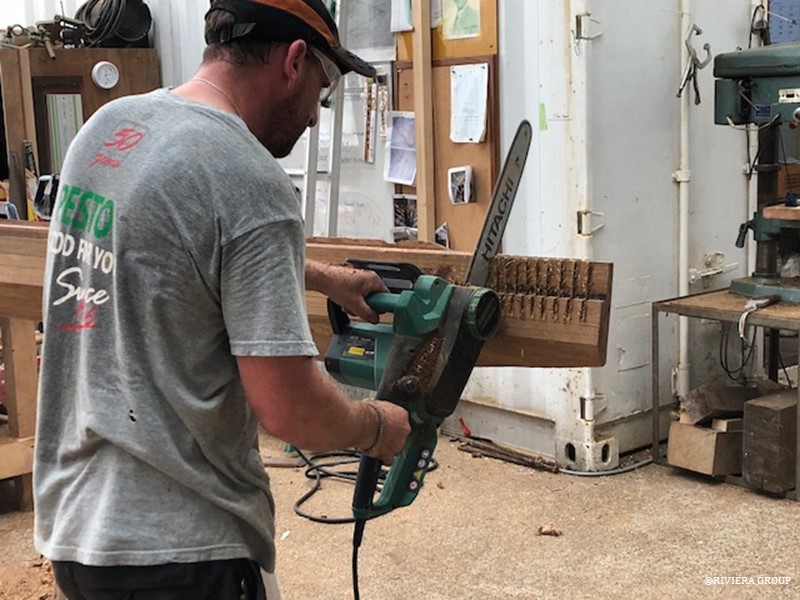
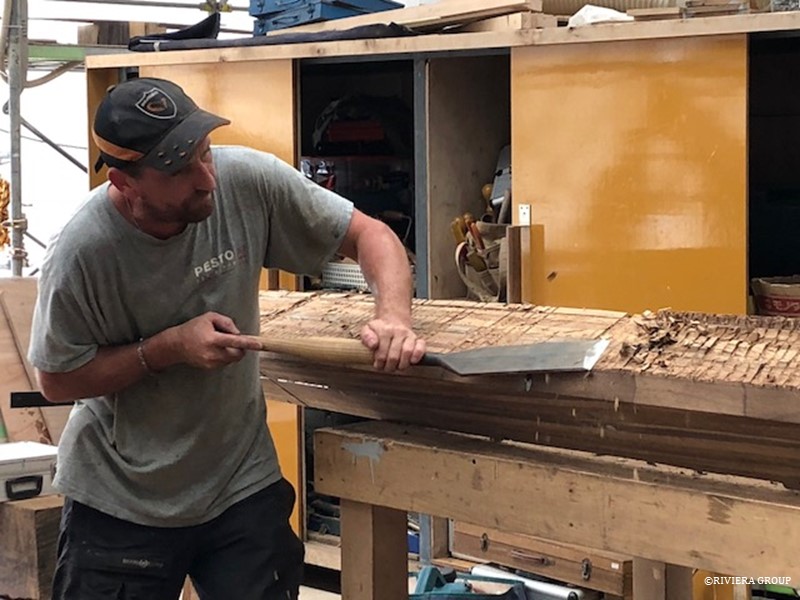
Ben kerfs the stem with a chainsaw (above). This is part of the nosing, the second part of the stem repair, which will create the point and leading edge that is seen on the outside of the stem forward of the plank ends. Kerfing, which is cutting a series of slots across the grain, allows for the faster removal of unwanted sections, and reduces the risk of tearing into the wood that needs to be retained. A slip (a large chisel) is used to remove the excess material (below).


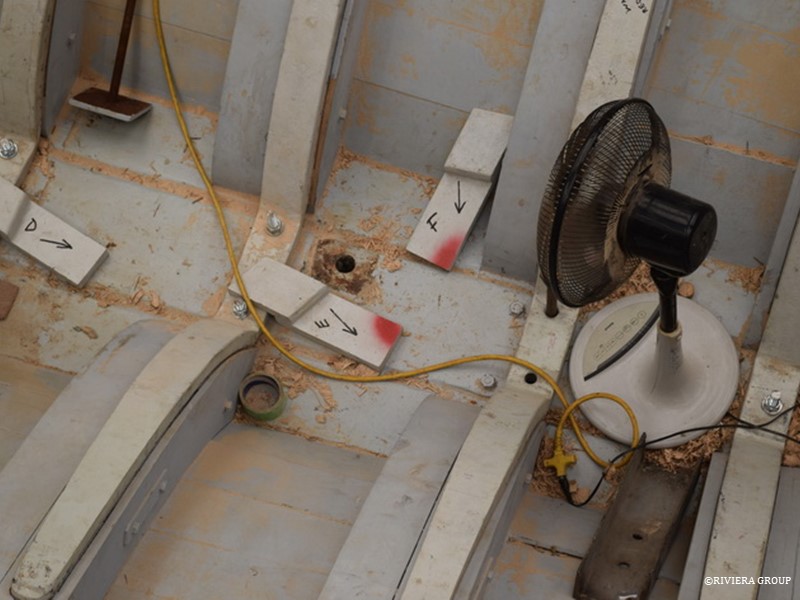
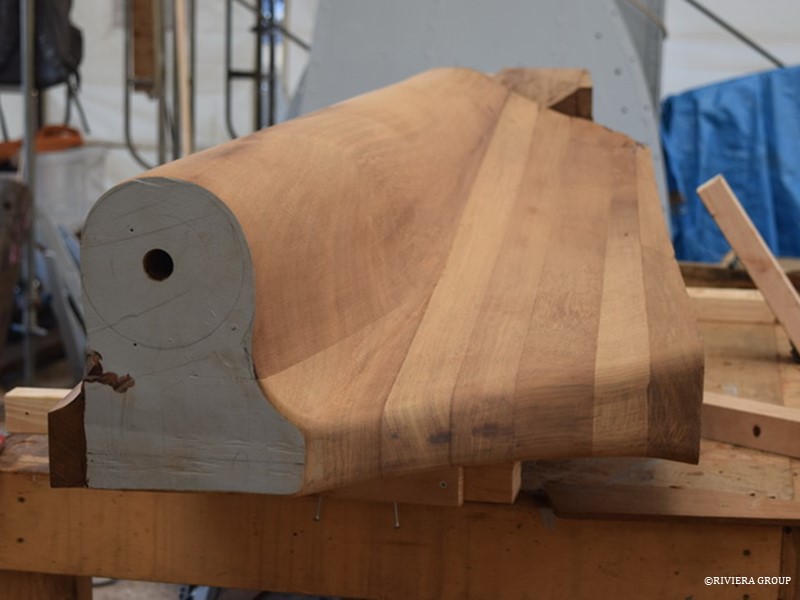
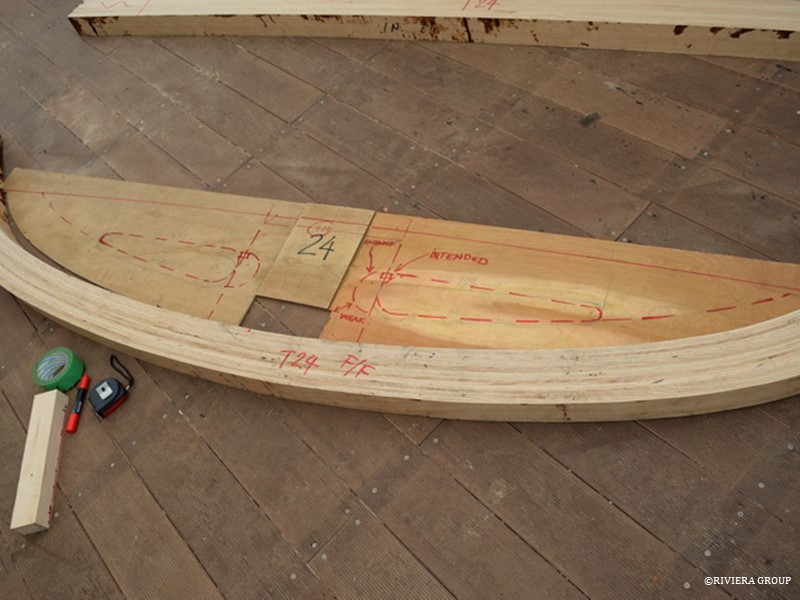
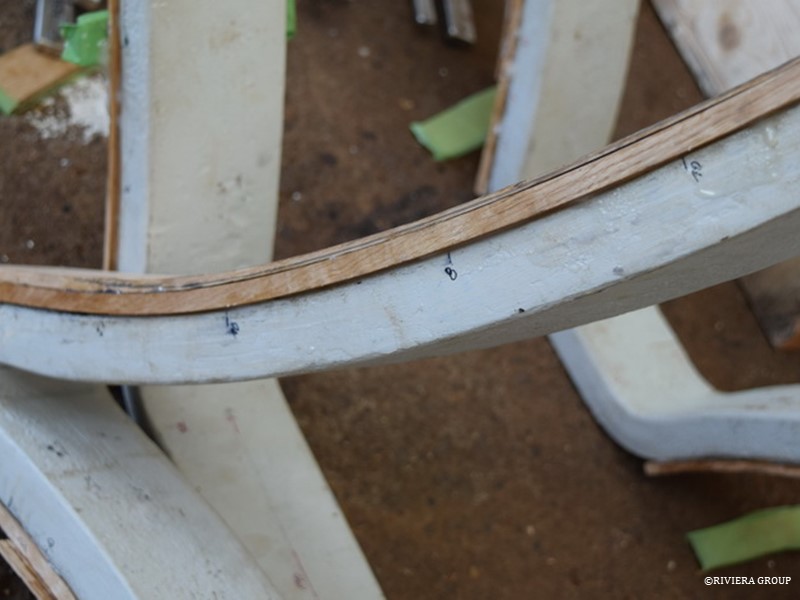
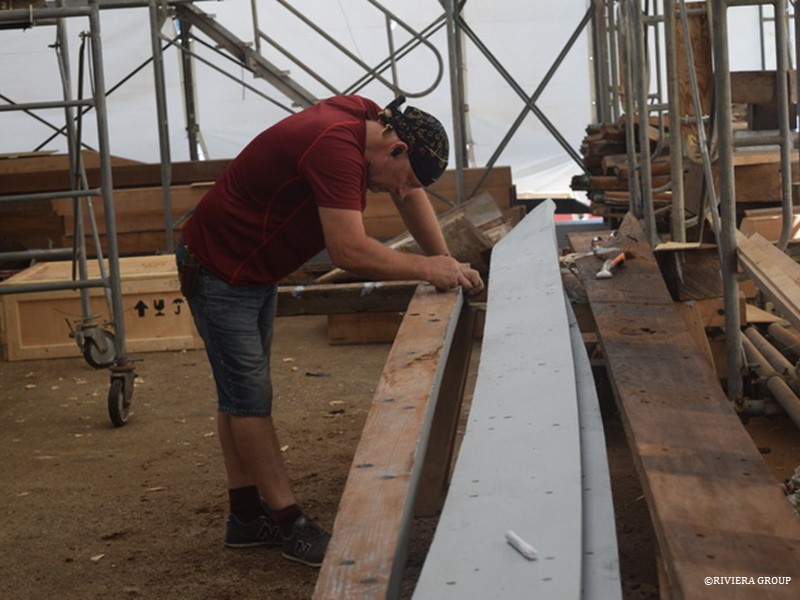
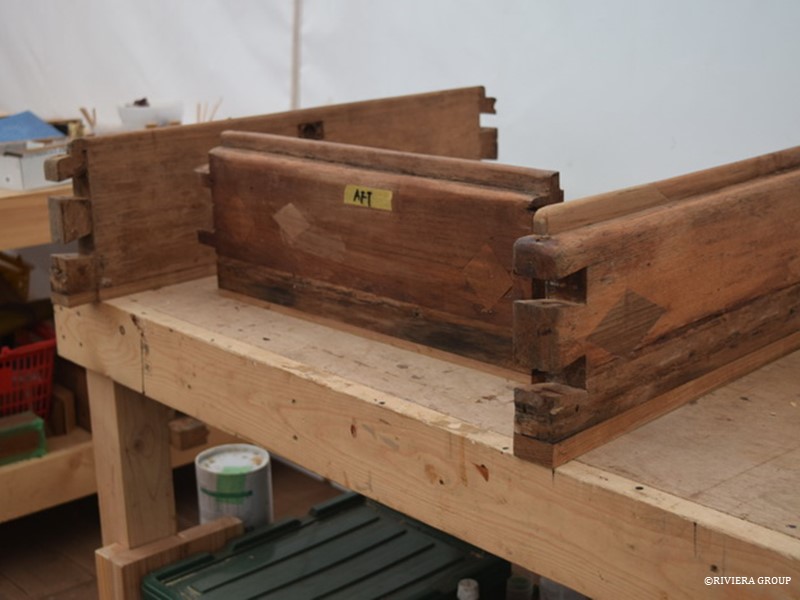
Test fitting the final stem section.


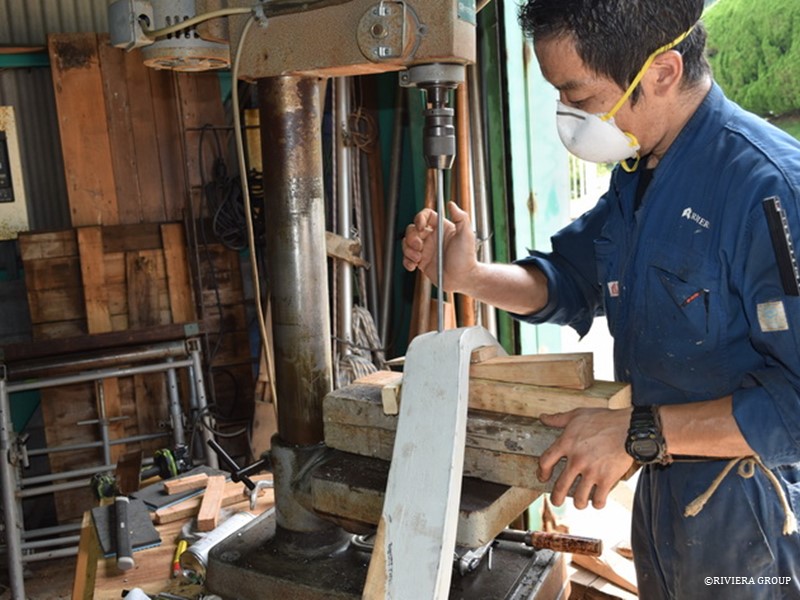
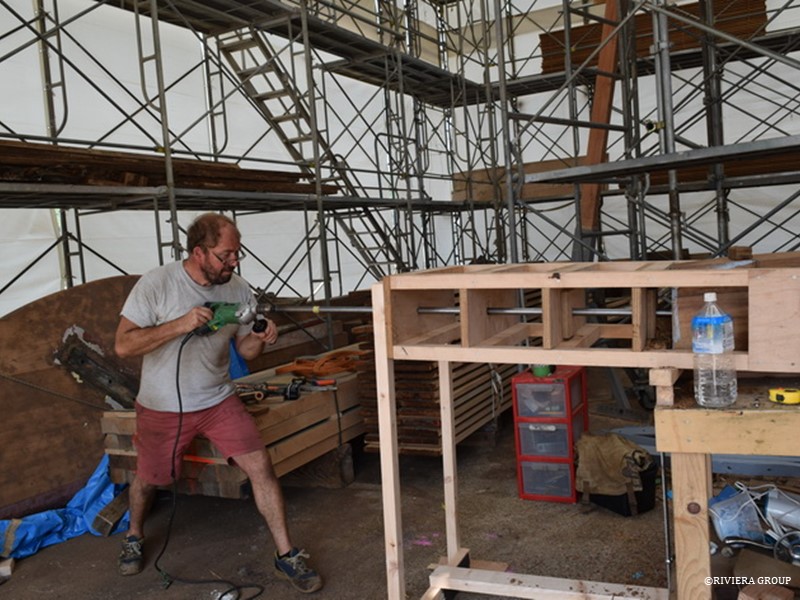
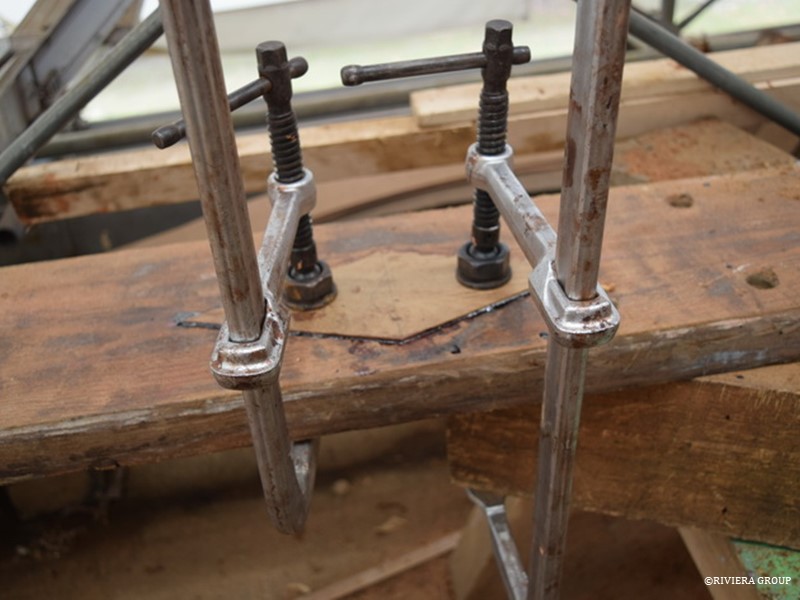
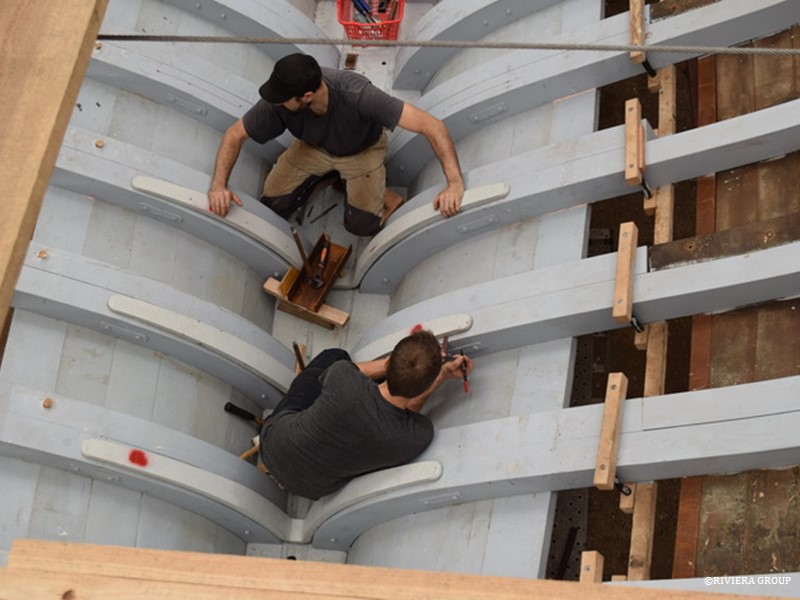
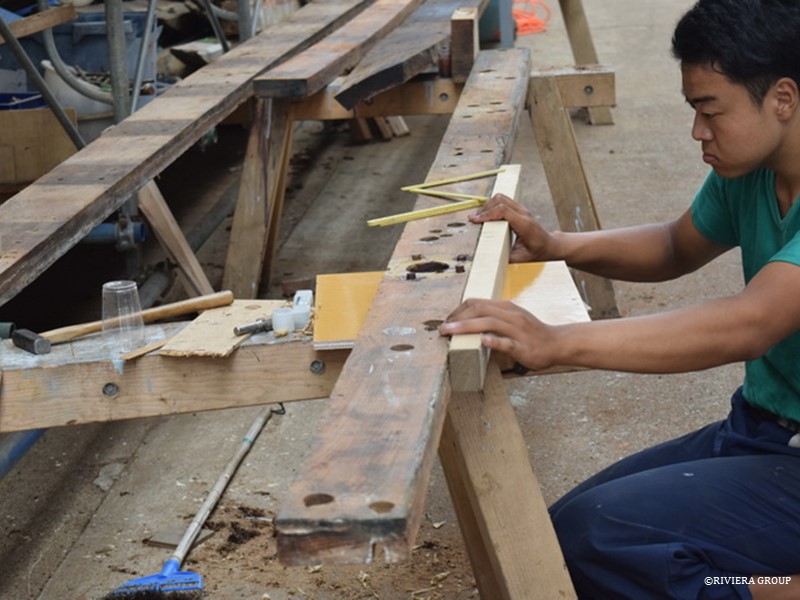
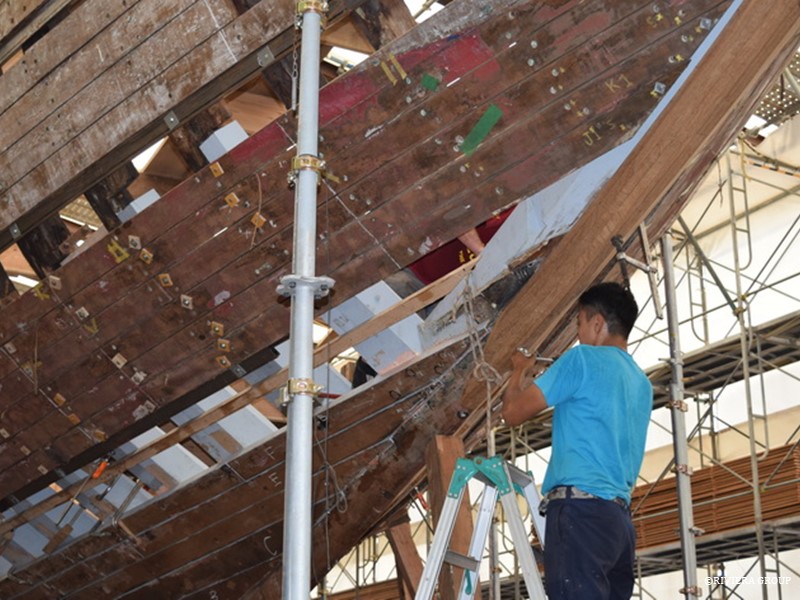
Lewis helps Mattis and Richard drill the holes through the planks, frames and floors so that the large copper rivets can be fitted, permanently fastening the floors in place


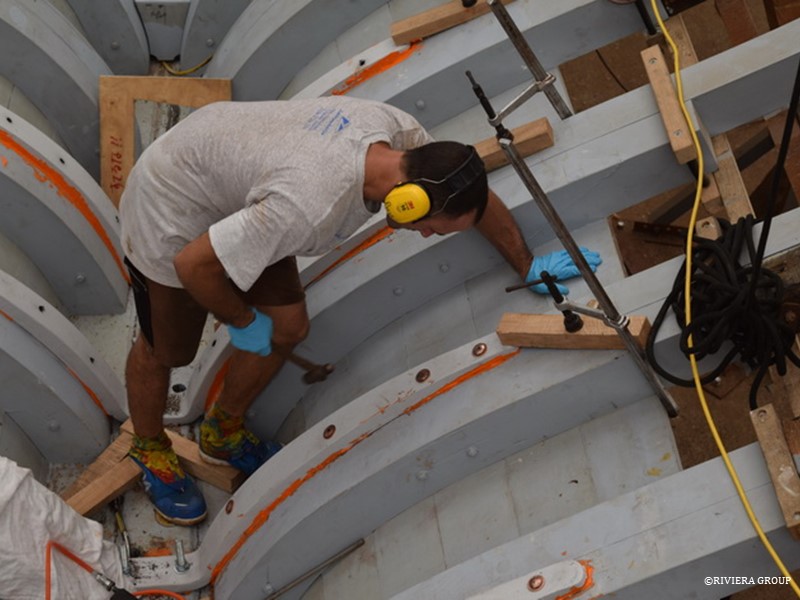
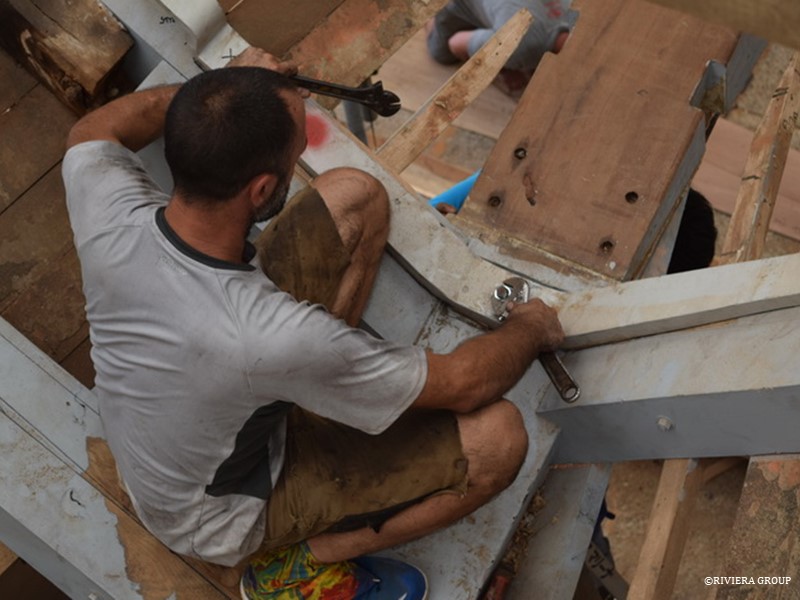
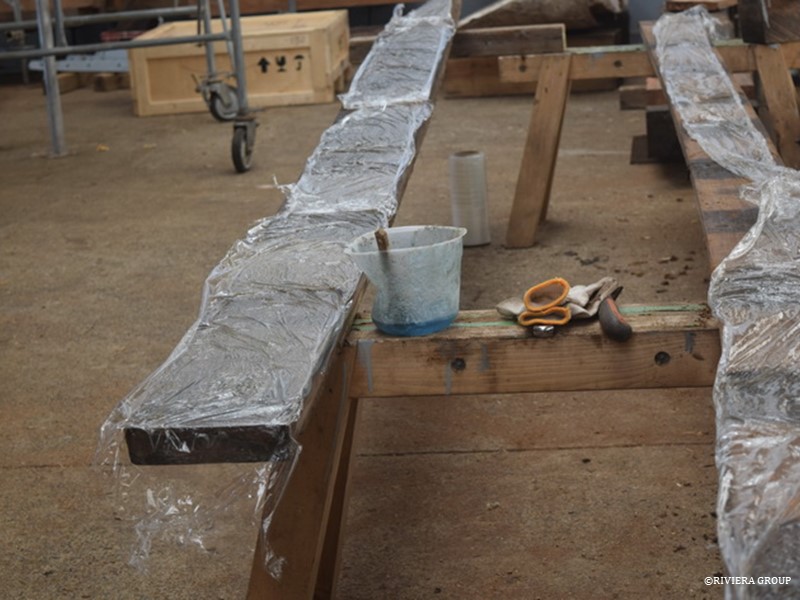
Richard peins over the heads of the rivets inside the hull. The floors are bedded in red lead putty.

Follow Us

Restoration by RIVIERA GROUP

Restoration photos by Yoichi Yabe & RIVIERA GROUP

Text and photographs copyright © 2019
RIVIERA CO., LTD. All rights reserved.
Email : pr@riviera.co.jp

Blog — July 16-22 , 2018

Blog — July 16-22 , 2018

July 2018 , 16-22

Teli drills the holes in the throat of the floors needed for the hold down bolts. The hold down bolts will fasten the floors on the keel timber. The bolts’ unusual square heads allow for the bolts to be tightened even when the ballast is in place.


Richard (above) is working with Mattis through each station that carries a floor, checking the fit and marking the rivet holes. The floors are held with 5/8-inch copper rivets right through the frame and plank, and the rivets must miss the plank fastenings and leave enough room at the head for a clean bung. The clips that carry the keel bolts are also being test fitted (below).


Above, Lewis adjusts a channel in the filler piece in the skeg that is part of the shaft log. The channel houses the rudder tube in the block and the block fills a space above the shaft log and the hull. The block is in two halves and is riveted together so that it can be fitted after the rudder tube is in place.


The boring jig (above) for drilling the shaft log takes shape. The holes will guide the pilot drill keeping the center at the correct angle in relation to the timber.


Lewis’s jig (above) is ready for the boring bar. The boring bar is a long, threaded bar with a high-speed steel cutter attached. This is steadily driven through the log (below), adjusting the depth of cut each time.


Lewis has finished drilling the pilot hole (above), just big enough for the boring bar to pass through.


Wada uses a heat gun to soften the glue residue around bungs and repairs. This makes cleaning the planks easier. The epoxy is harder than the surrounding wood and sanding the epoxy runs the risk of sanding away the surrounding wood.

Follow Us

Restoration by RIVIERA GROUP

Restoration photos by Yoichi Yabe & RIVIERA GROUP

Text and photographs copyright © 2019
RIVIERA CO., LTD. All rights reserved.
Email : pr@riviera.co.jp

Blog — July 9-15 , 2018

Blog — July 9-15 , 2018

July 2018 , 9-15

Pairs of frames for the stem area are ready to be beveled and fitted.


The last two frames in the stern are not actually frames at all—each one is usually cut from a single piece of oak encompassing the deck beam and the hull shape into a single piece called a transom. We have laminated ours and the first one starts to take shape (above). Holes are cut for ventilation and access.


Diamond-shaped graving pieces (above and below) are housed into hatch bases that have been damaged from water ingress. Diamond shapes are pleasing to the eye and less noticeable. A joint along the grain is less prominent than a joint across the grain.


The new wrought iron floors forged by Topp & Co (UK), and coated in epoxy paint, have arrived. They took the shape from the original floors that we sent them, and are being tested in place by Nico and Mattis (below).


If there is a gap between the back of the floor and the frame, oak is epoxied to the back of the arm of the floor and the oak is shaped to fit the frame (above).


Thicker pieces are used because they bend easily and are easier to glue (above). By the time they are shaped and fitted, however, there will be very little left (below).


Follow Us

Restoration by RIVIERA GROUP

Restoration photos by Yoichi Yabe & RIVIERA GROUP

Text and photographs copyright © 2019
RIVIERA CO., LTD. All rights reserved.
Email : pr@riviera.co.jp

Blog — July 1-8 , 2018

Blog — July 1-8 , 2018

July 2018 , 1-8

Hashimoto (above) is working on a plan to fill in an old fitting. The planks like this that have large holes from old skin fittings (valves and ports that pass through the planks) need patching. His patching is taking shape (below).

The planks from lower in the bilge were saturated with oil that had leaked or spilled into the bilge over decades. Although they were dryer than when they were first removed, the oil tends to bleed to the surface, resisting paint and other sealants. We experimented by coating some of these planks with a liberal amount of paint stripper and then covered with plastic (above) to keep the powerful vapors in close contact with the timber. After a short period of time, the plastic and stripper are removed and the planks washed in clean water. We found that the process did not remove the oil from the plank, but it did seem to clean the surface enough to make the plank paintable. Oil in the plank itself is not necessarily bad, but the black, greasy surface had to be clean for refitting.


Pascal is making sure that the bungs in the unwanted holes are cut flush with the plank surface.


Kawashima (above) is cleaning up the dovetail joints on the crew companionway hatch base, which is already looking better (below) than when we started.


Follow Us

Restoration by RIVIERA GROUP

Restoration photos by Yoichi Yabe & RIVIERA GROUP

Text and photographs copyright © 2019
RIVIERA CO., LTD. All rights reserved.
Email : pr@riviera.co.jp