Blog — June 25-30 , 2018

Blog — June 25-30 , 2018

June 25 to June 30 , 2018

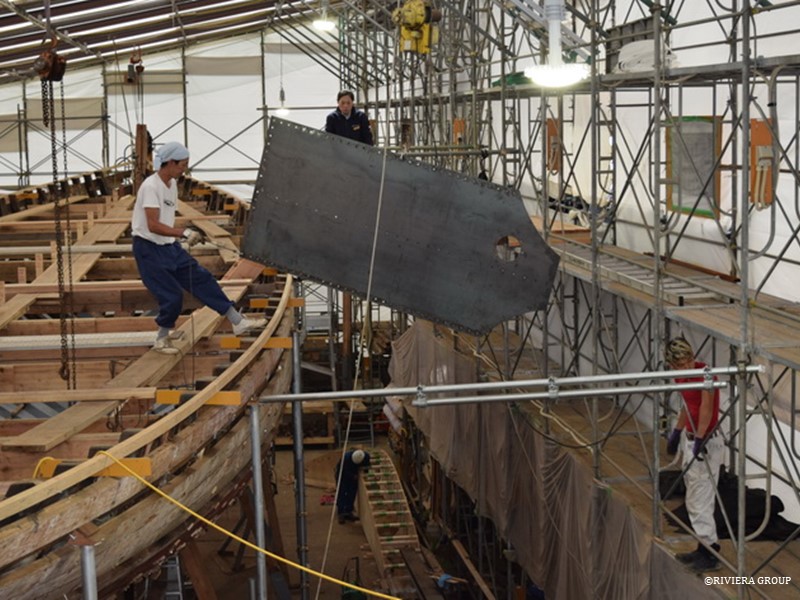
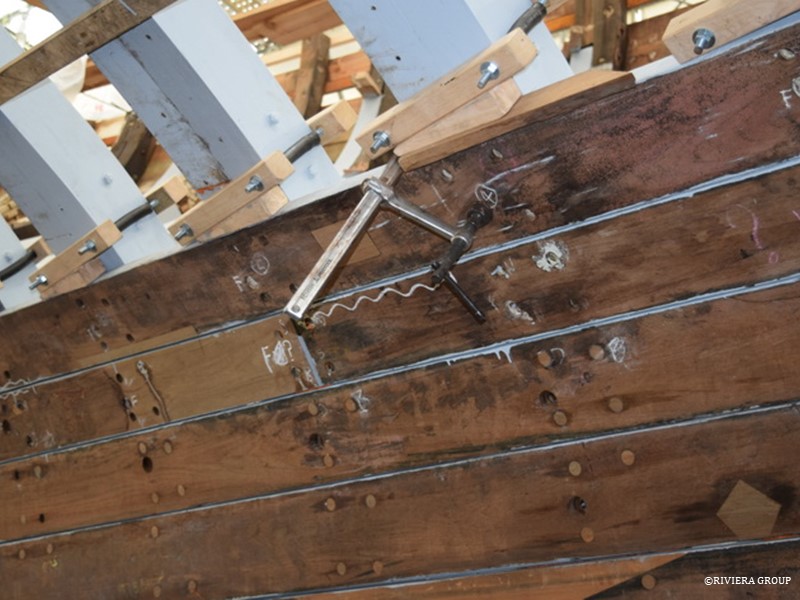
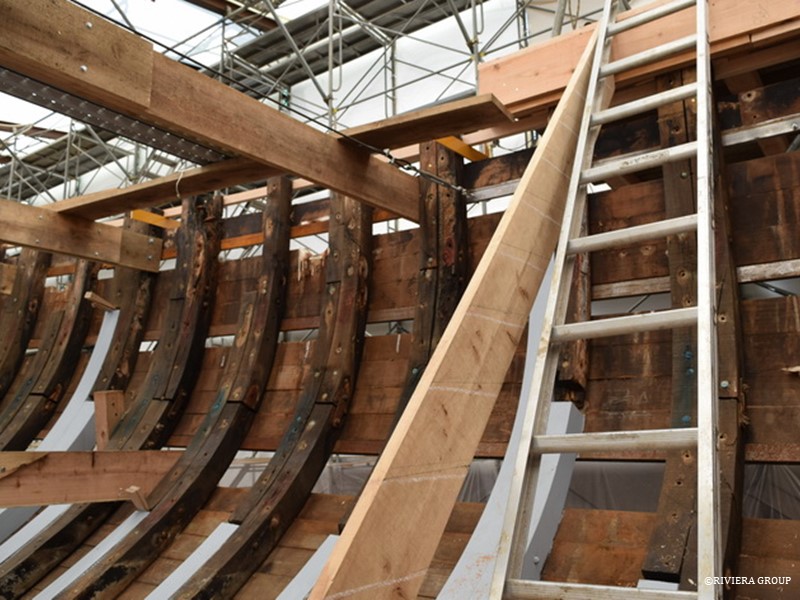
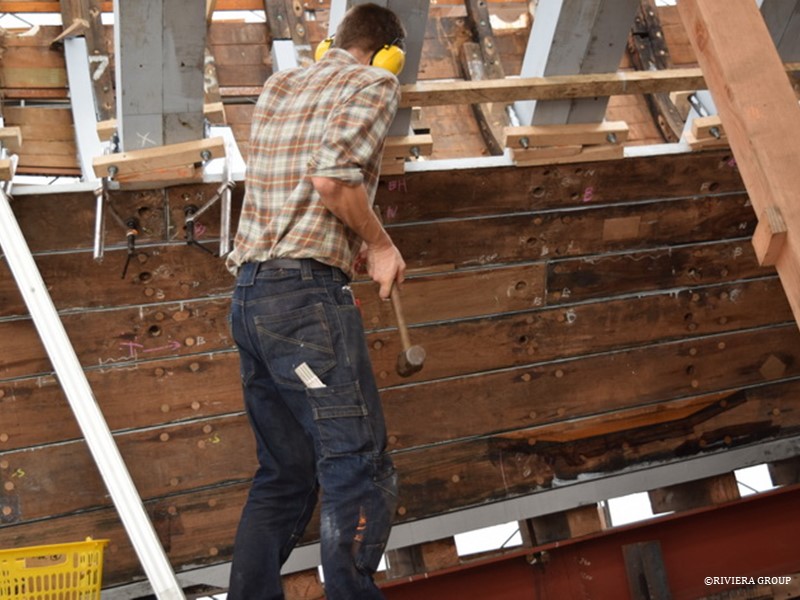
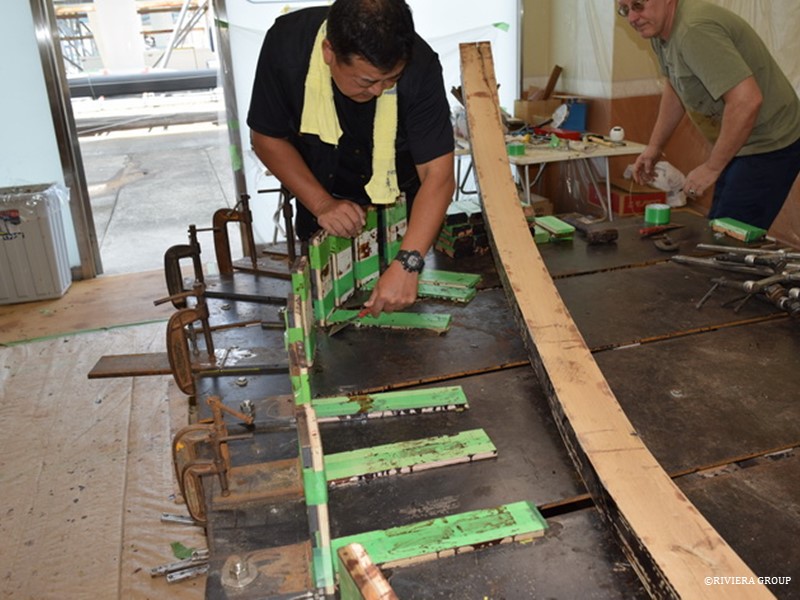
Another strake is fitted, with the rivets and dumps hammered home by our newest recruit, Mattis Voss (above). He is a German-born Irishman and a highly skilled shipwright.


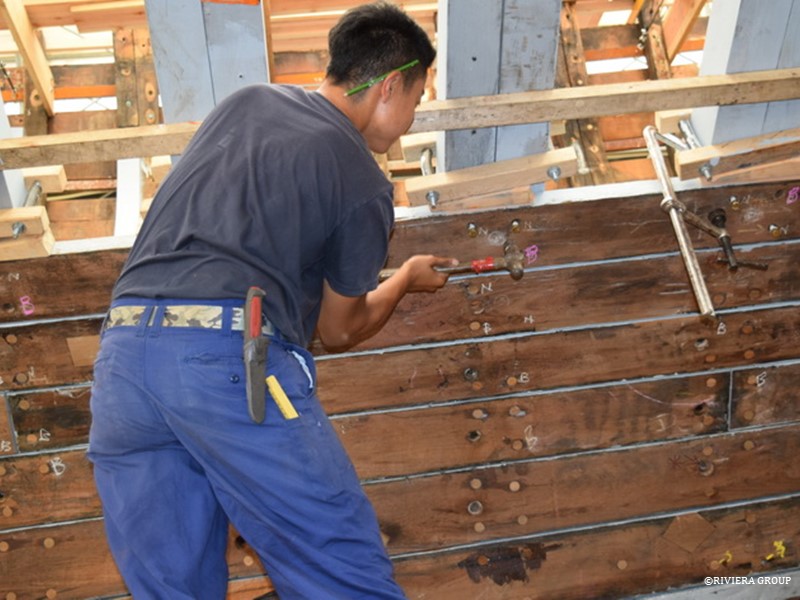
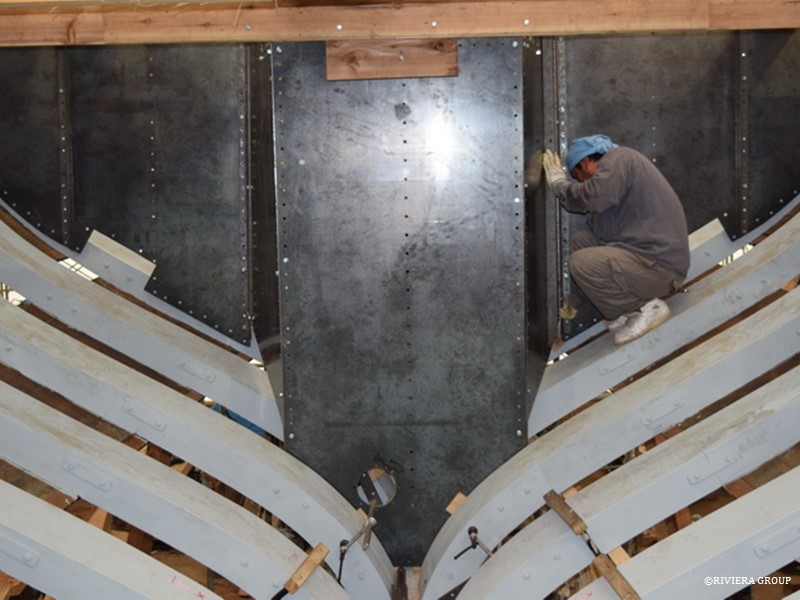
Hashimoto is helping with the fastening when a strake is fitted. He is a talented joiner, but is getting a more rounded experience on other areas of yacht restoration.


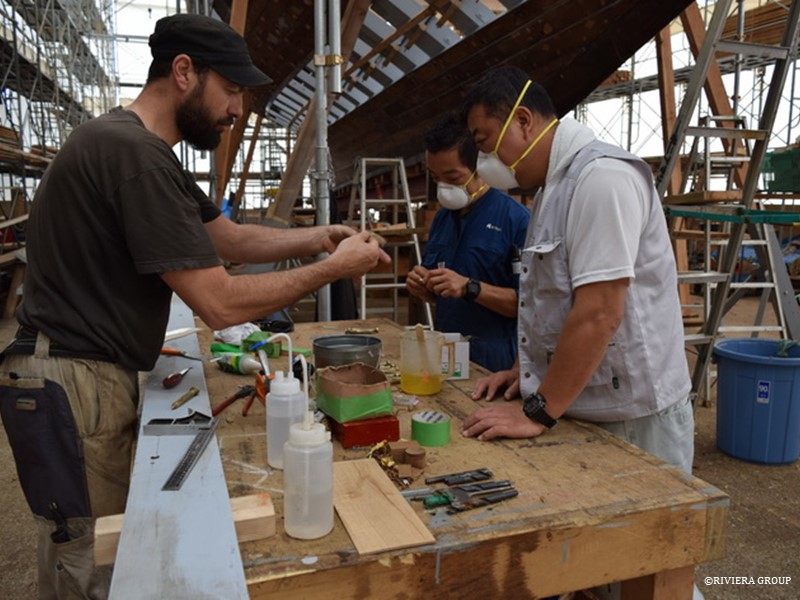
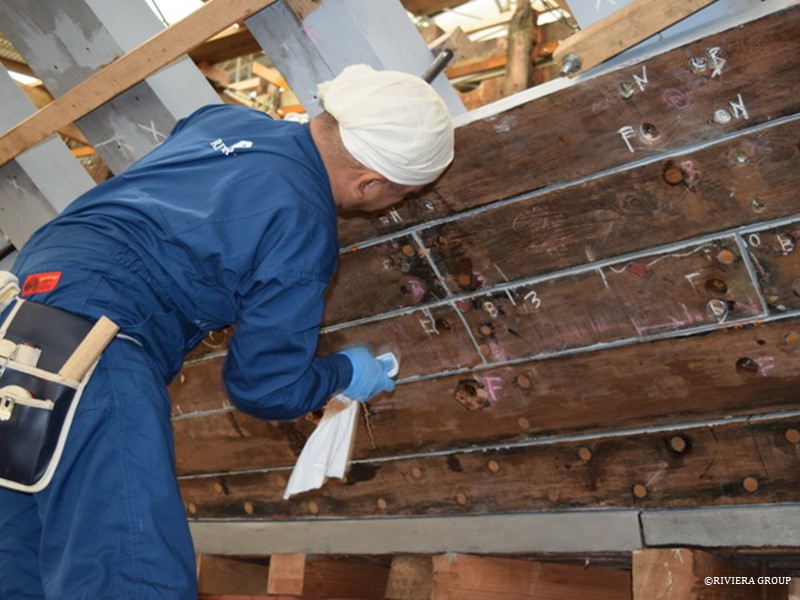
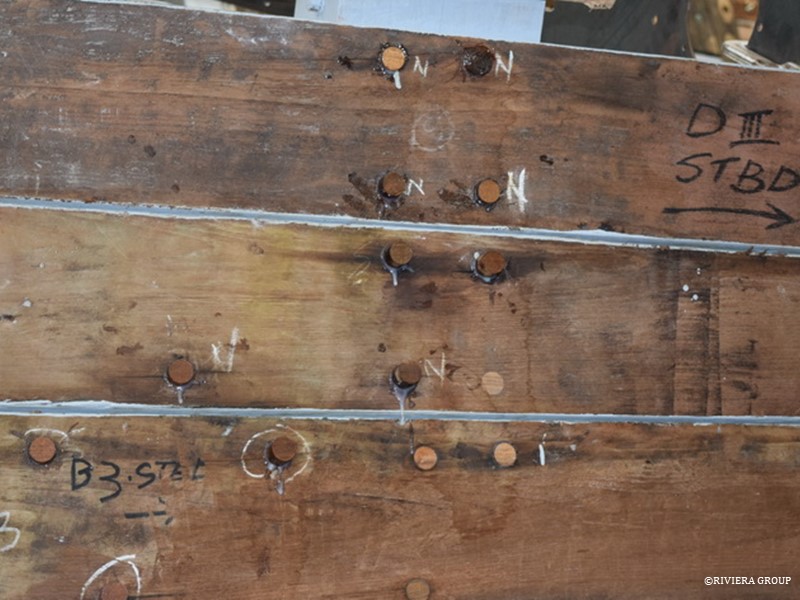
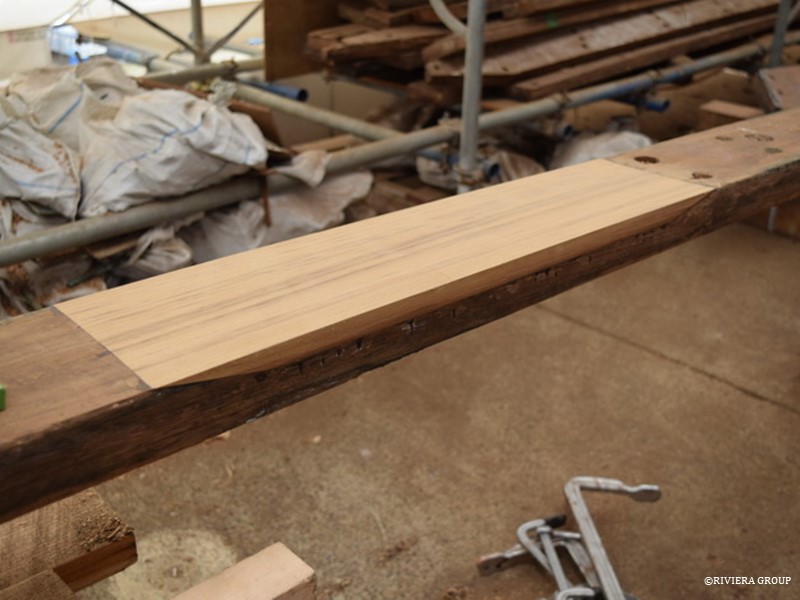
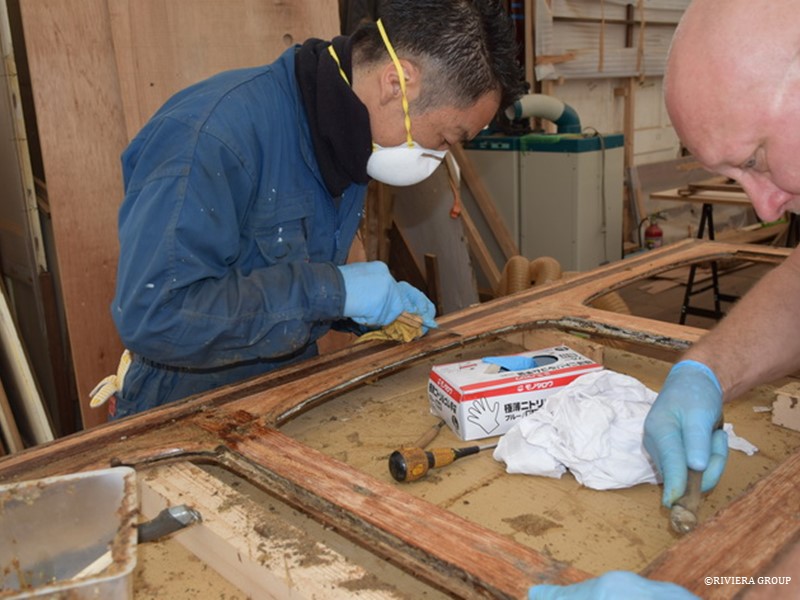
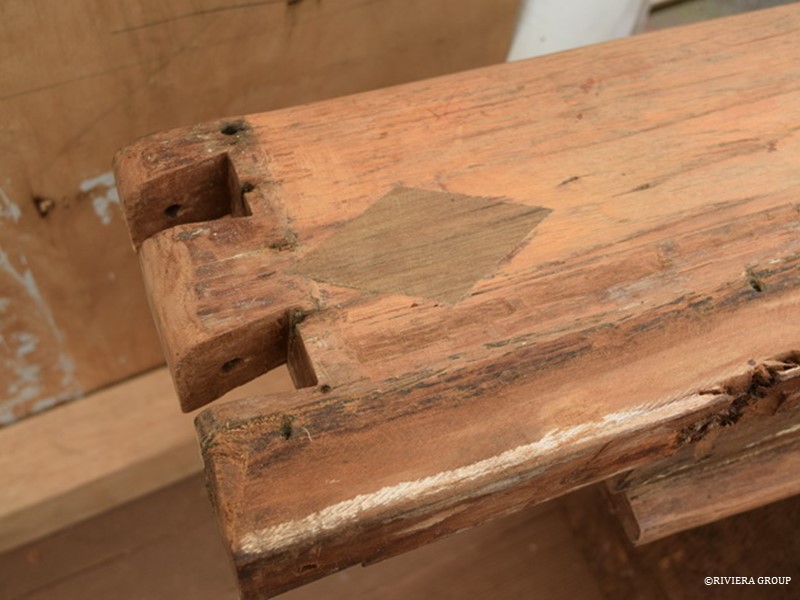
Nico is giving Wada a crash course in bunging unwanted holes in the planks, which is not as easy as it sounds. There is a process to follow and each repair must be watertight.


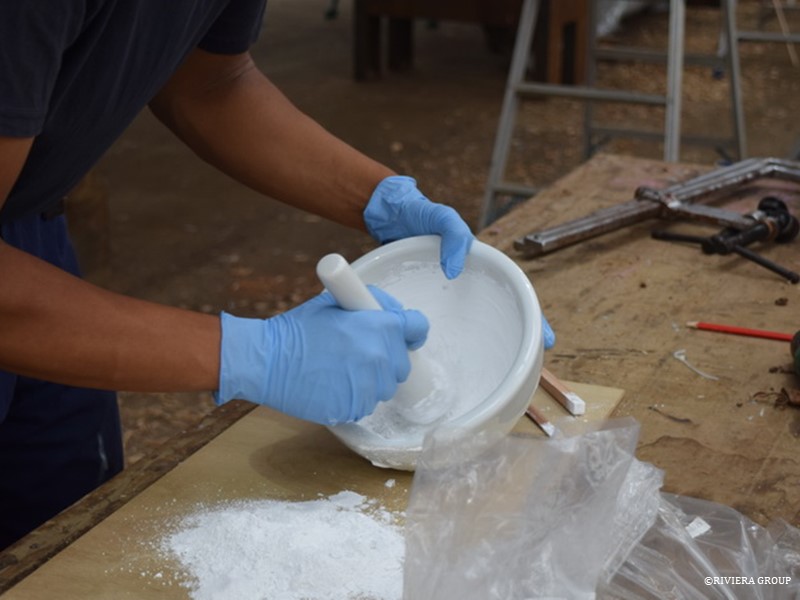
Raw white lead powder is ground to a fine dust and mixed with washed chalk and linseed oil to form a paste (above).


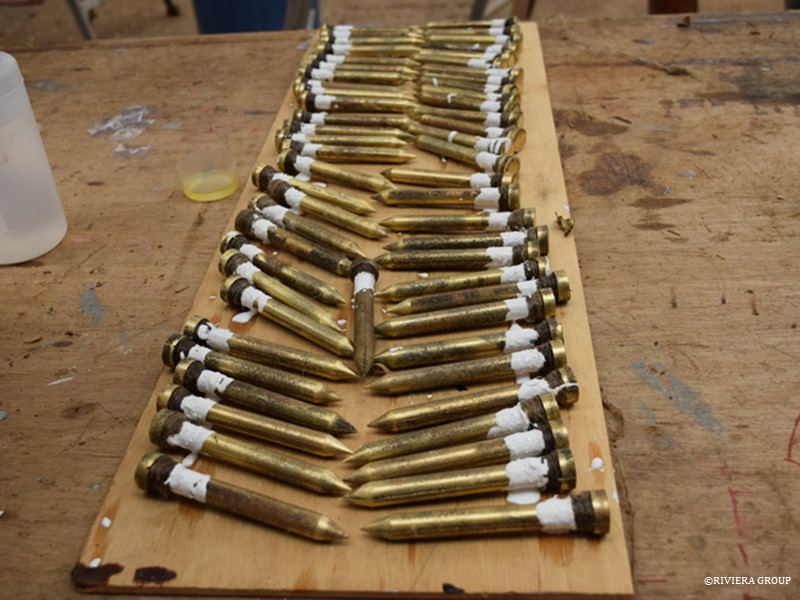
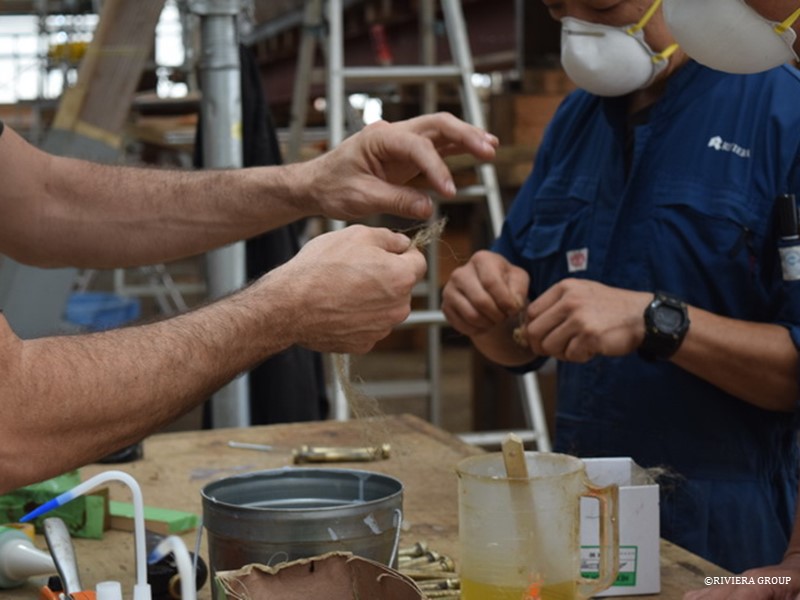
The hand-made naval brass dumps (or ship nails) were made in France by Gregory Ryan (using an original one as a pattern). Each is wrapped under the head with oakum and the white lead paste is added to create a good seal with the timber.


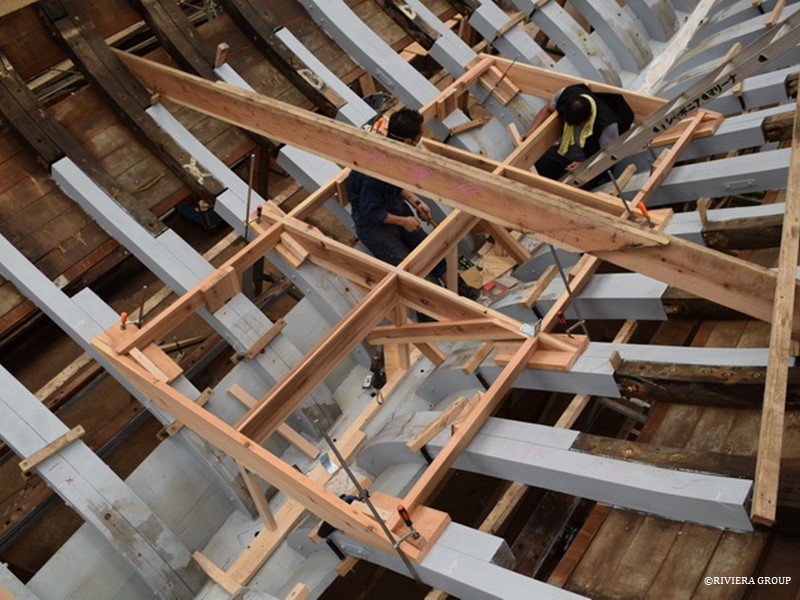
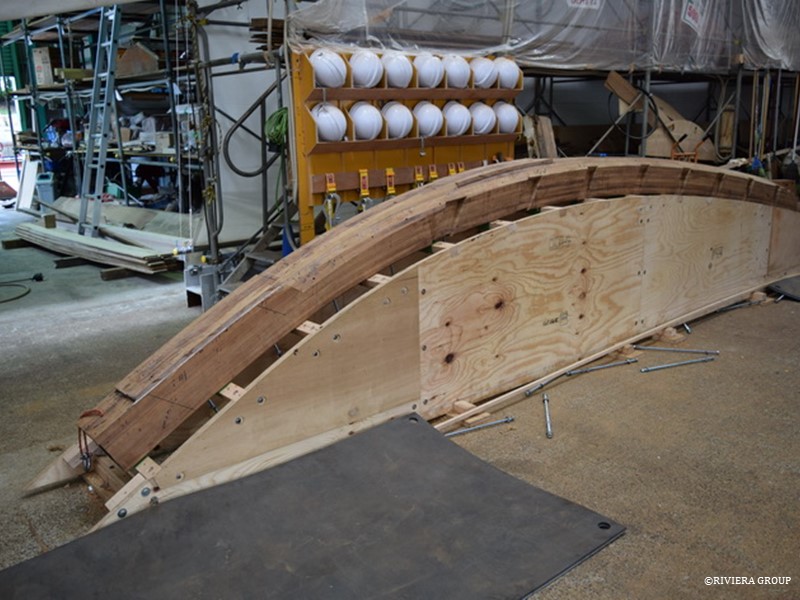
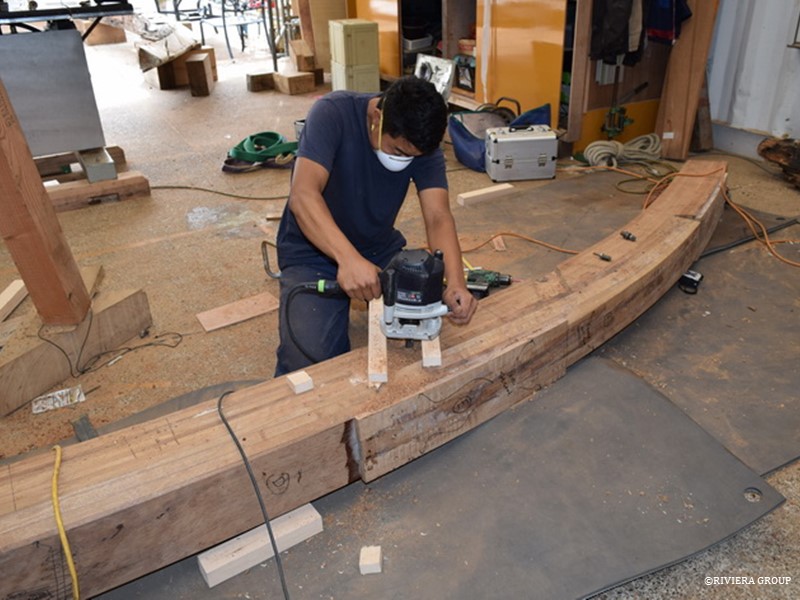
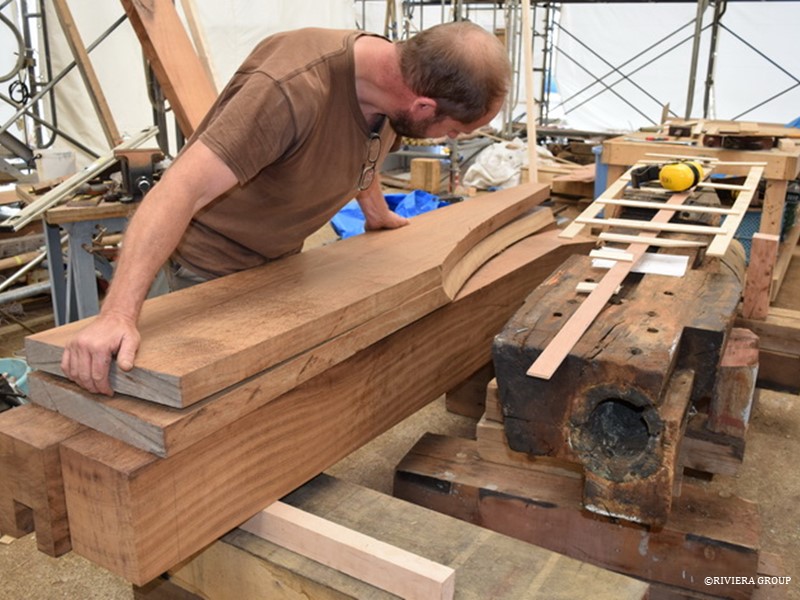
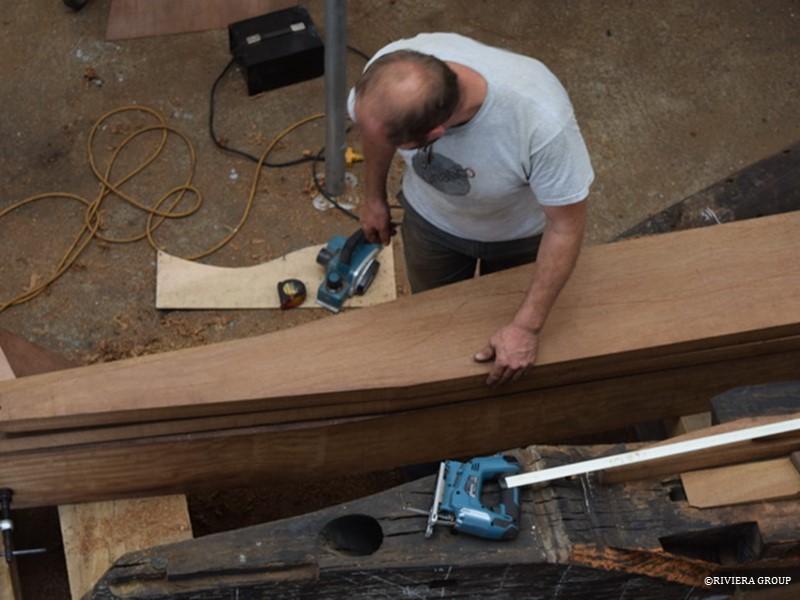
Our laminating office is now in full production, and single frames for the stem and stern are coming out at a good rate. Wada and Pascal (above and below) have finetuned the process.


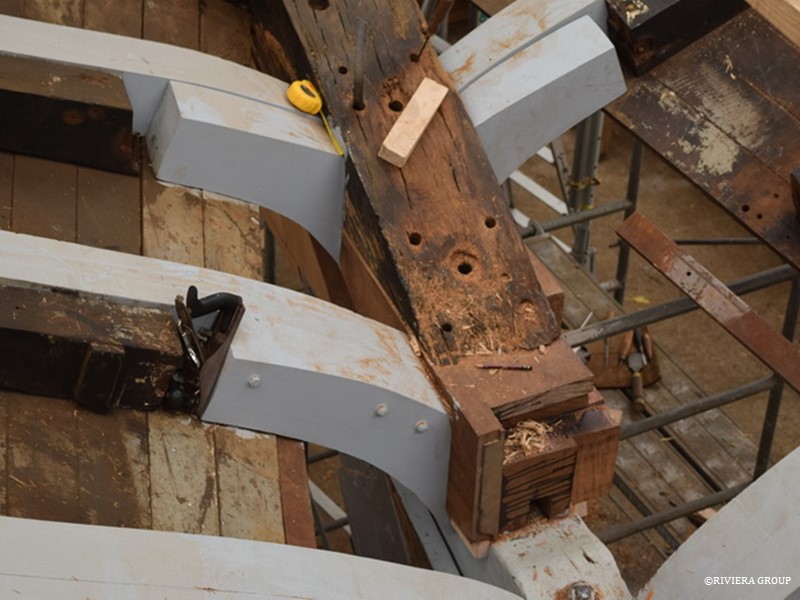
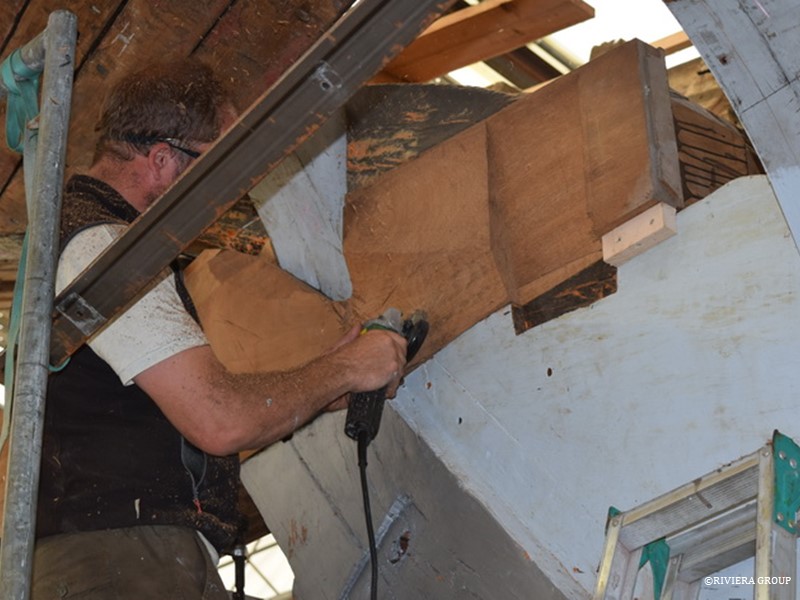
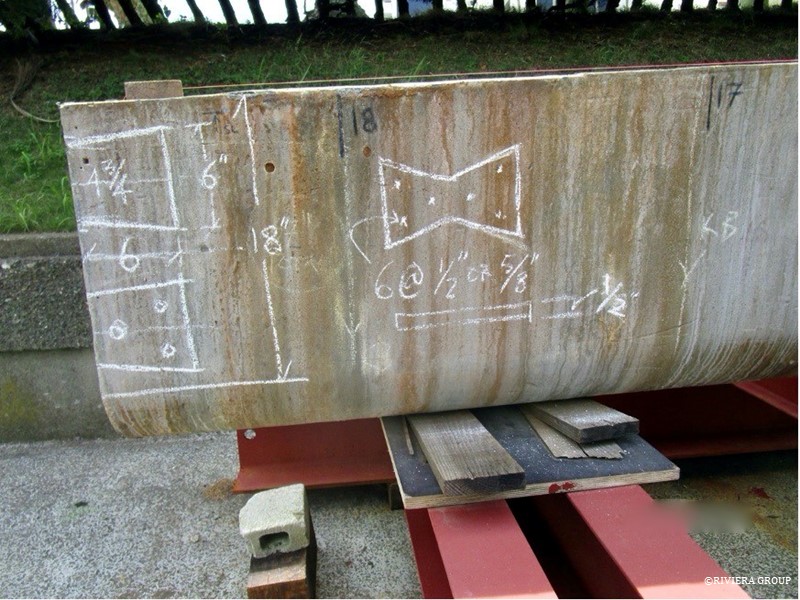
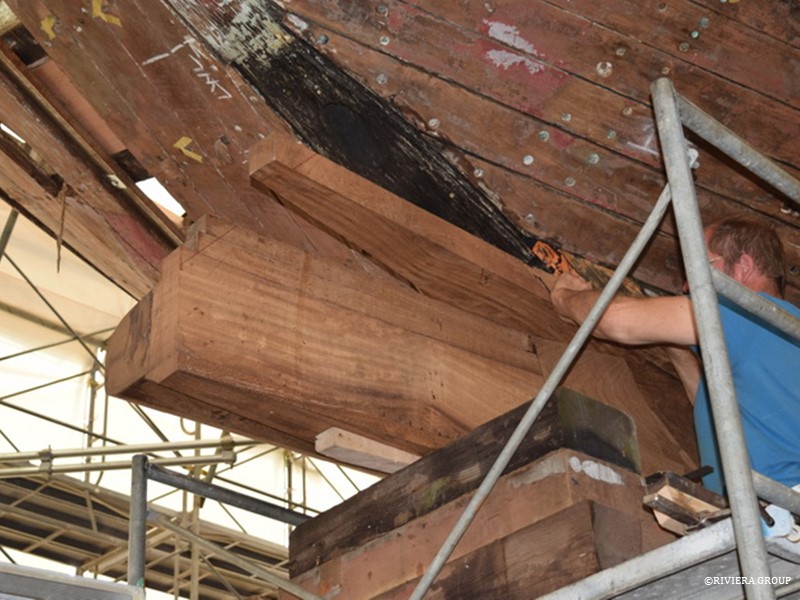
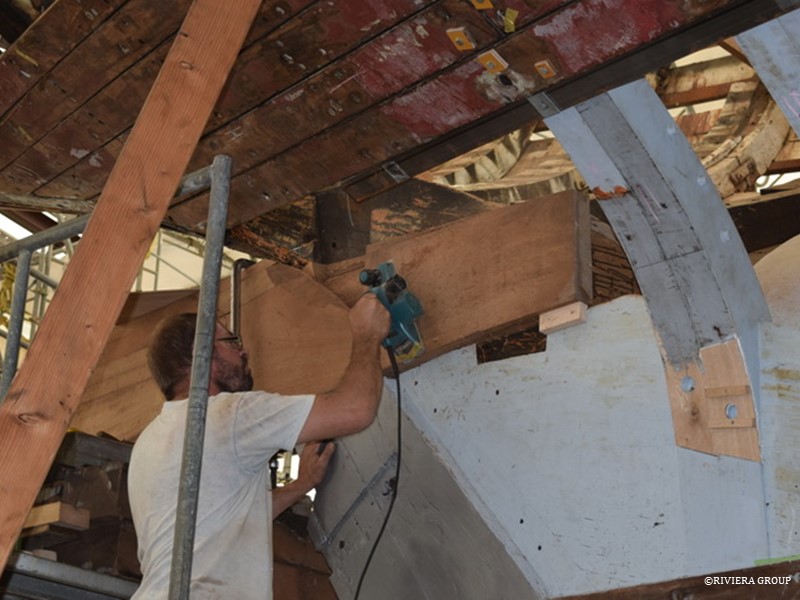
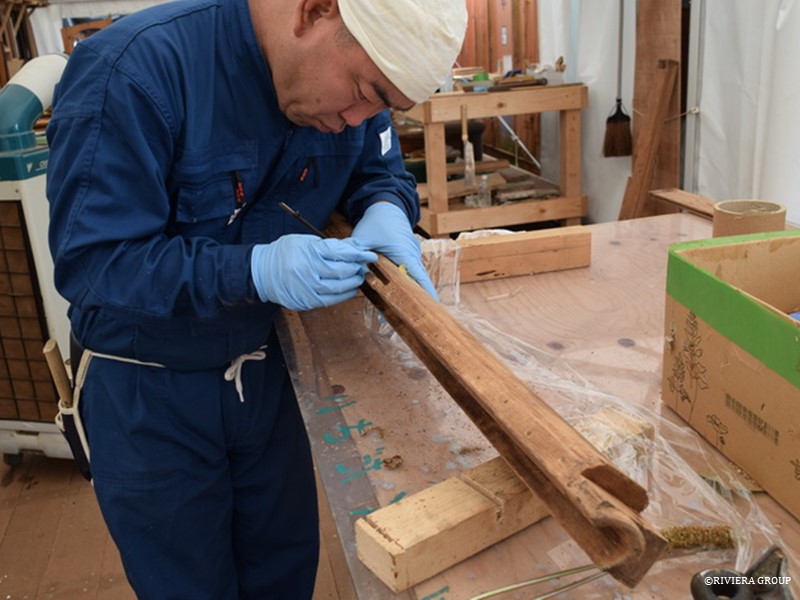
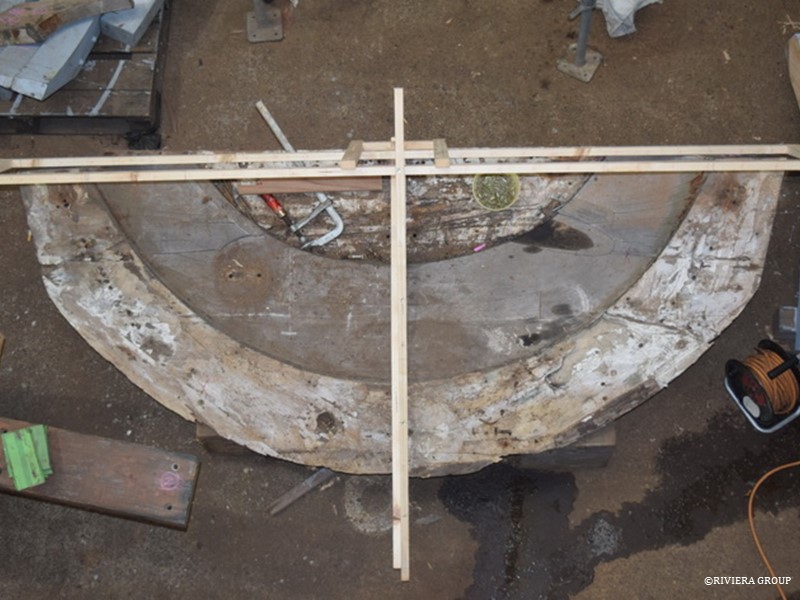
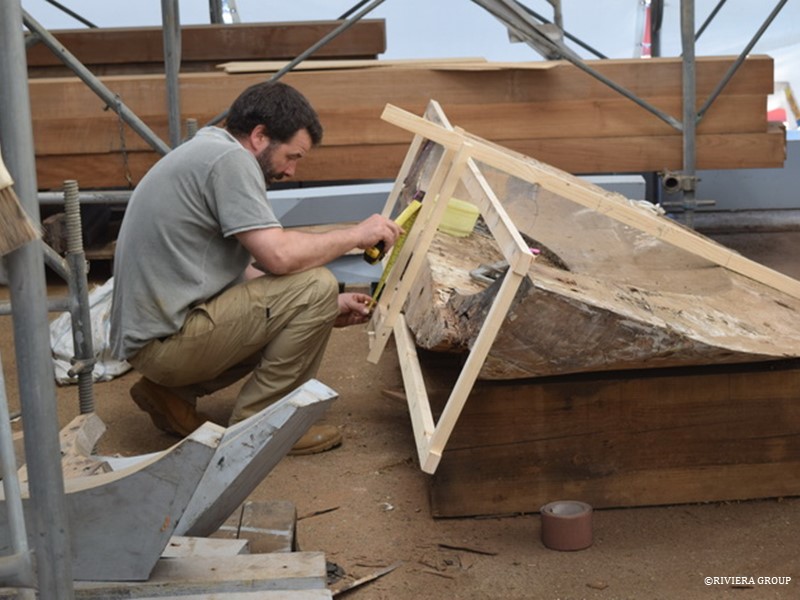
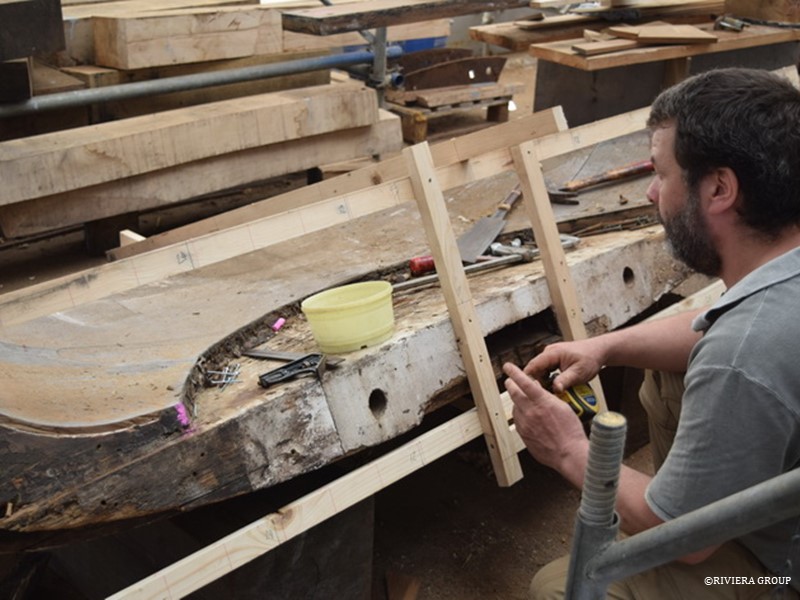
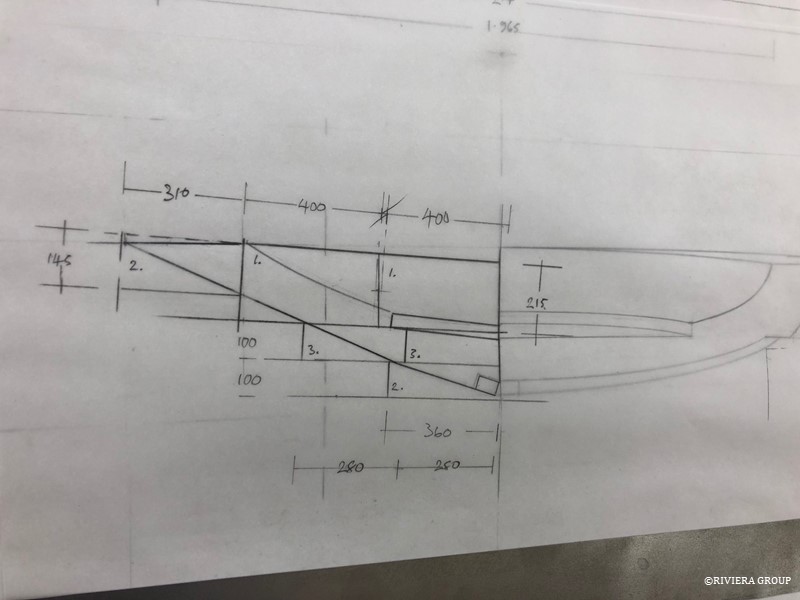
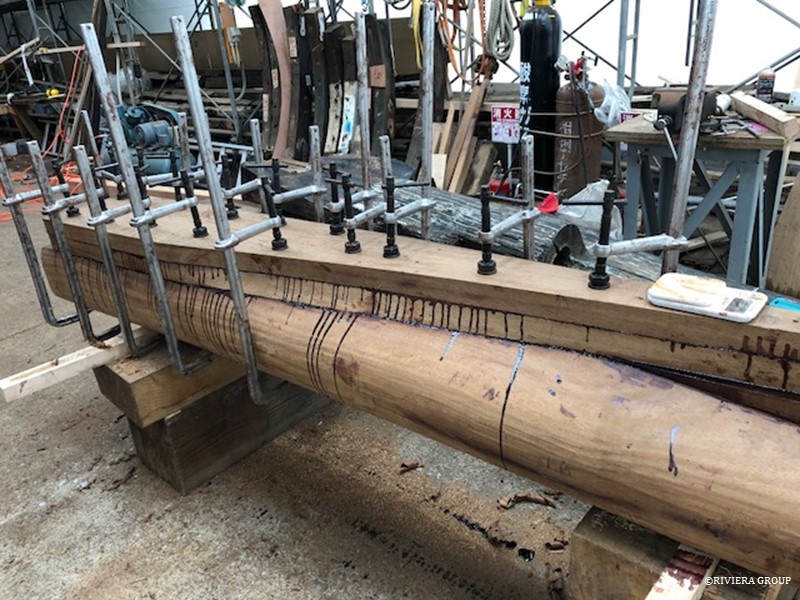
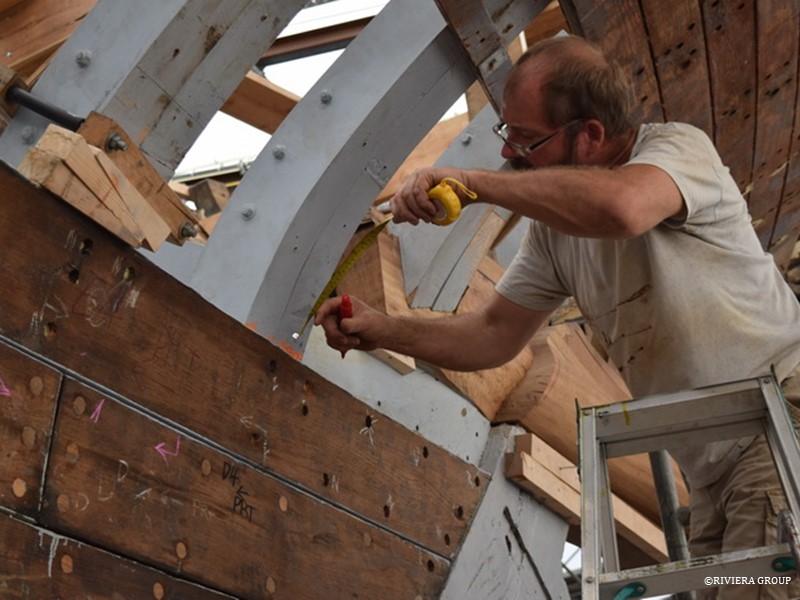
With the shaft log dry fitted some careful measuring is needed to find the center for the propeller shaft. Frame futtocks are used to check and hold its position while Lewis takes measurements (below).

Follow Us

Restoration by RIVIERA GROUP

Restoration photos by Yoichi Yabe & RIVIERA GROUP

Text and photographs copyright © 2019
RIVIERA CO., LTD. All rights reserved.
Email : pr@riviera.co.jp

Blog — June 18-24 , 2018

Blog — June 18-24 , 2018

June 18 to June 24 , 2018

Lewis does some final shaping of the shaft log and cuts housings for the frames.


Once the planks are fitted and we’re satisfied, bungs are glued into the holes left by rivet and nail heads. We have used glue but the originals were dry fitted on white lead.


A special “viewing day” was organized for friends of the owner, and a selection of professionally taken photographs were hung to illustrate the progress to date, and to allow viewing of locations which were difficult to access.


Follow Us

Restoration by RIVIERA GROUP

Restoration photos by Yoichi Yabe & RIVIERA GROUP

Text and photographs copyright © 2019
RIVIERA CO., LTD. All rights reserved.
Email : pr@riviera.co.jp

Blog — June 11-17 , 2018

Blog — June 11-17 , 2018

June 11 to June 17 , 2018

As soon as the yacht was lifted from the water, we noticed that something strange had happened to the after end of the ballast keel. The usual method to connect the ballast to any deadwood or false keels is a large scarph joint securely bolted. And that’s what was shown on the Camper and Nicholsons drawing. But what was there was a butt joint with a small timber tenon.

After some research, a footnote on a drawing from 1928 showed that shortly after launch, the scarph joint was cut off and just under a ton of lead removed. This points to the possibility of a rare error in C&N’s drawing office. Calculating the water line on large vessels without the aid of CAD was nightmarishly difficult, and all the calculations of mass, volume, buoyancy, center of gravity, etc. had to be done with slide rules and old-fashioned math. Small errors were inevitable, and the reason why boats carried internal ballast that could be moved around to trim and balance the boat.

Clearly, Cynara was a little heavy in the stern and so the solution was to lose the end of the ballast. We had two options: make the keel shorter by recutting the scarph or leave as is. We chose the second option, though we did reinforce the joint with large bronze dovetailed plates on both sides.


Lewis is dry fitting the shaft log and checking his measurements (above and below).


Meanwhile in the joinery tent, the deck furniture repairs (above and below) are moving quickly as the Japanese joiners have become more familiar with the construction style of a traditionally built European yacht.


The main deck house is now looking healthier after years of varnish and paint have been stripped away.


Paul helps guide in the first fit of the new engine room bulkhead (upper right) as Nico completes the installation of another strake.


The search for teak to replace parts that are not salvageable continued. We even visited a lumber yard in Tokyo’s Kiba area, the old timber district, and were able to find some of what we needed. In pre-modern times, the cargo of lumber would just be dumped in the river and then hauled up with chains to be sawn. Most today comes by truck, but some can still be seen floating outside the yard (above). They told us that more was at the river bottom.  “There’s still some good stuff down there,” they said, “but you’d need divers.”


We decided to pass on the underwater search and focus on the stacks in the warehouses (above). We were able to find some pieces that were on our list of needed timber.


More views of the trial fitting of the new engine room bulkhead (above and below) before it is galvanized.


Follow Us

Restoration by RIVIERA GROUP

Restoration photos by Yoichi Yabe & RIVIERA GROUP

Text and photographs copyright © 2019
RIVIERA CO., LTD. All rights reserved.
Email : pr@riviera.co.jp

Blog — June 6-10 , 2018

Blog — June 6-10 , 2018

June 6 to June 10 , 2018

A few words on Cynara’s planking. It is “edge set,” which means that relatively straight planks can be cut with fair edges and gently bent sideways into position. The amount of edge set changes depending on where the plank is to fit. This saves lumber and speeds up the cutting process. We were lucky to have salvaged the majority of Cynara’s 2-inch teak planking, but the planks still need bending into position. We made oak clamps that bolt around the frames next to the plank and then the planks are forced into position with wedges, achieving a tight seam.


The short section of new wood (above) is a graving piece to repair a gouge in the plank surface. In the photo it looks like a short plank, but it is actually about 30% of the plank’s thickness. We’ve been able to salvage planks that might have been discarded in the past thanks to effective glues. Teak is a rare and valuable resource and we don’t want to discard planks just because of minor defects.


If one of the 28-foot-long planks has nothing more than a damaged end (above), a new piece is scarphed on. Scarphs are cut to a ratio and we make sure they fall on frames, so that a mechanical fastening can be used to back up the glue. If the glue fails for any reason, a rivet and a nail or two will stop the plank from springing.


The stern chock is being studied and Paul is collecting data before making a new one (above and below).


The original stern chock was made from two pieces of teak. Pieces of this size are not available today unless sourced directly from the forest. We did find some possible candidates, but the cost was prohibitive. We produced a drawing showing an option for building from smaller pieces, which still are fairly large and quite expensive. Because of the shape of the chock, there will be a lot of waste, but we decided to go with a process that would result in the least amount of lost teak. In this layout, only one joint will be visible, in the same position as on the original chock.


While work on the interior has been continuing, it has been largely inaccessible to visitors. A temporary platform and stairway is being built for an upcoming event (above and below).

Follow Us

Restoration by RIVIERA GROUP

Restoration photos by Yoichi Yabe & RIVIERA GROUP

Text and photographs copyright © 2019
RIVIERA CO., LTD. All rights reserved.
Email : pr@riviera.co.jp

Blog — June 1-3 , 2018

Blog — June 1-3 , 2018

June 1 to June 3 , 2018

The stem lamination has been moved from the joinery tent to the main build tent, which has more space and is closer to its final destination. It’s heavy, so the closer to the boat, the better.


The frame housings are being cut into the stem to take the frame ends. Each one is different as the angles change along the length, but they must be cut symmetrically. It is critical to cut them in the correct position, so the final shape of each frame will match the corresponding station on our lines drawing.


The crew companionway is being dismantled. This is only possible because, like with other structures, no glue was used in its construction—only tenons, pegs, and a lead-based sealant.


The main deck house side panels are being stripped of their finishes, with care taken not to damage the teak. The house has scars from years of service, but we don’t need any fresh ones.


The dovetails (above) found at the end of the hatch bases are in good condition for their age—not perfect, but serviceable. We’ll use modern glue to patch in any missing parts, but not on the dovetails themselves. A naval brass rod is passed through the center of the joint to add rigidity and stop the joint opening. The diamond-shaped patch is from a fitting that had water damage and will be reinstated when the base is finished.

The shaft log which sits at the junction between the stern post head and the forward end of the horn timber that forms the backbone of the counter stern is out now and placed on the workshop floor. It’s a complicated piece cut from one large piece of oak. We don’t have such a large piece in stock so Lewis will have to fabricate it from several pieces of iroko (below).


The shape has been finalized, but Lewis still needs to drill the offset propeller shaft, while missing the rudder tube which passes through its center.

Follow Us

Restoration by RIVIERA GROUP

Restoration photos by Yoichi Yabe & RIVIERA GROUP

Text and photographs copyright © 2019
RIVIERA CO., LTD. All rights reserved.
Email : pr@riviera.co.jp