February, 2018
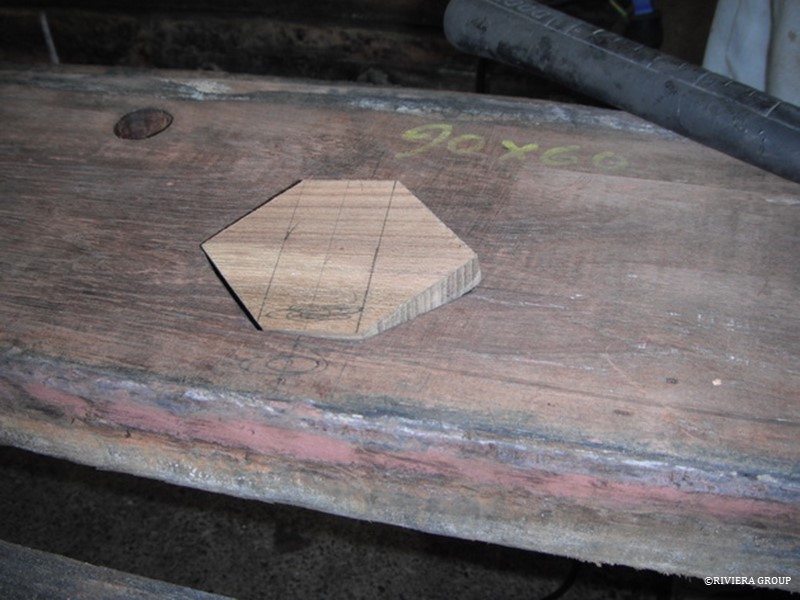
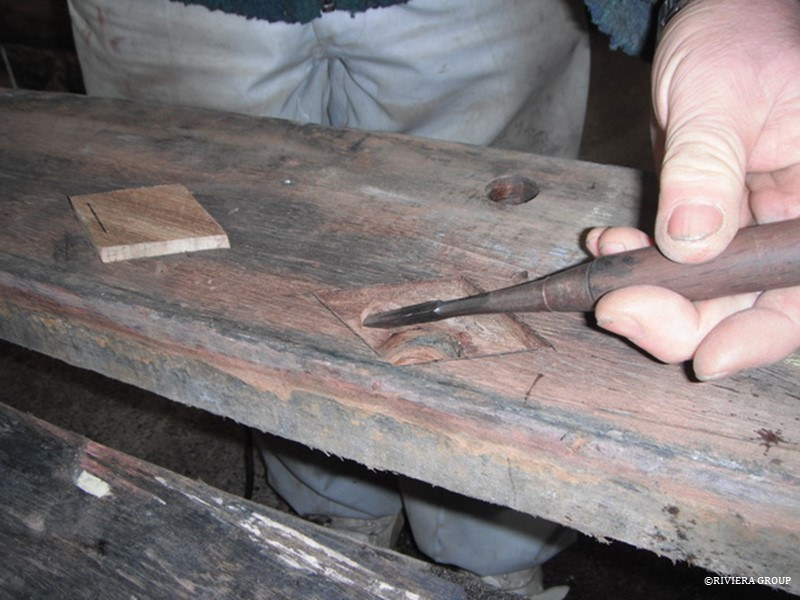
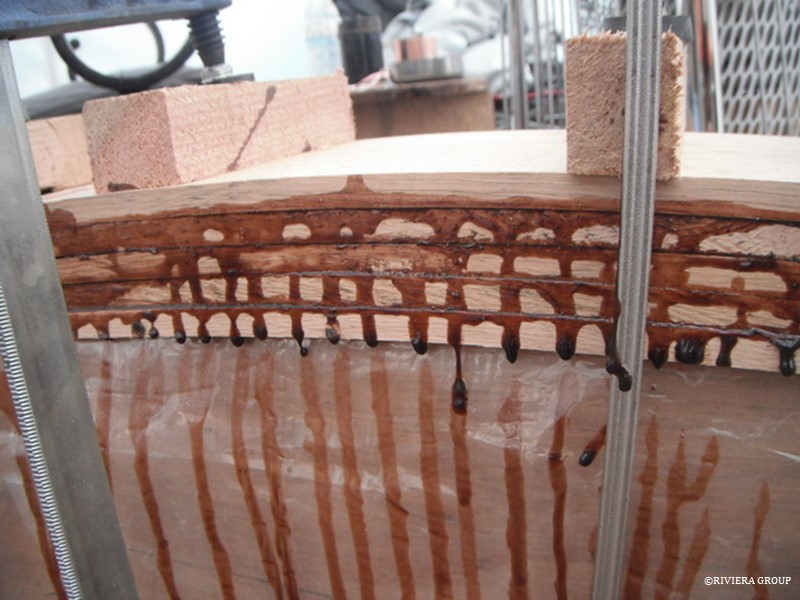
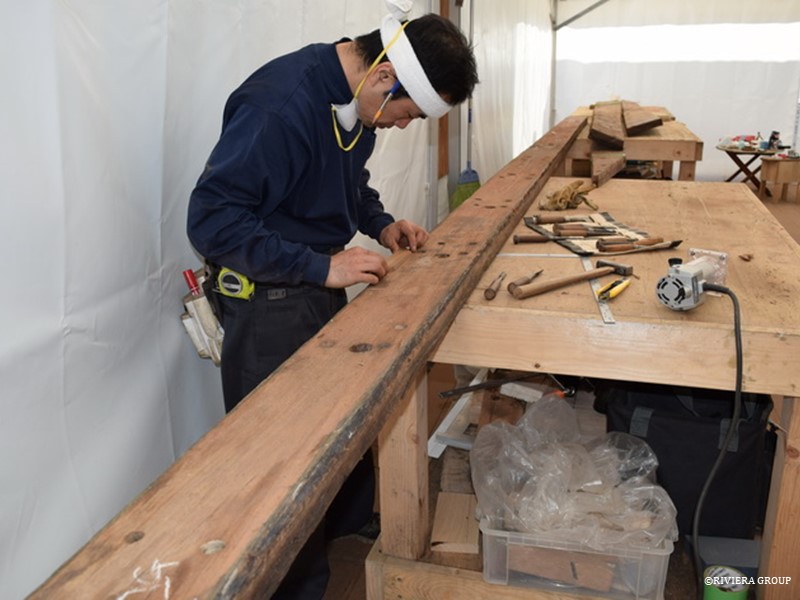
Planks that have been damaged or have unwanted fastener holes are bunged, and a teak patch is glued over the top to restore the surface.

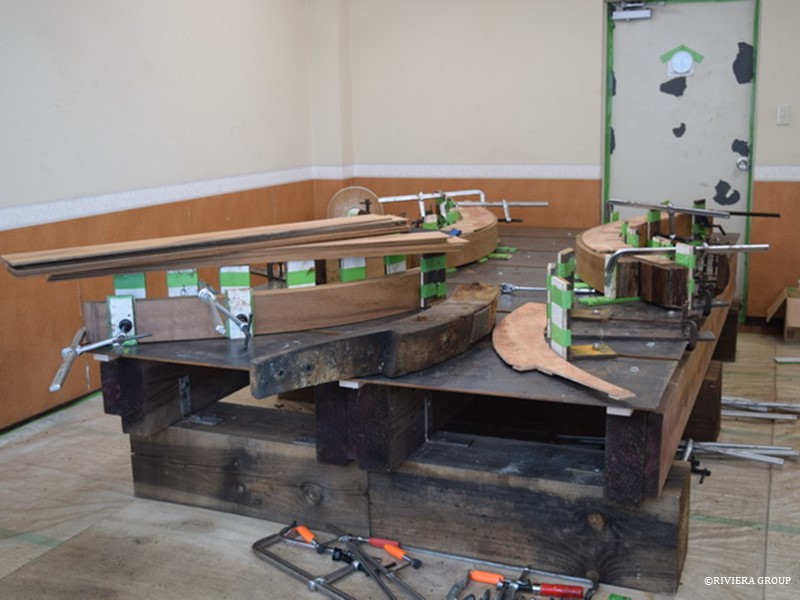
Lewis, Hashimoto, and Kawashima discuss the process of cutting out the futtocks.
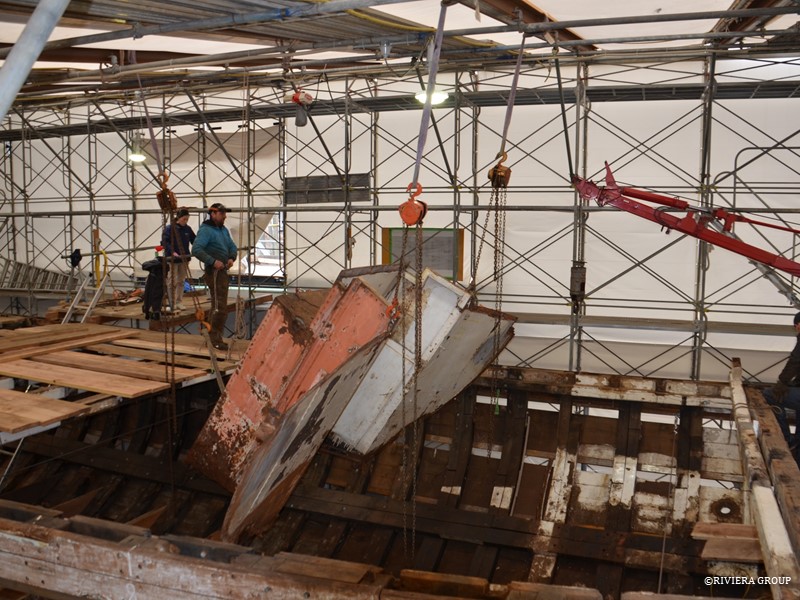
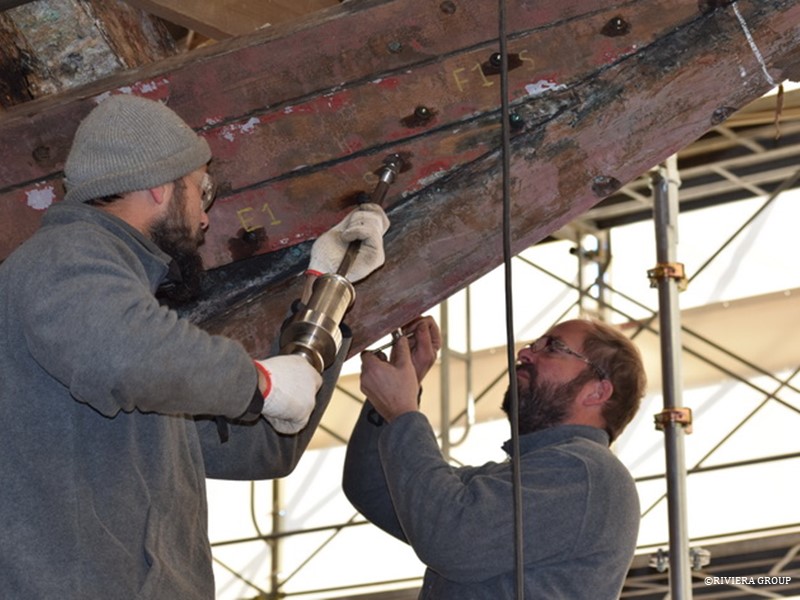
The riveted steel engine room bulkhead is removed with a chain hoist. We hoped that about 75 percent would be salvageable, but in the end decided to fabricate a replacement.
Work on replacing the futtocks is continuing, one by one.
Taking the deck beams out turned out to be quicker than expected because of their poor condition. In fact, when the deck planks were released, some of them just fell out. They were in such bad condition that we didn’t have to make decisions on what was salvageable. Wires and bottle screws were fitted at stations to control the spreading of the hull at the edge of the deck.
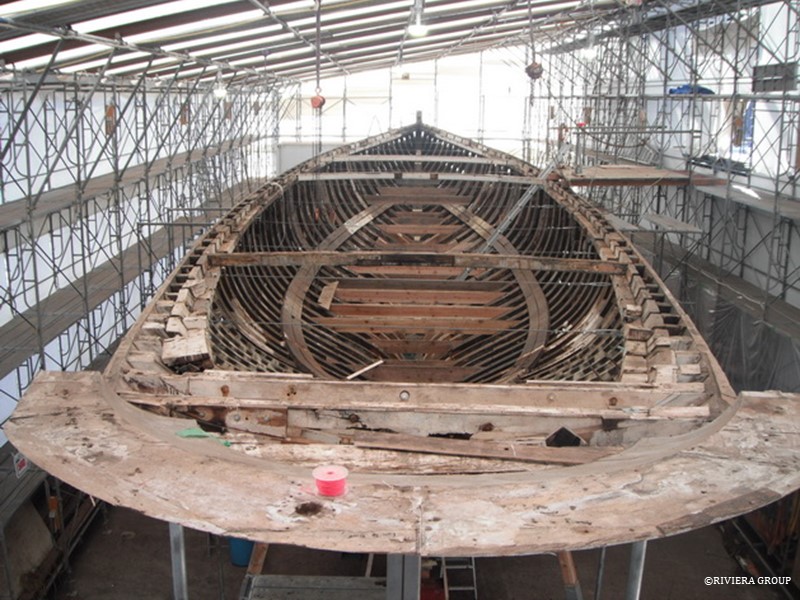
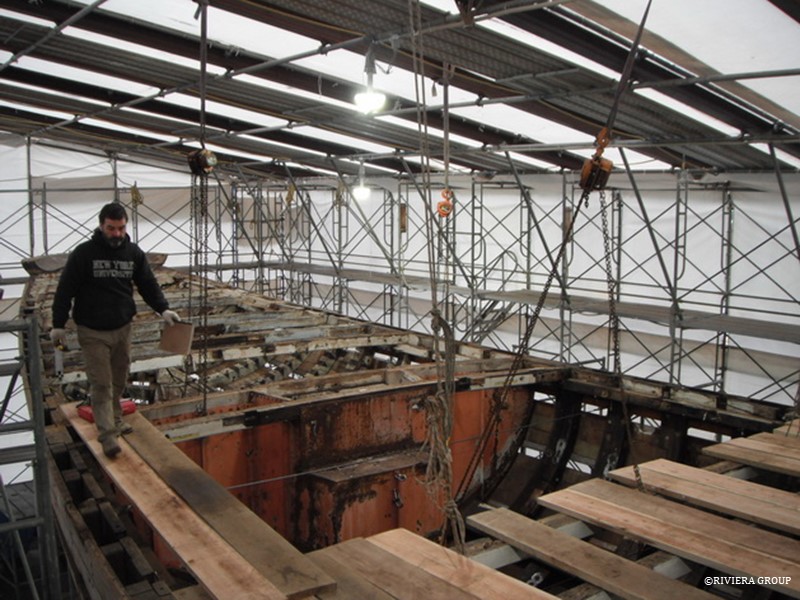
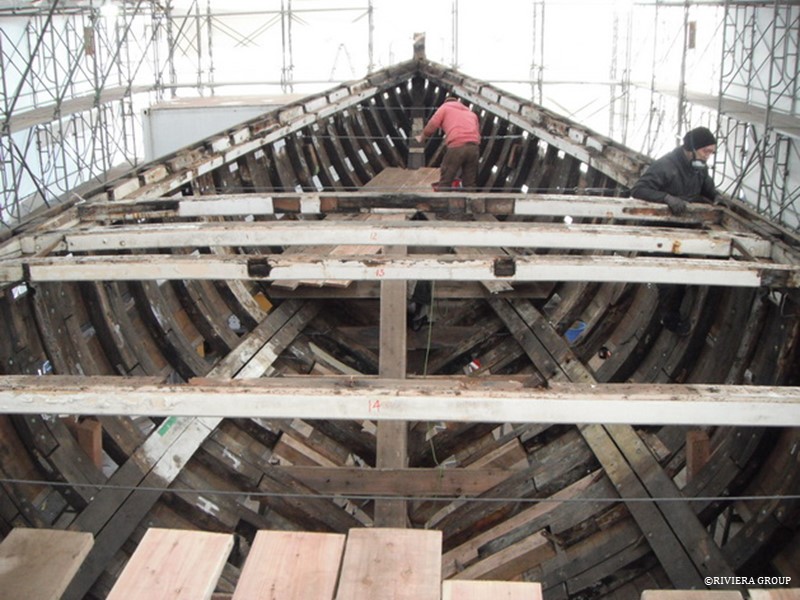
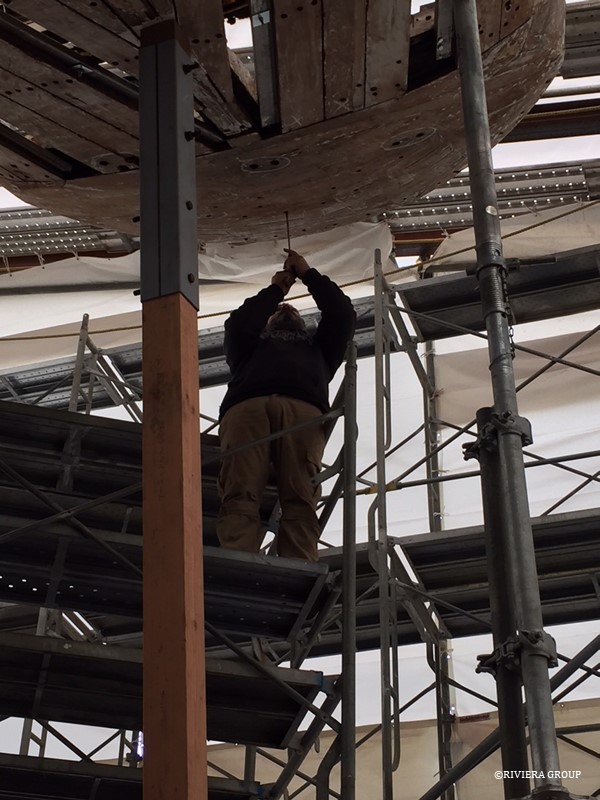
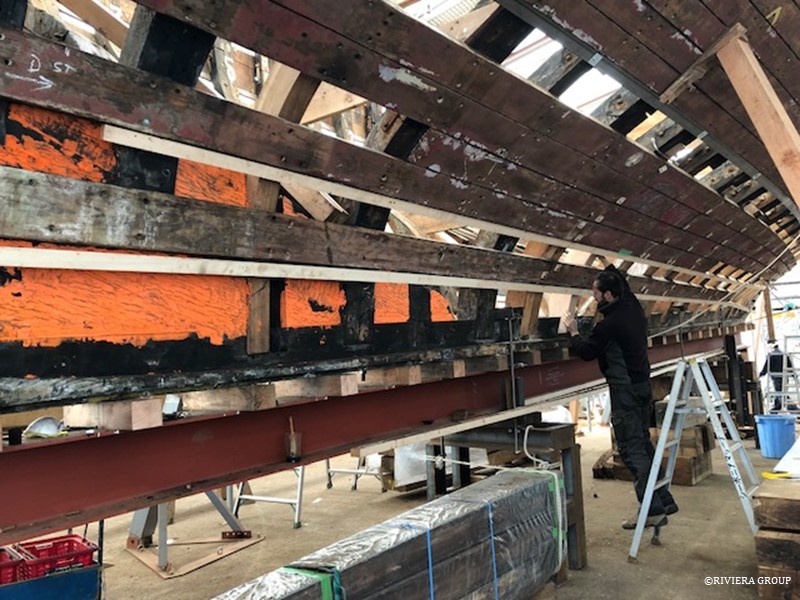
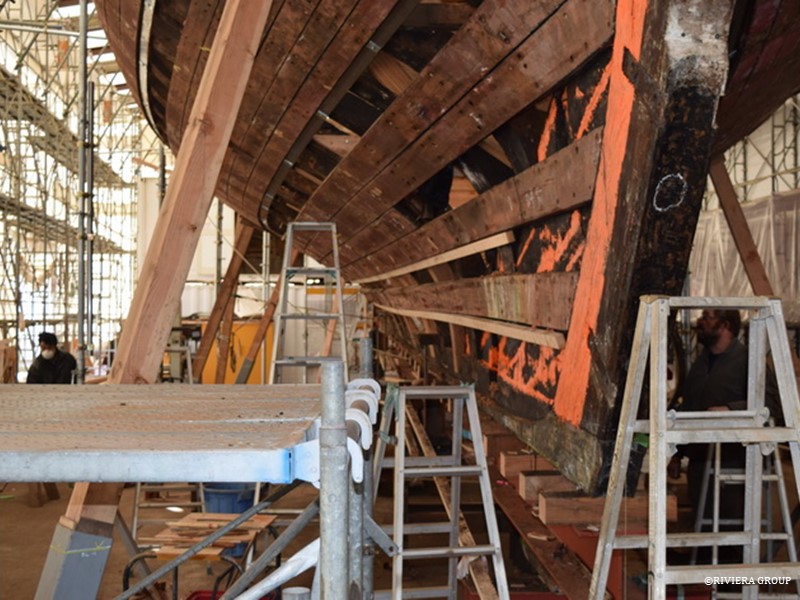
Only 3 or 4 beams are left at key positions to maintain the deck’s profile. There are no more obstructions and the entire hull is now accessible.
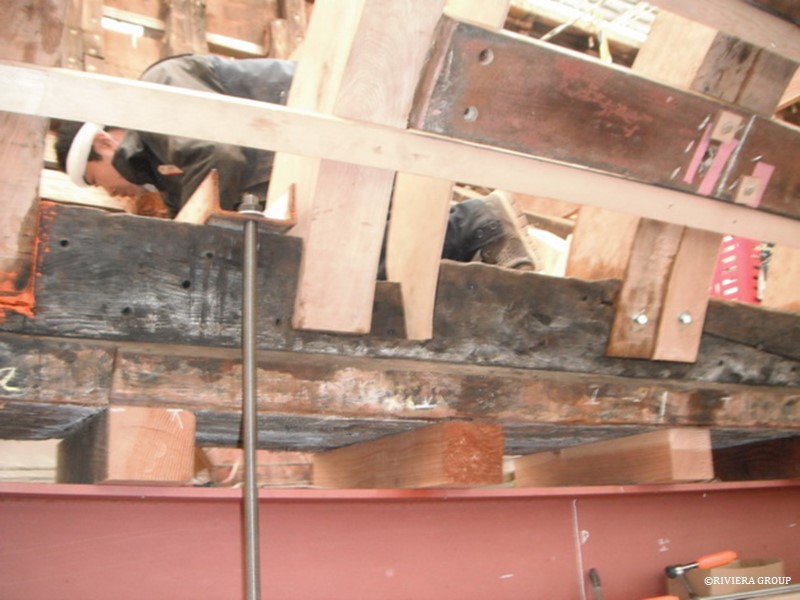
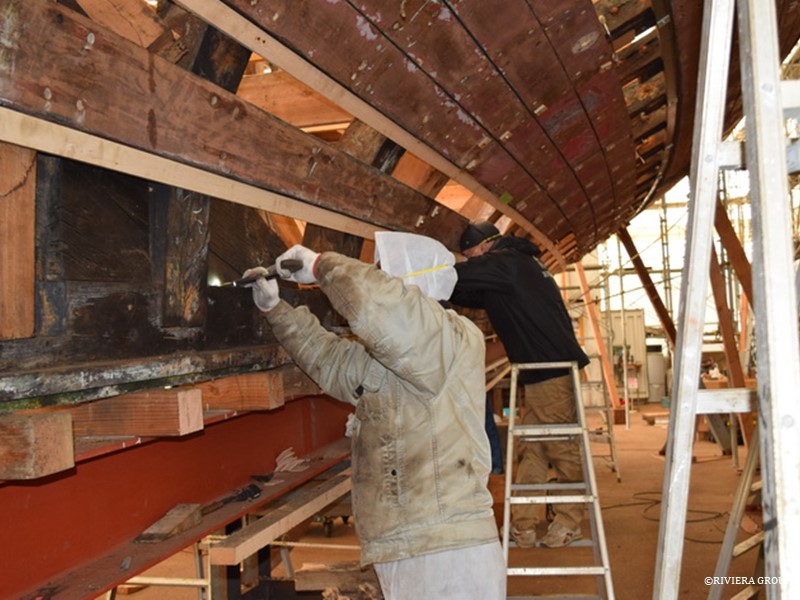
Work in the lower bilge marches on with new being added to old.

A number of laminating experiments were carried out to test the critical ambient temperature and timber moisture content.
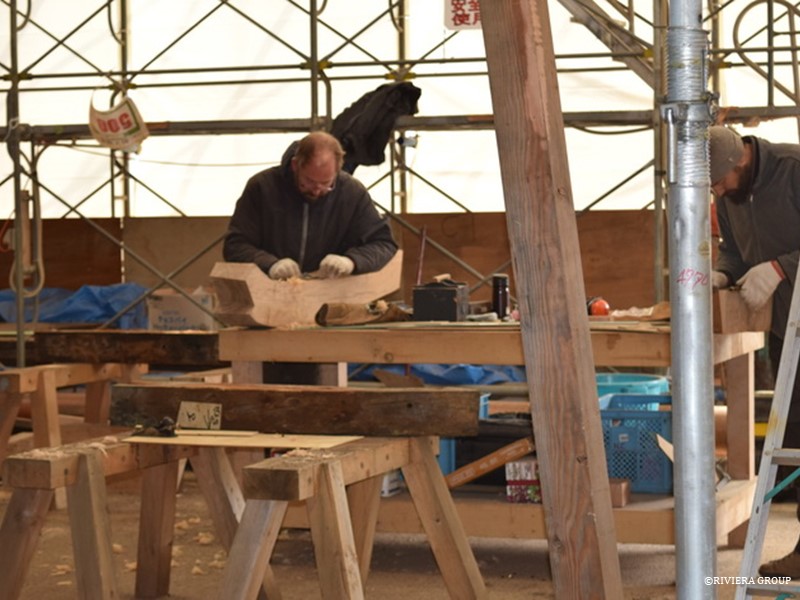
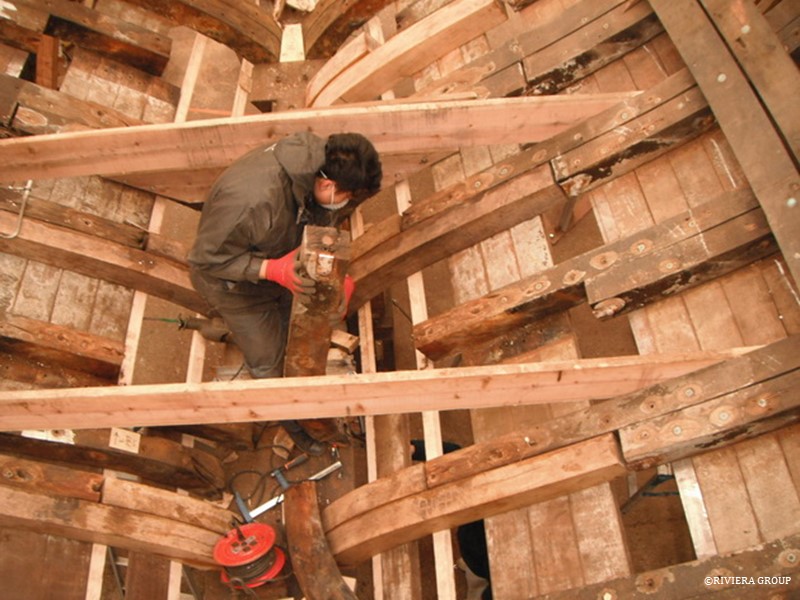
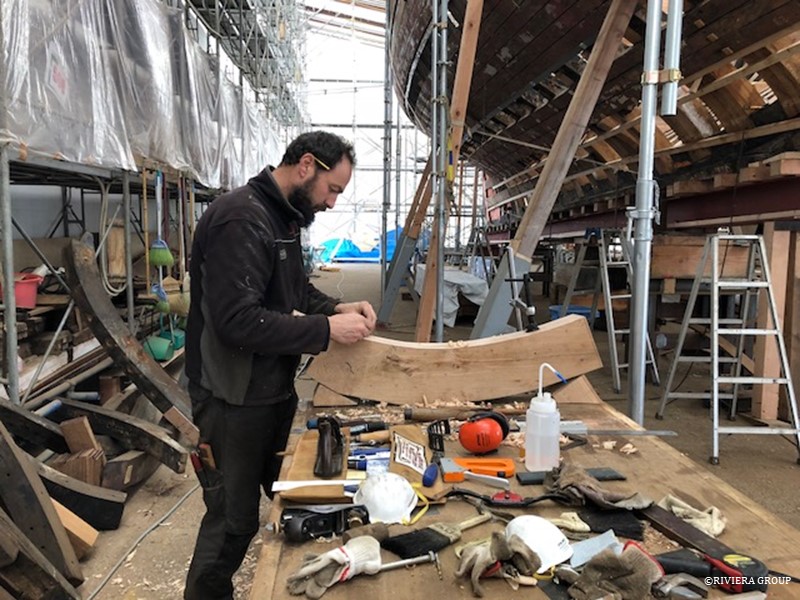
Lewis and Nico are making steady progress on the seemingly endless task of fitting the frames.
Paul surveys the stern chock before removal. We decided to replace the chock but we needed to collect data before removal. We also had to find all the fasteners so it could be removed smoothly. A number of repairs have been made over the years and we didn’t want to find any surprises. These chocks are usually only held in place by the hull planks and the deck, with perhaps a bolt through the end of the horn timber (the extension of the keel on top of the stern post that creates the backbone for the counter stern). Surprisingly, in Cynara’s case, it was held only by a single screw.
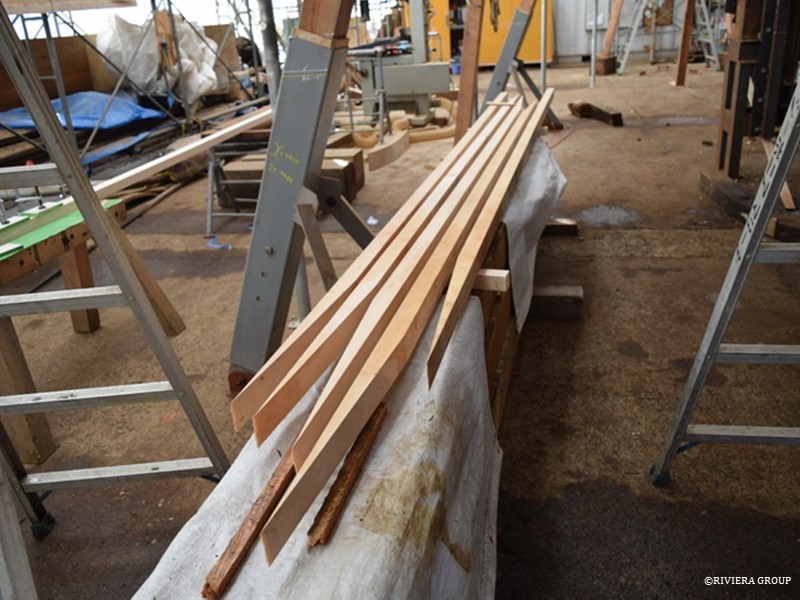
Jesper Olsen, a highly experienced Danish shipwright, joined the team. Experiments confirmed that it was too cold in the tent for laminating pieces, so his first job was to build a laminating table in one of the empty offices adjacent to the build tent. In the office, the air temperature and humidity could be kept constant, and the lighting was better. Here Jesper is laying steel sheets (the same ones used when we moved the keel) on top of sturdy pine blocks and levelled. Then a series of holes were drilled to provide anchor points for the brackets and bolts that allow different curvature patterns.
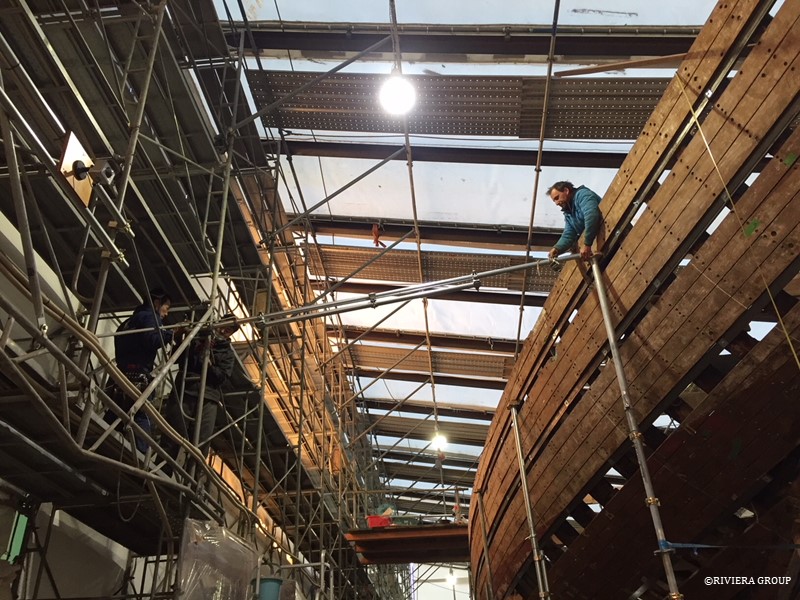
Scaffold shores are being extended from the hull to the scaffold of the tent for further stabilization.
Nico is using a slide hammer to release the end of a plank at the stem.

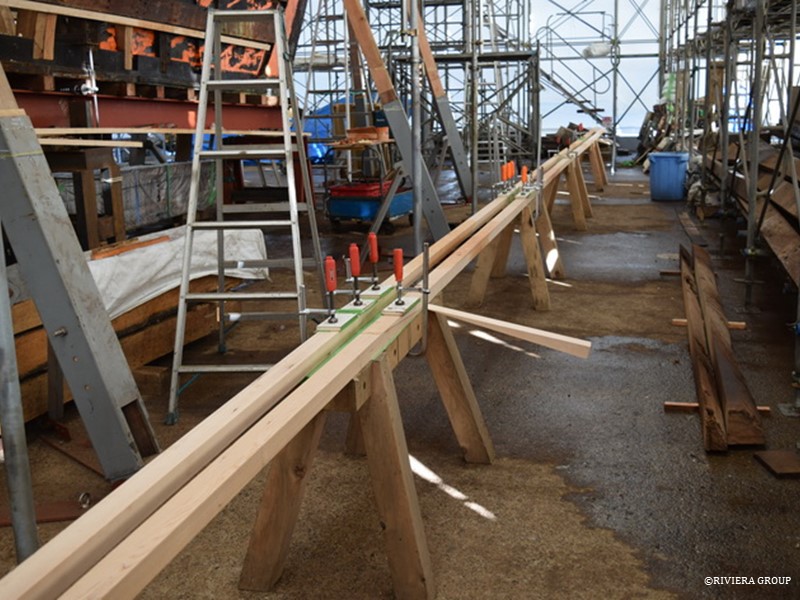
The strong back has been extended to run the entire length of the keel, and the steel table that Paul built has been fitted underneath. Ben balances on a ladder (above) as he works on the rudder cove, the hollow at the back of the stern post that takes the leading edge of the rudder.
Some of the futtocks were very short. Some at the stern had a lot of curve, and we decided to make a few of them from laminated iroko. It was faster and cheaper to buy a small quantity of iroko, that we knew was dry, rather than mill large pieces of our oak stock into laminates.
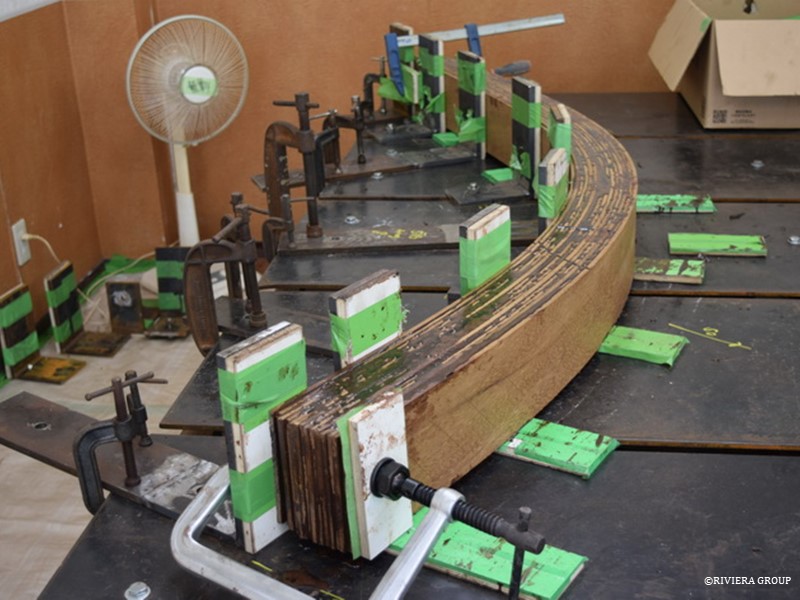
Jesper’s laminating table was quickly put to use, and it worked perfectly.
Meanwhile, work at the stern continues. Lead paint was applied to slow the drying of the stern knee. It was submerged for decades, so if it dries too quickly it could crack. Red lead was used because normal paint would have trouble drying on the damp surface.
Kawashima examines one of the teak planks and makes small repairs. This was the first use of the new joinery tent, and it will never look this clean and dust free again.
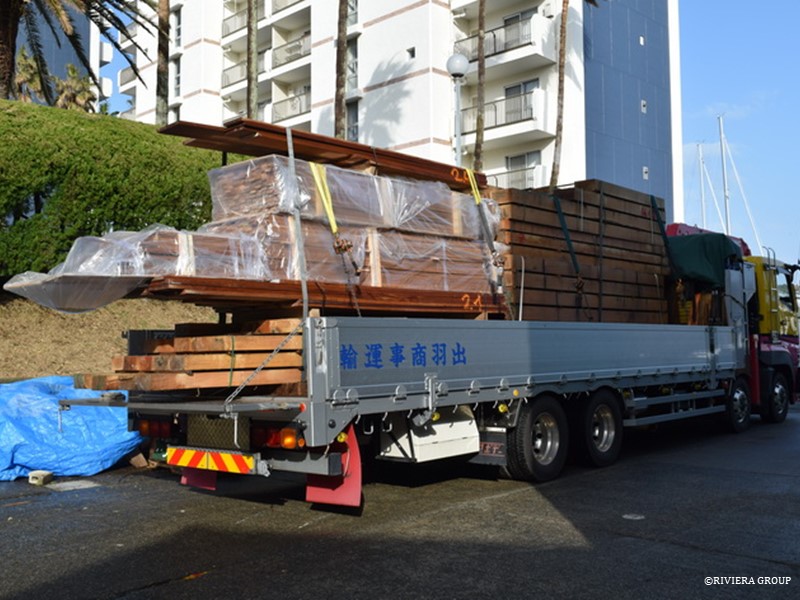
A shipment of timber—English oak and teak decking—arrives.
Clear grained hemlock supplied by the local timber merchant (top) was scarphed together to create long, continuous ribbands (above) that were fastened to the frames around the hull. These were used to check fairness and to have a reference to check against our line drawing. The old planking kept the original frames in position (below), but they weren’t good reference points as they were not necessarily fair or in the right position.
Follow Us

Restoration by RIVIERA GROUP
Restoration photos by Yoichi Yabe & RIVIERA GROUP
Text and photographs copyright © 2019
RIVIERA CO., LTD. All rights reserved.
Email : pr@riviera.co.jp