January 7-15 , 2019
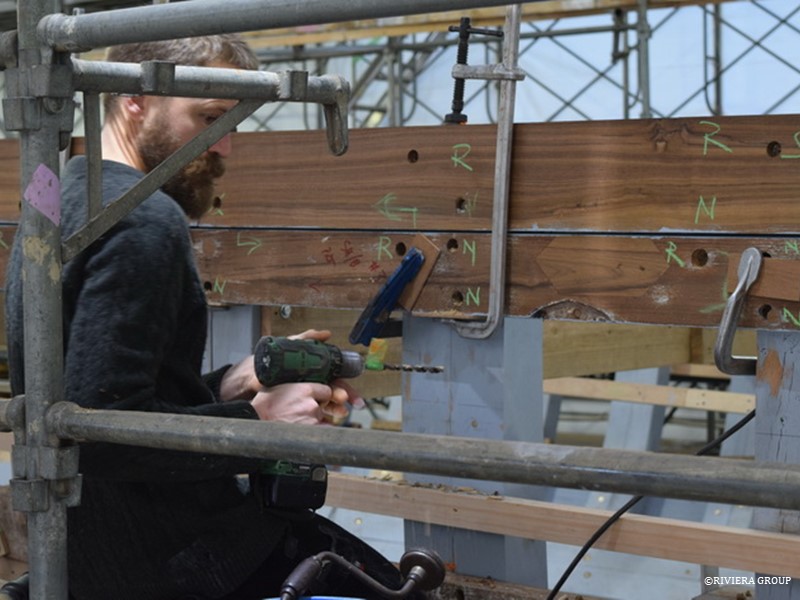
Above, Mattis prepares to cut one of the new sheer planks. Cynara’s teak planking was in remarkably good condition for a yacht of her size and age, with the high-quality teak withstanding most of the hardships of a life at sea for almost a century. But some of the old planks were damaged and distorted to the point where the entire strake, port and starboard, was deemed un-serviceable.
Demetri, a young English shipwright, makes a pattern to replace a short plank at the end of a strake at the counter stern, just above the rudder. He originally came to help with the caulking of the hull with the team from Stirling & Son, shipwrights from Devon England. The team was booked to help caulk the boat, therefore freeing up our “in-house” shipwrights for other tasks. Unfortunately for them, we were not finished planking. Fortunately for us, they were happy to help wherever needed.
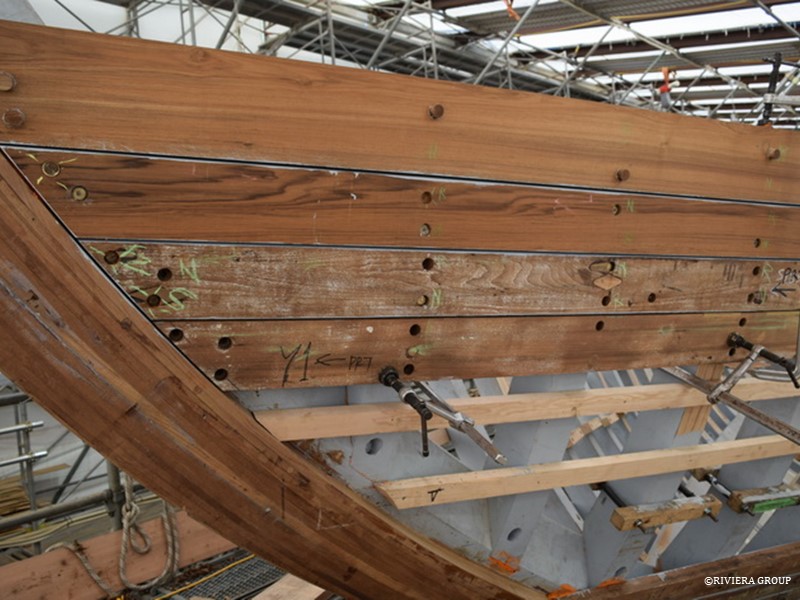
Here, in the counter stern, we can see how the hood ends of the planks are “snaped” or “joggled” (depending on where you’re from) into the oak horn timber at the centreline. This eliminates feather edges or thin sharp points at the plank ends that would break away with the pressure of the caulking. It also locks the plank into the centreline.

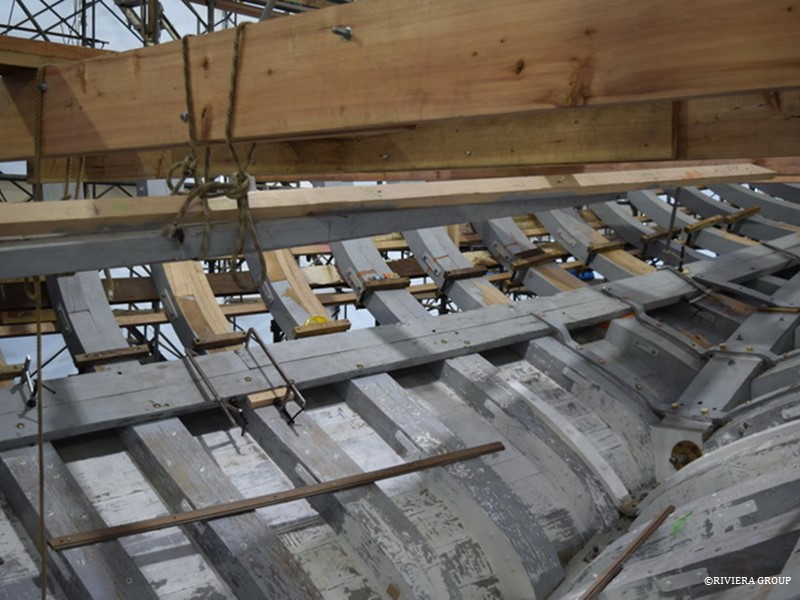
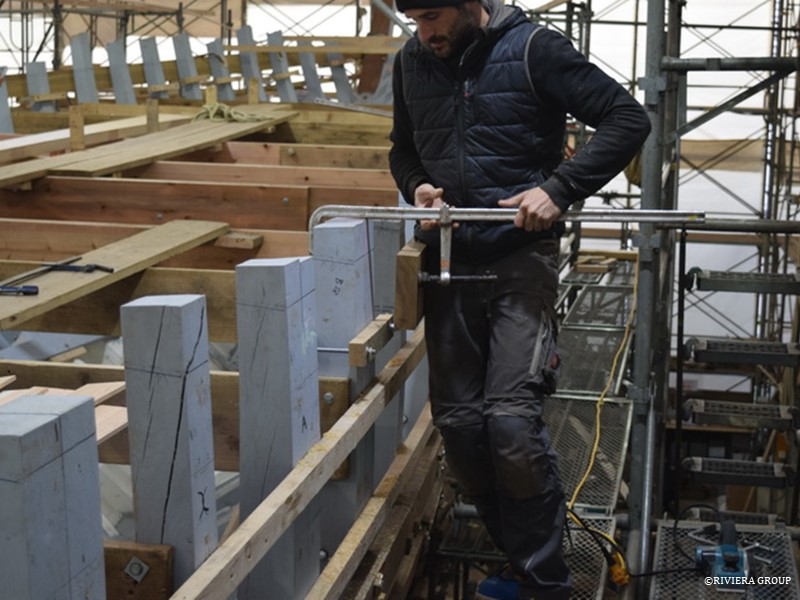
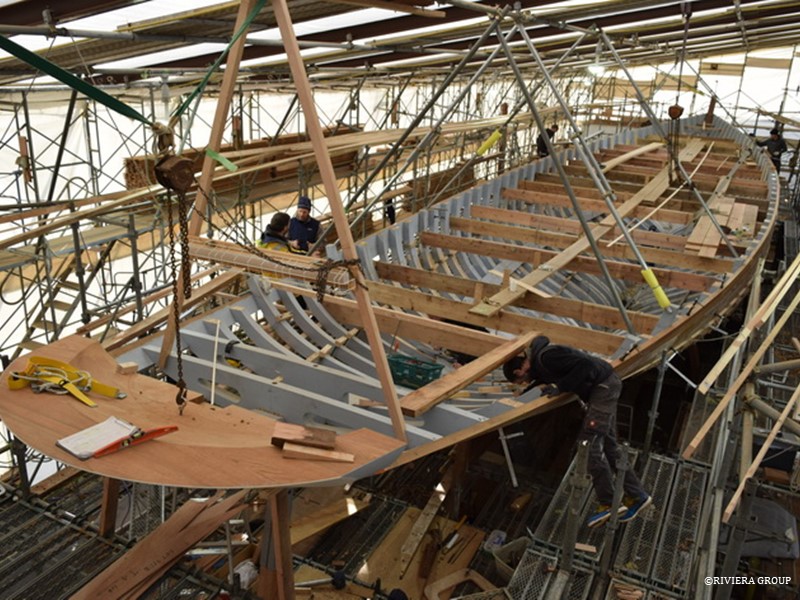
Nico is setting up the clamping system for another plank to be fitted. Before a plank is fitted the backs of the frames are checked for fairness. Oak clamps made from threaded bar and oak square section are set up at the correct height for the plank. When tightened around the fame pairs, wedges can be used between the clamp and the plank to edge set the plank into position and create a tight seam for caulking. “Edge set” means that a straight plank is bent edgeways to follow the plank line around the hull. This makes cutting planks from stock very fast and economical.
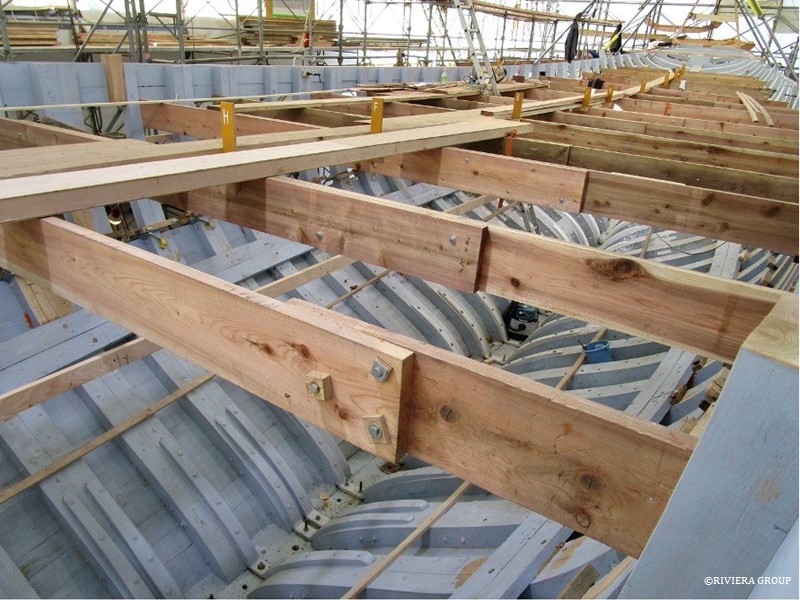
One of the completed oak bilge stringers in place at the stern.
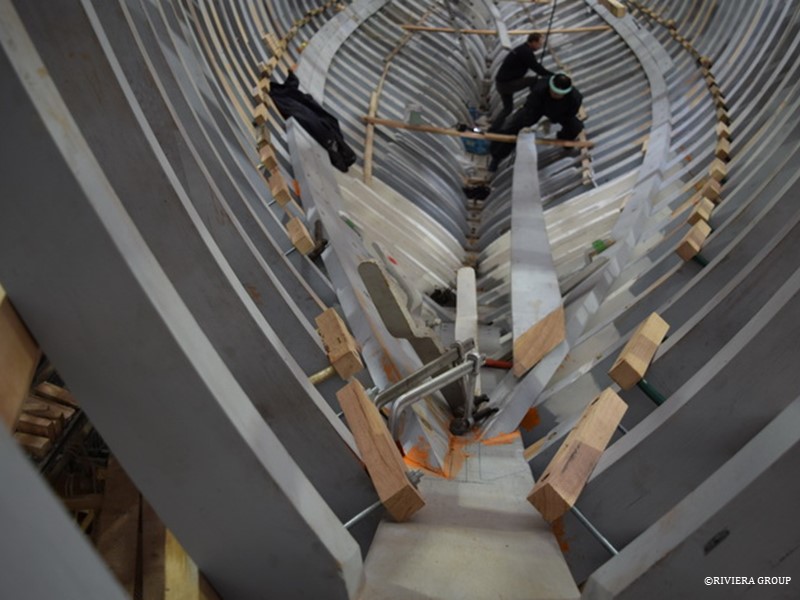
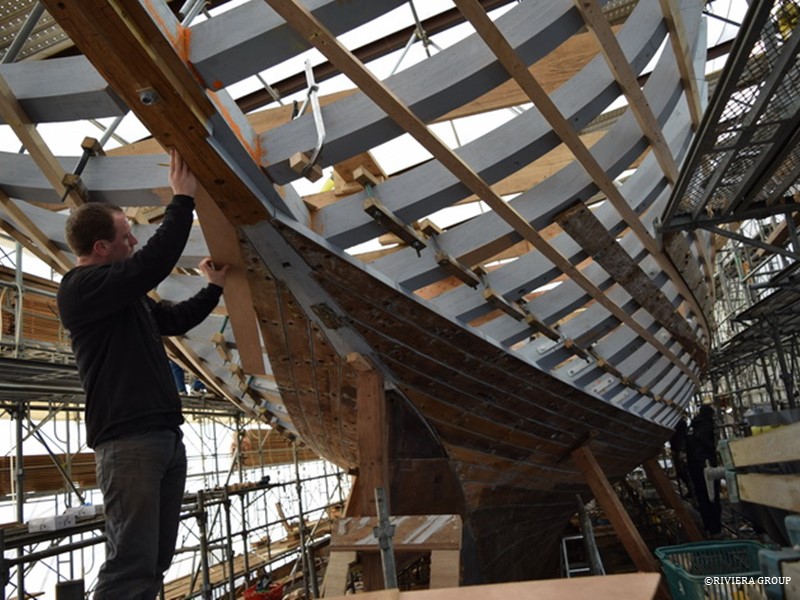
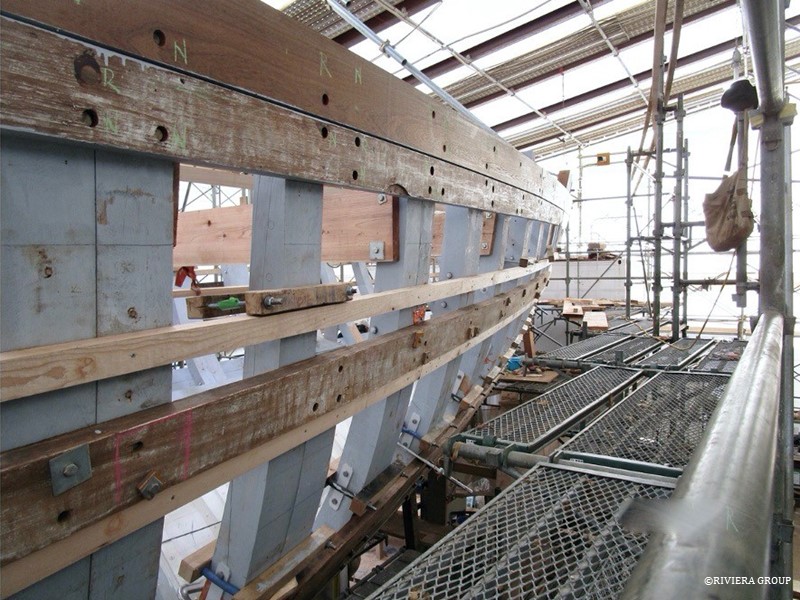
A view looking aft from the stem, showing the double bilge stringers being fitted. Only the port upper forward section remains to be done (it can be seen laying at the center of the photo). Kawashima and Mattis are preparing to lift the heavy section into place. The line of the oak clamping system reveals the height of the fitted strakes on the outside of the hull.
Richard Works at the sheer line. The sheer line is established using a stout pine baton or ribband to mark the line. Each frame top is marked, taking the deck camber into account. This means that the top of each frame pair, port and starboard, is cut at a different angle to match the angle the deck strikes the deck edge at that position.
With the frames marked for the sheer line, the extra timber at the top of the highest futtocks is cut away. Here Richard cuts the frame tops at the bow.
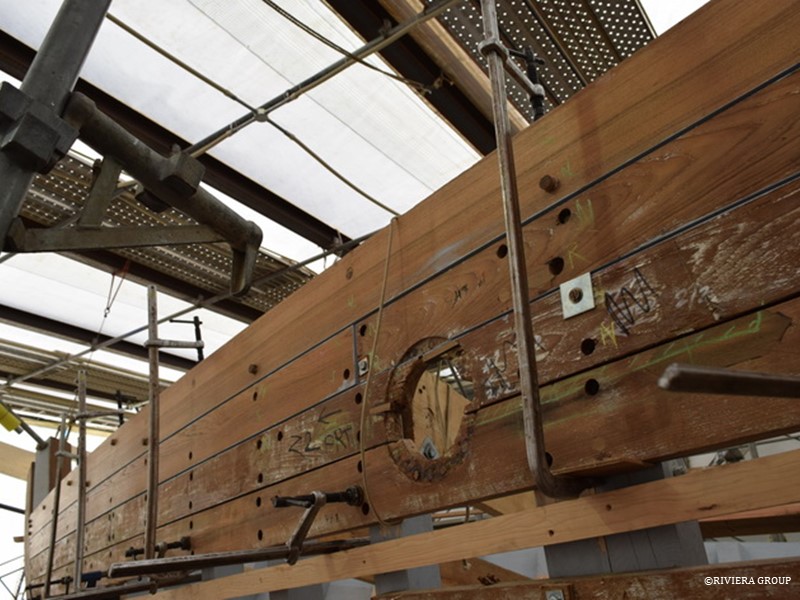
Nico is at the stern, working on the plank end of the last strake to be fitted. With the new frames in place, the heavy steel box section ribbands have been removed and timber ribbands employed to maintain the fairness of the hull.
Nico inspects one of the single frame ends in the stern where it meets the horn timber. The frames here have a mortice that fits a tenon in the horn timber and is bedded in wet paint, linseed oil and red lead putty. The corner of the frame foot, where it meets the horn timber is cut away, creating a hole for water to drain from the counter stern into the main bilge. The red putty line running horizontally here marks the scarf joint that connects the new horn timber section aft to the original forward section.
January 15-30 , 2019
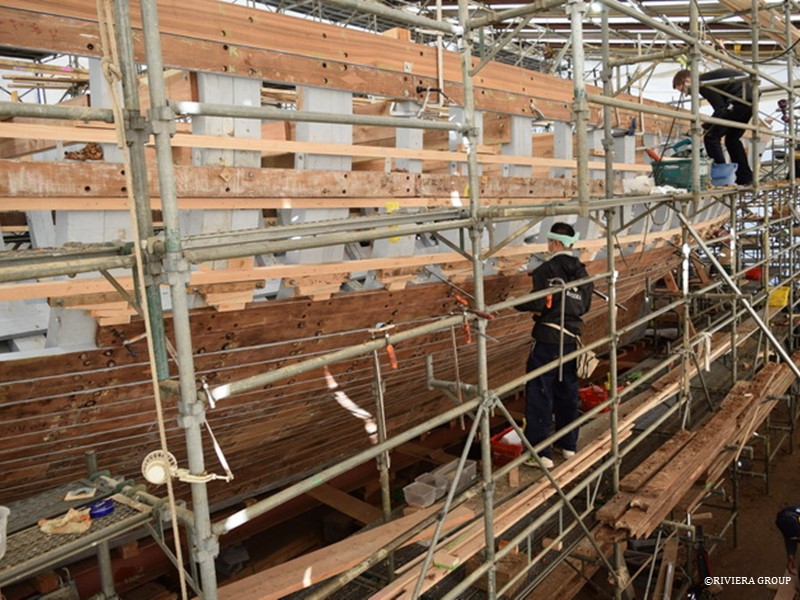
With the sheer strake fitted, the second strake is quickly taking shape. Here we see a view looking forward on the starboard side. The scaffold is set at a convenient height but with a planking team working below, the scaffold walkway heights will need to be re-arranged depending on which team is working where. Fortunately, this type of scaffold was quick and easy to adjust. The strake seen between the two ribbands is fitted with temporary fasteners to help maintain a plank line and fairness in the frames. As the gap between the upper and lower strakes closes, the plank line must be carefully observed so that the space for the last strake is not too big or too small. This is especially important when re-using original planking.
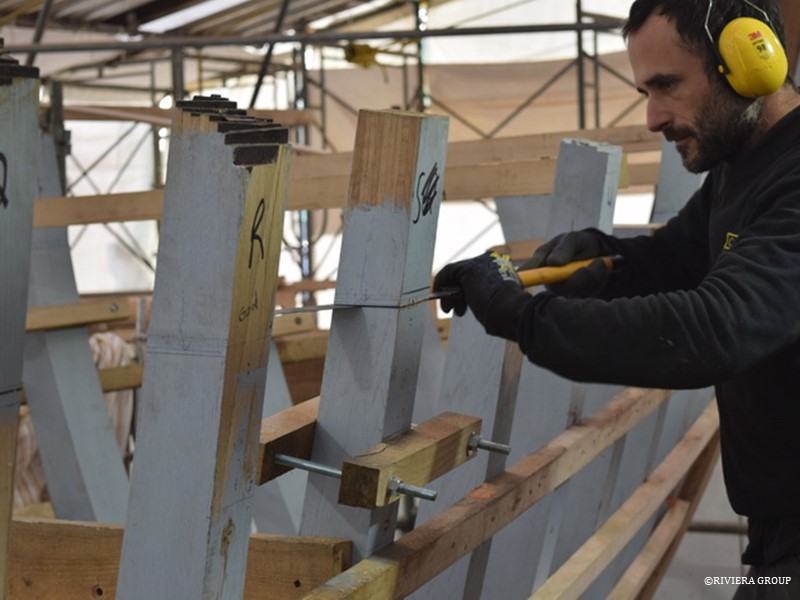
With the new sheer strake fitted, holes for fasteners are marked and drilled. Each hole is carefully noted in chalk to denote if it is for a rivet, screw or nail. Mattis works on the second strake down from the sheer. We can now fit planks from the sheer down. This, in theory, means planking should go twice as quickly with four planking teams working at one time, instead of two. The high and the low planking teams can be seen here working on the port side.
Kawashima is working on a lower strake with Mattis working on the strake above. Care must be taken with tools in the scaffold and loose tools left on walkways is forbidden.
Richard secures the hood end of the second strake at the stern chock.
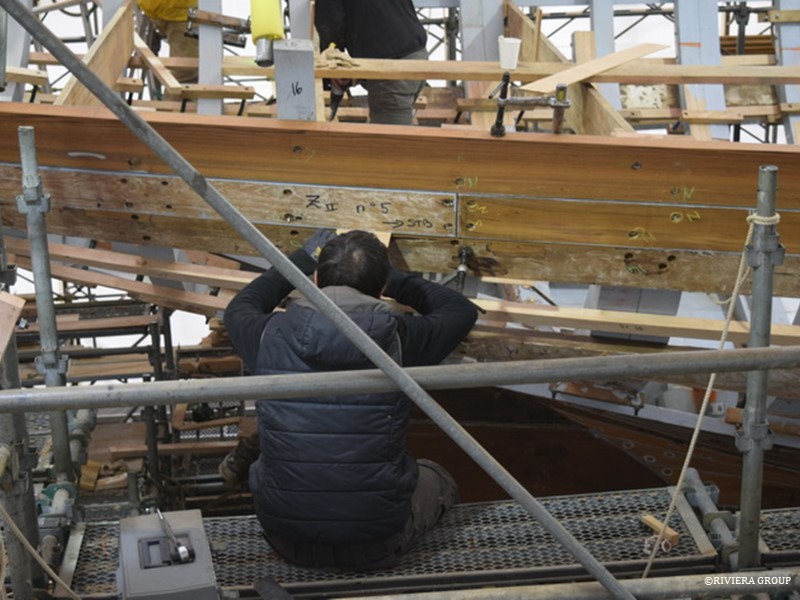
The view from the scaffold showing progress so far. With the top strakes fitted, the beam shelves and clamps will soon be ready. Deck beams are also being prepared at this time.
Richard checks the size of the caulking seam between two planks. Even if the back edges of the planks touch, which is good, an even gap on the outside of the seam is necessary so that the caulking can be driven home evenly and allow room for the caulking irons. Even though these seams will eventually be splined, an even and fair seam line will make caulking and splining easier.
Nico is closing the gap between upper and lower strakes.
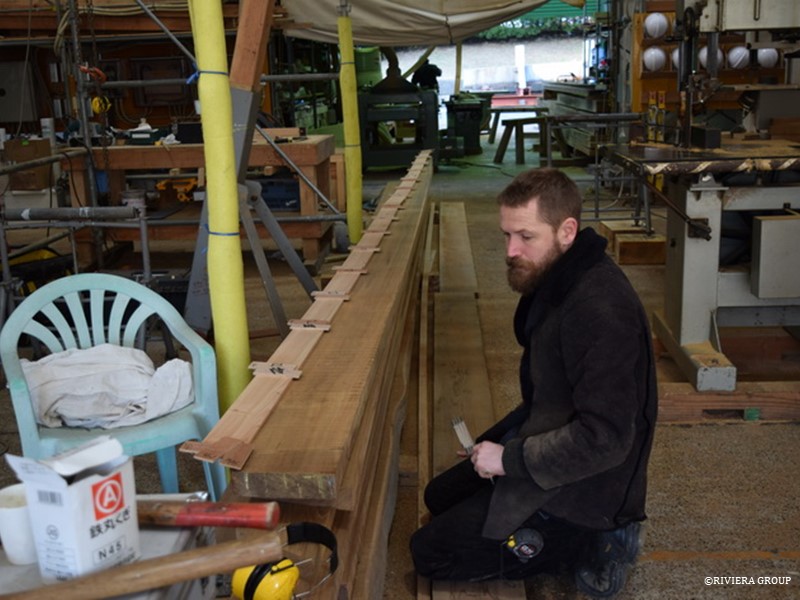
Cleaned and prepared planks lay waiting to be fitted. Each plank is assigned a letter and number indicating its position on the hull.
A new sheer plank can be seen here, where it meets the new laminated stem section with a new plank fitted under. The sheer plank and to a lesser extent, the one below it can take a lot of abuse over the years, due to bumps from wharves and jetties, bumps from other boats moored alongside, a bump from an anchor fluke or a minor collision. However apart from these two and some planks adjoining major skin fitting, nearly all of the other planks we are using are original.
The planking team is now at the portlights. Getting the original planks to fit exactly as they were, creating a clean hole for portlights in the correct position, took some planning. The end result was good. There was some damage from old portlight fasteners but nothing that warranted a new plank. We will make some local repairs to secure the original refurbished bronze portlights.
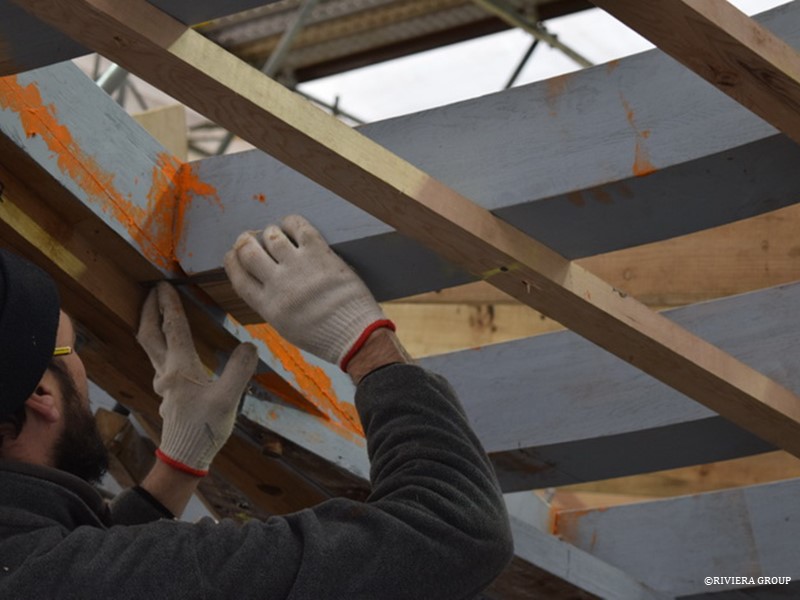
Before the beamshelf is fitted, teak and oak blocking is installed between the frames against the planking. The blocking is placed where there will be knees, deck, or rigging fittings that have fasteners that pass through the deck or the planking. The blocking eliminates voids where there will be rivets or bolts. Fitting the blocks now will be far easier than after the beam shelf is in place. We used off cuts of teak wherever possible but some oak is also used, if its dry enough. If the oak is not dry it will shrink and distort.
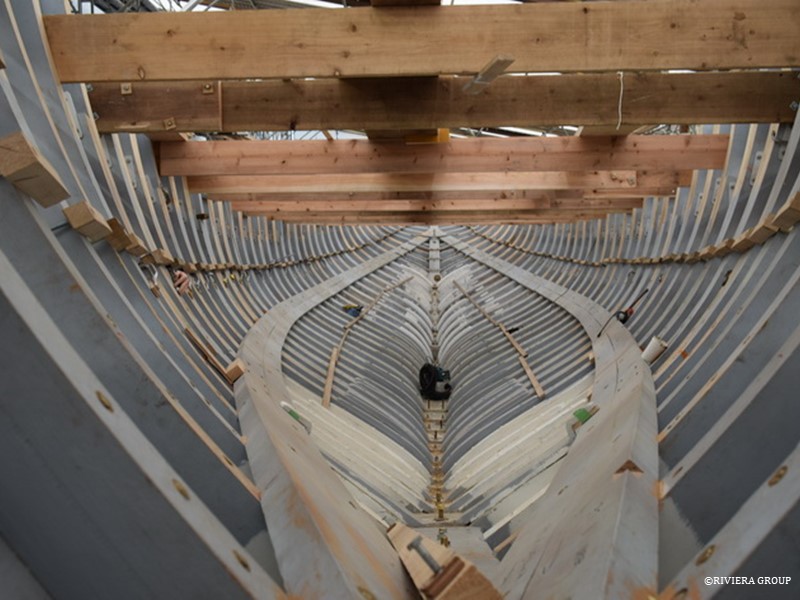
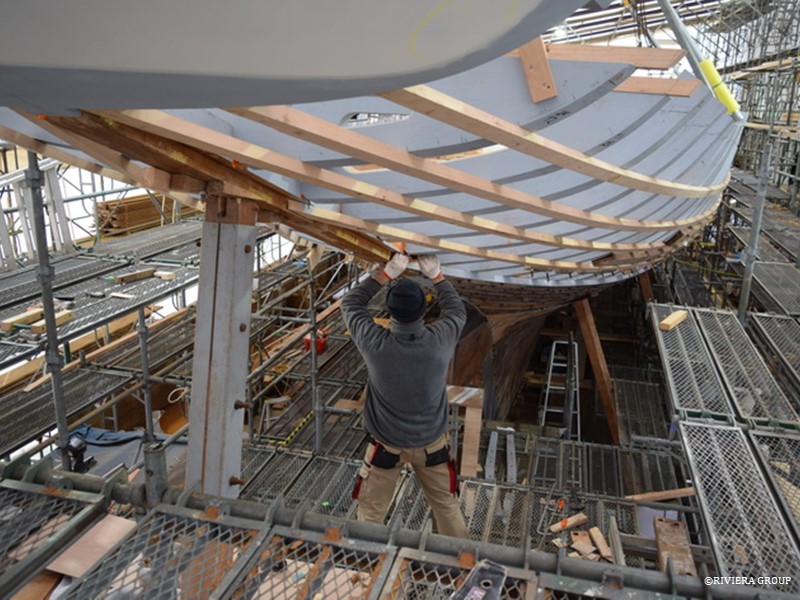
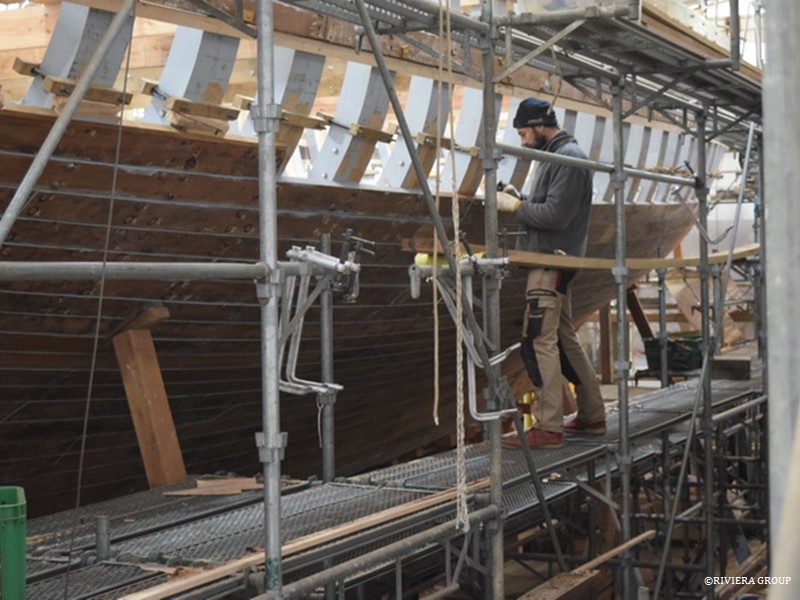
A nice shot, looking aft, of a clean and framed hull with stringers in place, waiting for a better coat of paint. The oak clamps reveal that the last strakes are being fitted on the exterior. The pine thwarts at deck level maintain the deck profile. Without these, the hull would be surprisingly flexible. By this stage, the hogging has been eliminated and the hull shape and sheer-line restored.
Follow Us

Restoration by RIVIERA GROUP
Restoration photos by Yoichi Yabe & RIVIERA GROUP
Text and photographs copyright © 2019
RIVIERA CO., LTD. All rights reserved.
Email : pr@riviera.co.jp