November 1-4 , 2018
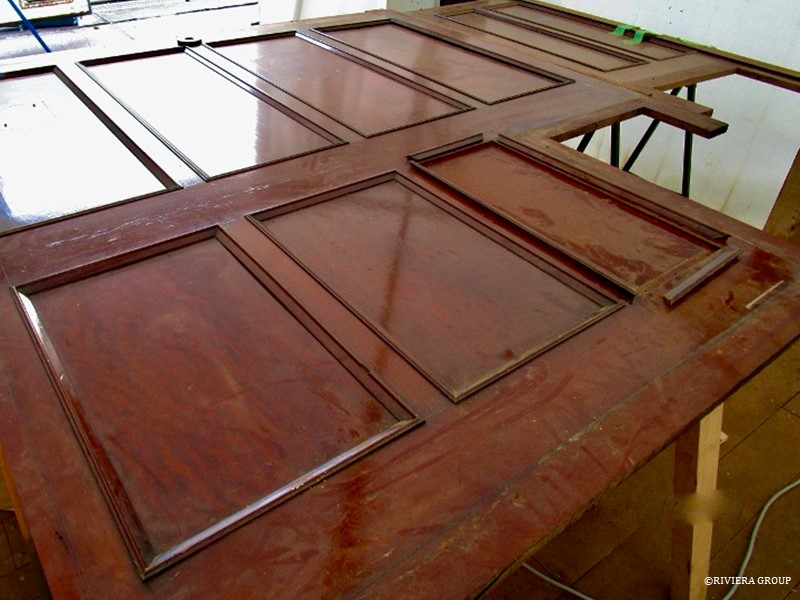
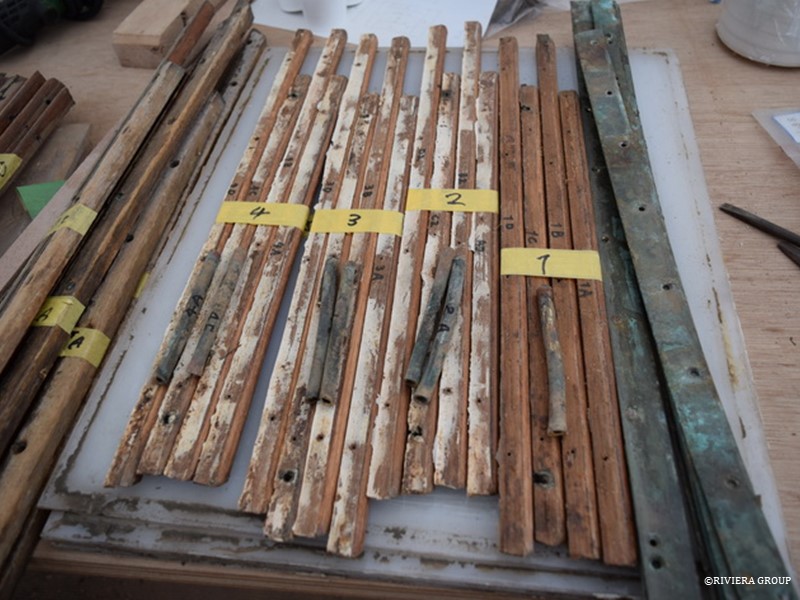
In order to replicate the finish of the interior mahogany-panelled bulkheads a small selection of panels were removed from various areas of the frames in various states of condition and sent to a lab in Letterfrack, a small village in Ireland. There, the panels were subjected to a detailed chemical analysis to determine exactly what finishes were originally used. The results showed that no stains were used in the finishing and the primary ingredient was pure shellac. An oil-based varnish had later been used over the shellac but was not original.
Some of the panelling and frames had suffered from fresh water damage from deck leaks, but happily the majority was salvageable. Large areas of original shellac were in remarkable good condition, but to get the job done practically and in a reasonable amount of time, we elected to strip the finish back to timber and start afresh. This would allow for localized repairs that would be easier to disguise under fine layers of fresh garnet shellac.
November 5-19 , 2018
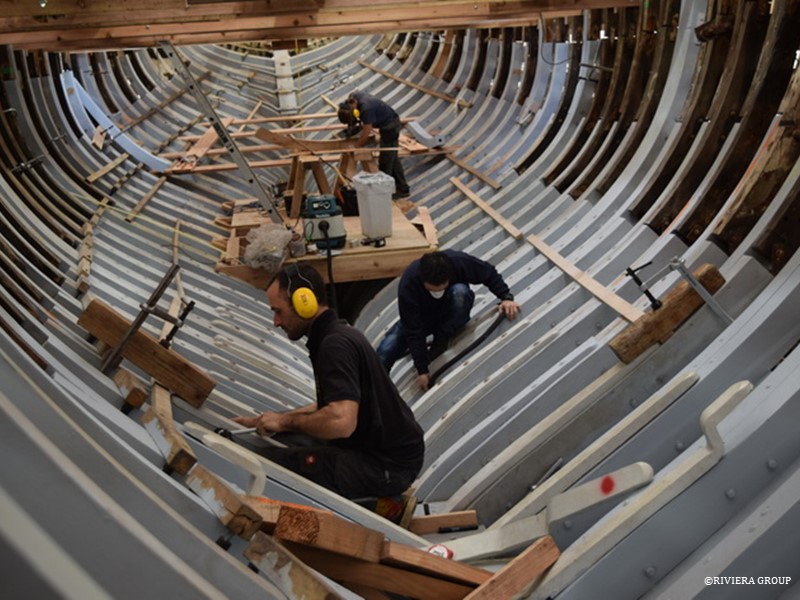
Life inside the hull. New timber highlights the old as work in the lower bilge picks up momentum.

Short batons are nailed to the inside of frames to create footholds as work climbs out of the bilges.
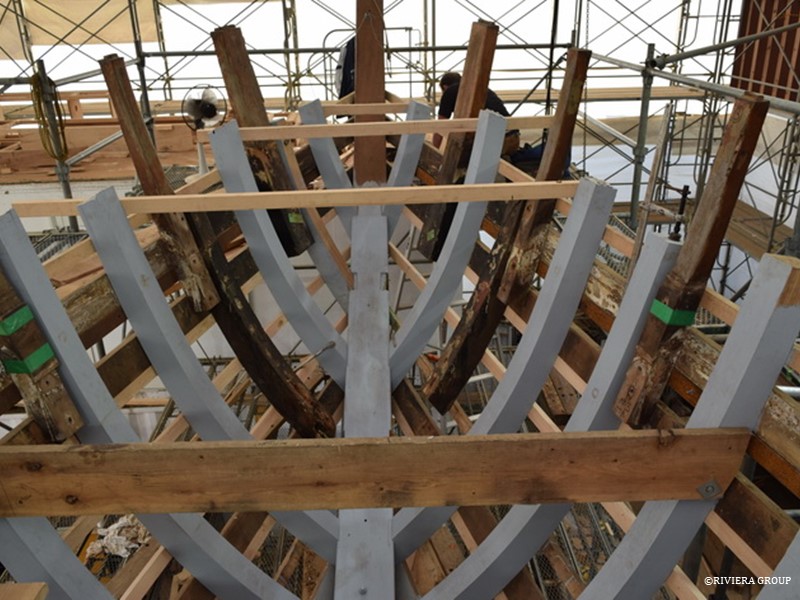
At the stem, framing is almost complete. Only one pair of single frames remain. the old wood stanchions that attach to the planking below deck and protrude above deck are temporarily refitted to show the height, spacing and position. With so much of the boat dismantled, the new stanchions cannot be absolute facsimiles of the old. Just moving them fore or aft an inch changes the shape but by comparing with the old we can see where adjustments are needed.
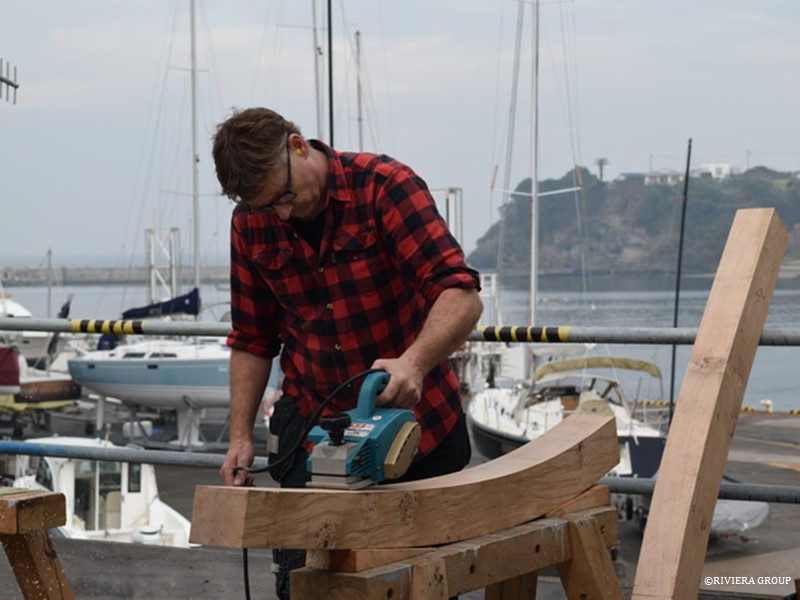
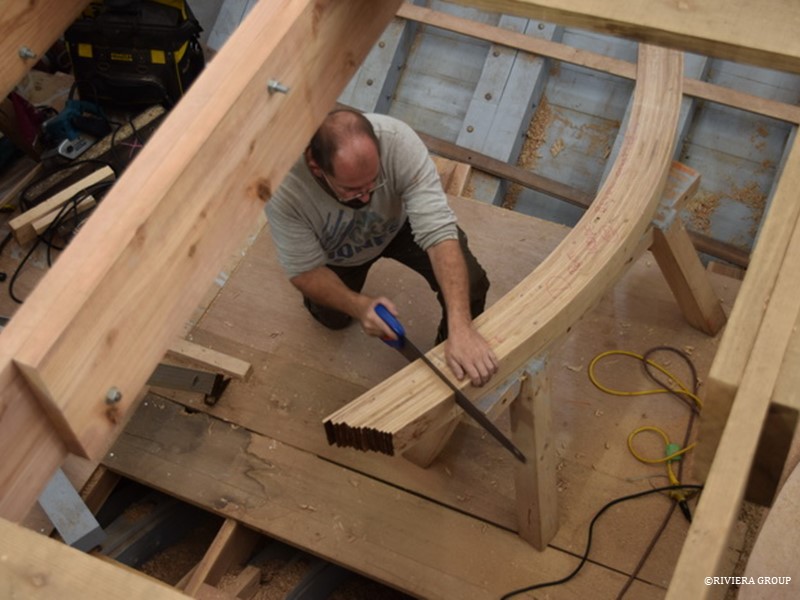
Jesper is working on a futtock on the exterior platform we built above the engineering workshop. The view is better and the air is cleaner than the noisy workshop just feet away. Our original plan was to cover this platform to create extra shop space but the tent company was concerned it could possibly be lost in typhoon winds, so we were left with our open air ‘viewing platform’. The space was useful but only on good weather days.
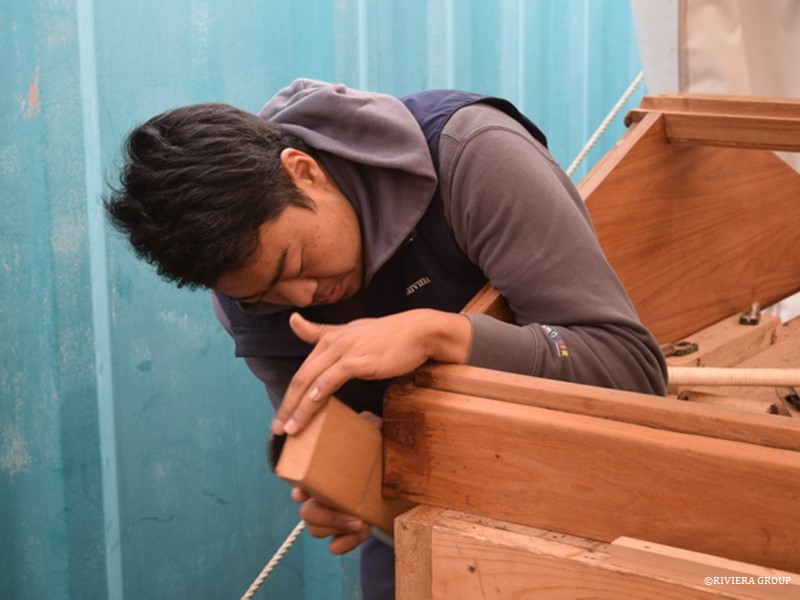
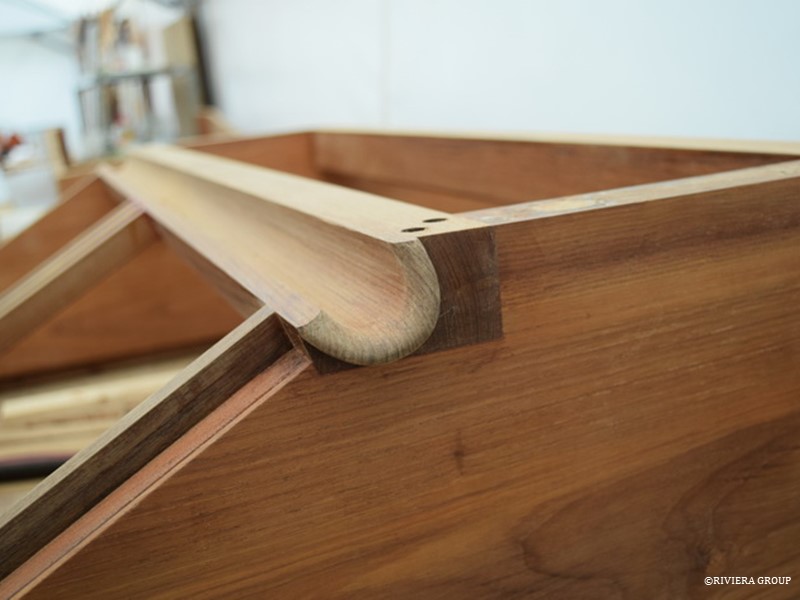
Hashimoto takes care leveling the dovetails on the passageway skylight. Not long ago the shabby deck furniture looked at the end of its useful life but now they are starting to look like the jewels they are. They have kept that ‘lived in’ look, or ‘patina’ that gives antique furniture it’s history and sets it apart from new furniture.
We feel that a “restored” yacht is just that. Effort must be made to salvage what’s possible so that the finished product can be recognized as a vintage yacht, not just a rebuild in the footprint of the old structure. This is not always possible or practical but each piece is carefully assessed for its condition and potential value to the overall structure if kept and restored. Deciding what to keep and what to discard was a difficult lesson for the young Japanese carpenters. It’s not something that is easy to explain and even experienced restorers can have moments of indecision when evaluating antique yacht furniture and its associated fittings. Scars and visible repairs are inevitable but as long as they don’t affect the function and strength of a piece then they can be accepted. As long as repairs are done well, an honest repair will not only blend in and disappear, it will become part of the story.
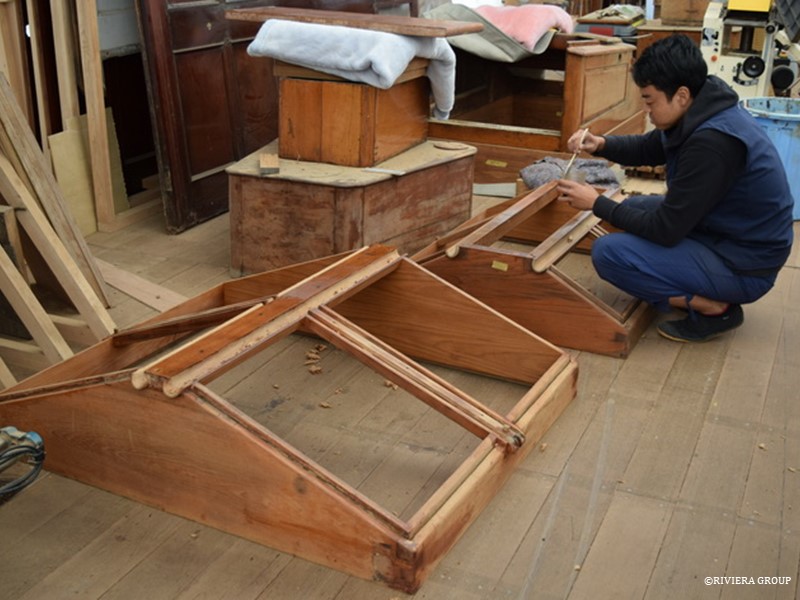
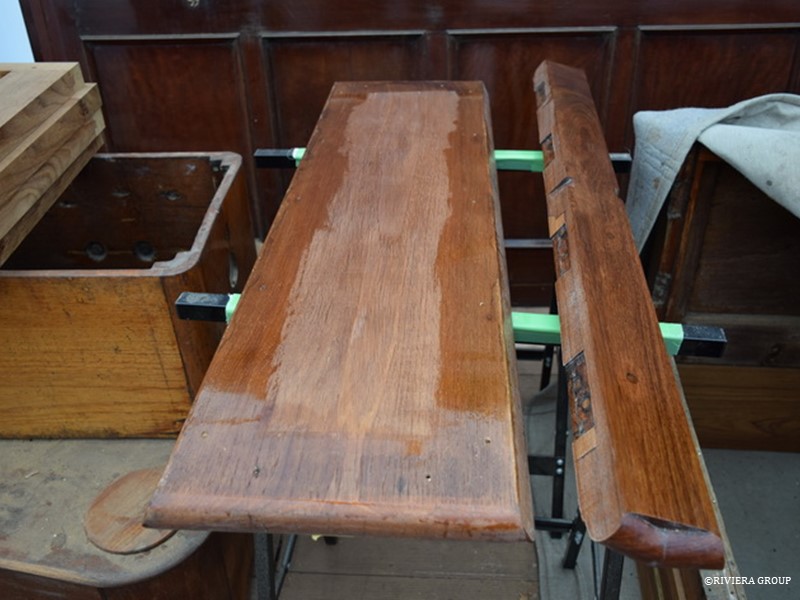
Unfortunately, the gutters on the galley skylight had suffered and had to be replaced (above). They had been scorched and charred from the heat of the iron stove pipe that once passed through the top of the skylight. As you can see in the photo below, the top (which Hashimoto is working on) was made wider than the others in order to accommodate the pipe. Though the iron stove in the galley and its chimney had long been removed and the top replaced, the charred gutters remained. Although the history was interesting the charred wood was no longer serviceable.
The underside of the top of the galley skylight and the crown of the passageway skylight are sealed with varnish before they are fitted.
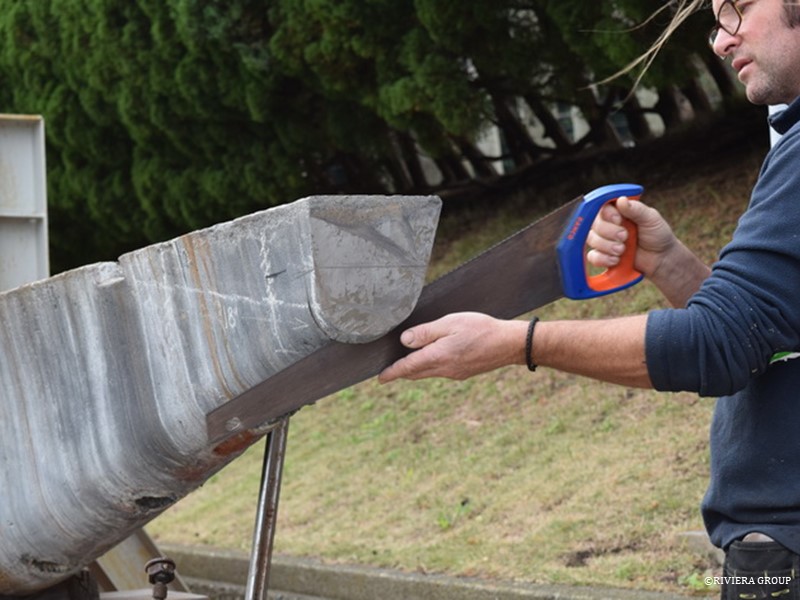
Outside in the yard, Graham turns his attention the nose of the ballast keel. The end of the keel had broken where a bolt had passed through. We toyed with the idea of replacing with timber and discarding the broken piece but in the end opted to replace with lead. Graham cuts off the offending piece and cuts a small step in the keel.
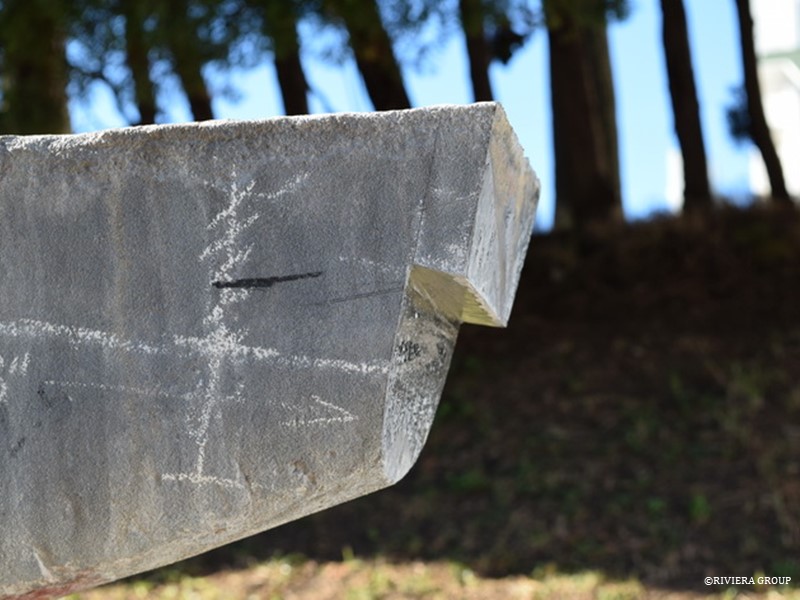
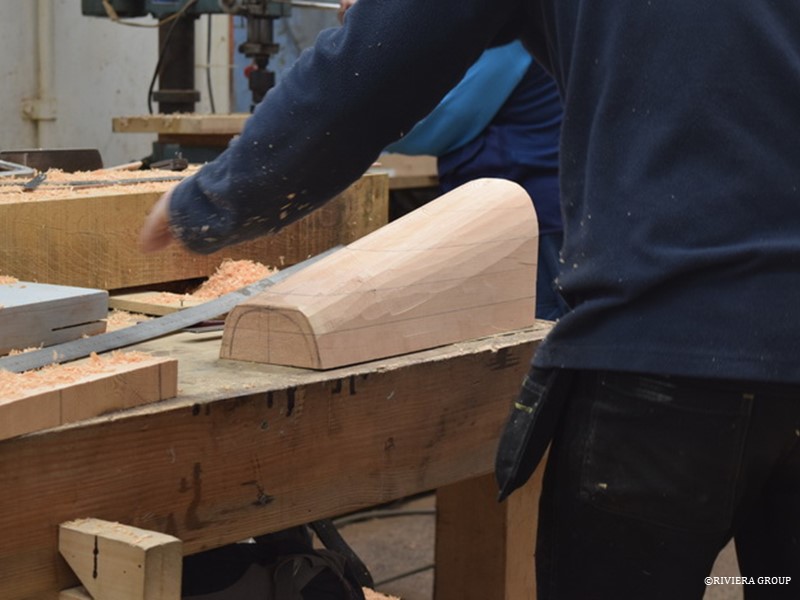
Then a wooden form is made that will be cast in lead. The new lead piece will have a mating step cast in and so when the bolt is refitted, tightening the bolt will pull against the bulk of the ballast and lock the end of the ballast keel and the new piece together.
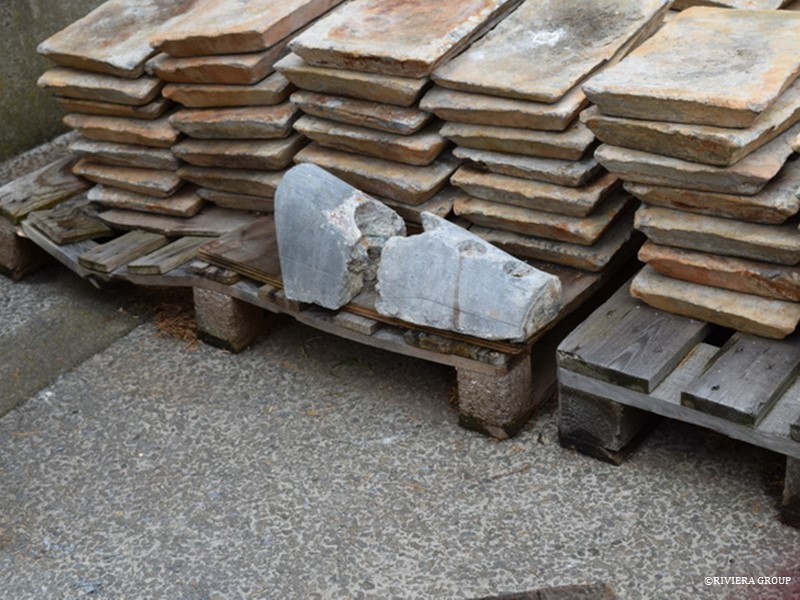
Above is the broken piece. Below is the wooden form that will be cast in lead to replace it.
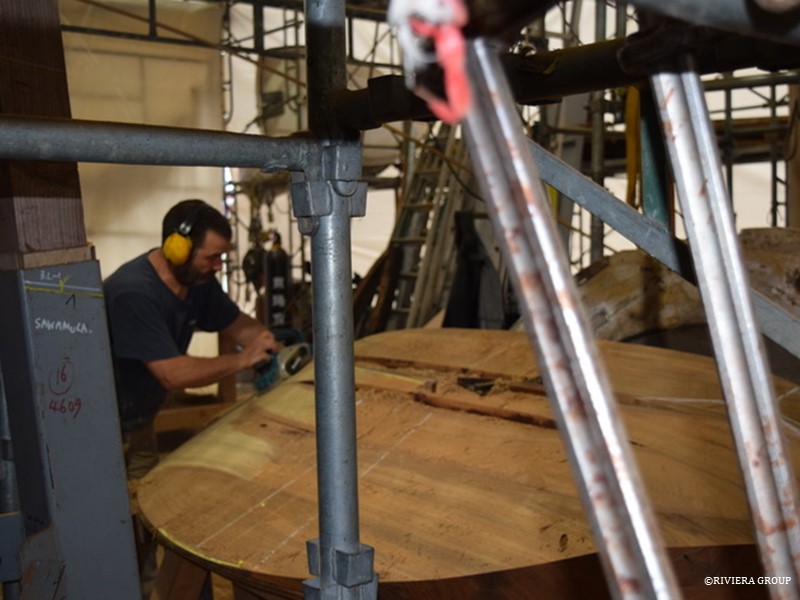
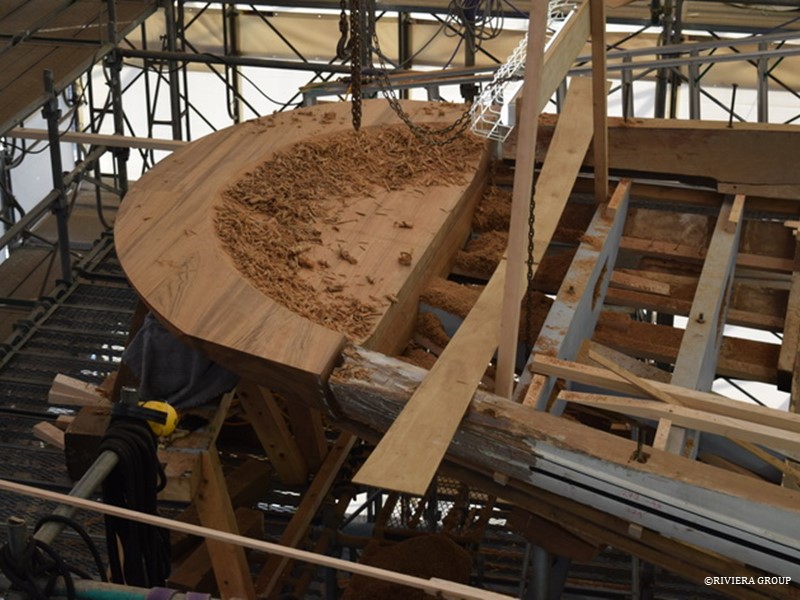
Paul is removing the last of the excess material from the outer face of the chock. Before the first fit, a template is pinned to the face to check its shape in relation to the hull. This is far easier than hauling the chock up to check the shape against the ship.
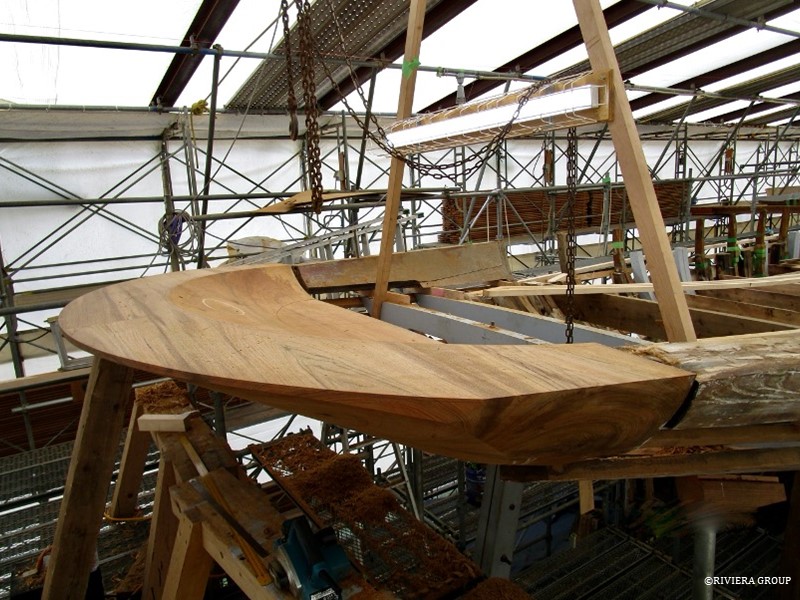
The first dry fit. The triangulated timber frame attaches to one of the transom frames and the apex is securely fixed to one of the H beams that make up the roof of the tent. This helps keep the stern locked into position. Without the planking for support, the heavy chock is only held by the tenon on the end of the horn timber which could be easily twisted under the weight of the chock.

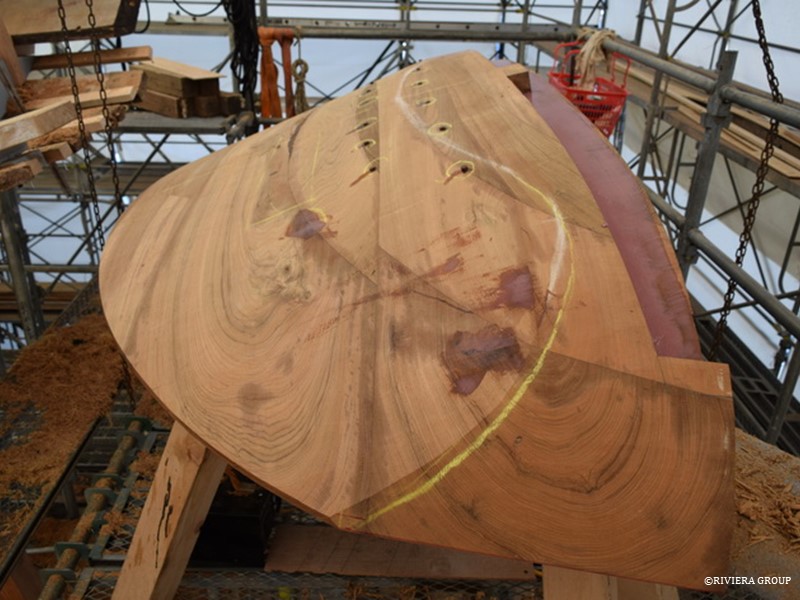
Above and below: The chock still needs a final fitting and more material removed but after it’s fitted to the tenon in the horn timber and the profile checked, it’s a relief to know that the shape is on track.

Cutting futtocks becomes harder and harder as they get higher in the bilge. Temporary and precarious work platforms appear wherever a flat surface is needed.
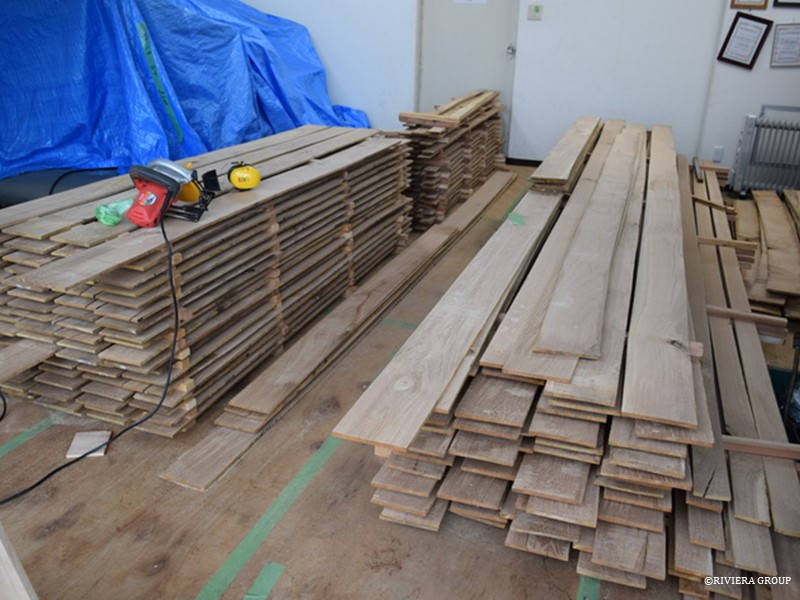
After the laminates leave the container and are considered dry, they are machined to a final thickness. They are then moved to the office next to the laminating room where they can be stacked in a temperature-controlled environment. Here they are graded from good to bad depending on how flat they are and if they have defects. A defect or a twist does not mean they are discarded, it allows the laminating team to select laminates and spread any defects evenly. A small knot or even a small shake is not a problem as long as there are no other defects in adjacent laminates. Discarding laminates for a small defect in one part would mean scrapping most of the material. This is not an option. If we used only the best at the beginning the last beams would be riddled with defects. Some laminates are relegated to the ‘use only if absolutely no other options pile’ but we have enough stock of good laminates not to be concerned.
November 19-25 , 2018
Some of the last laminated single frames are trimmed and fitted by Lewis. The single frames can be the trickiest as they are long, have long rolling bevels and need to be cut to the correct length with no second chances. Any change in the position of the frame against the ribbands means that the frame simply will not fit.
Above, the moldings that secure the glass into the hatch windows are removed and labelled. It is likely they will be replaced, but the old ones are kept for reference, along with the brass strips that are part of the weather proofing.
The bilge area where the engine room will be. This is painted first so that the engine room can be set out and engine beds can be considered.

New teak stock arrives in preparation for deck work.
November 26 – December 2 , 2018
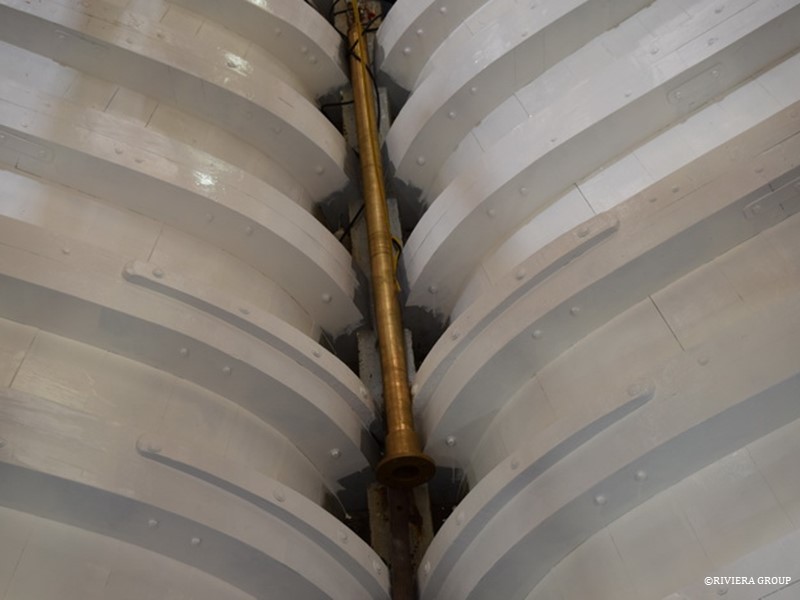
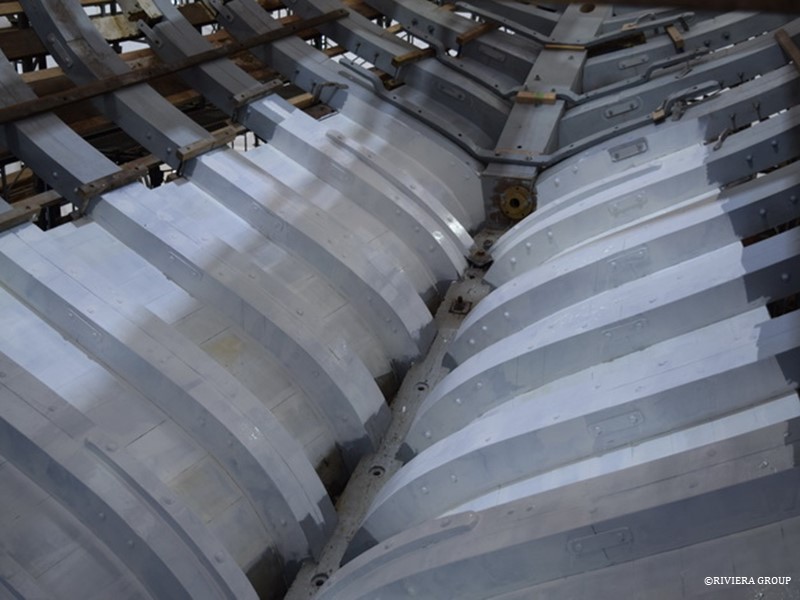
The prop-shaft lies in the bilge as plans are finalized for alignment. With the propeller offset to one side of the rudder, the shaft comes into the boat at a shallow angle. This means the engine beds will need to be slightly skewed or big enough to allow for the engine to sit slightly off centre to align the shaft. Below shows the offset from centre in the propeller shaft.
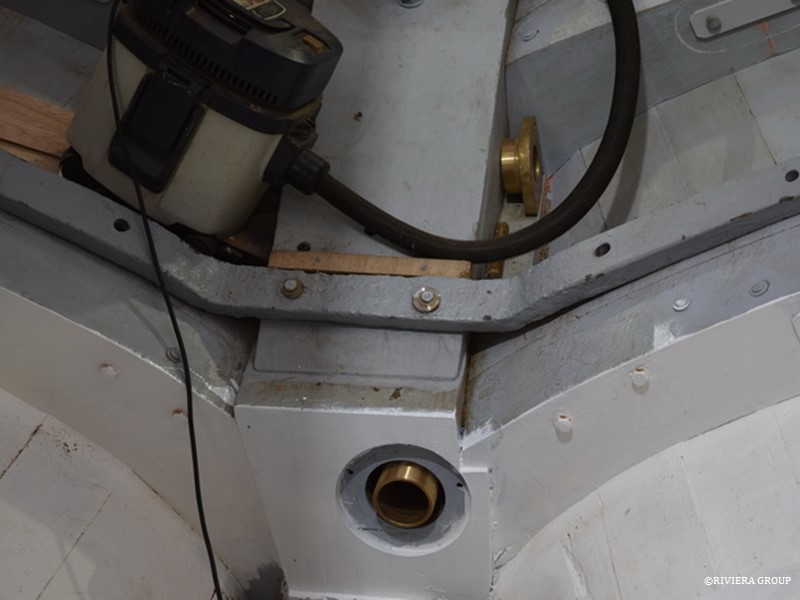
The stern tube is ready to have the stern gland and drive train fitted. With the bilge paint being applied under the engine area, the stern tube and propeller shaft are made ready. The next step here is engine beds and shaft alignment.
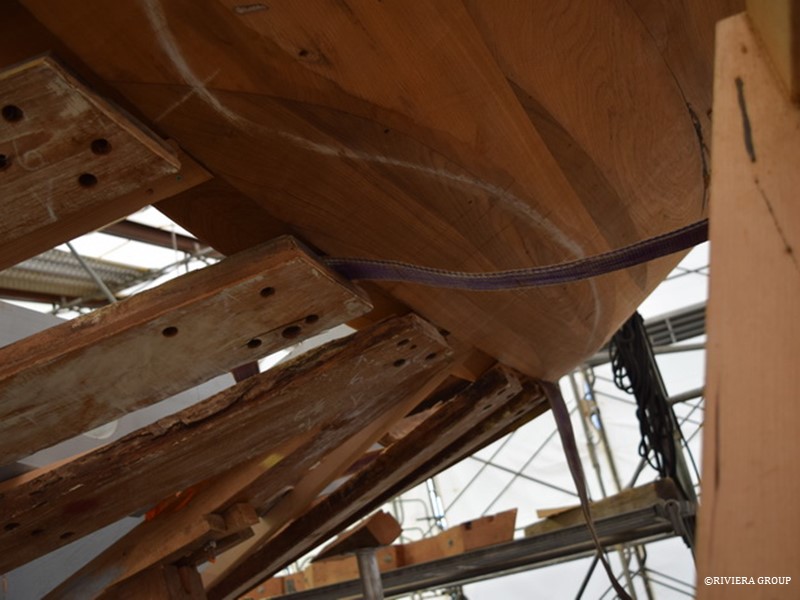
Meanwhile, Paul is doing some fine tuning on the chock (above) now that the first fit has confirmed the shape. The tent is minimalist in every way, and too small for a crane, so
any heavy object lift such as this one entailed long hours of strengthening and preparation of the roof beams directly overhead before attaching the chain blocks.
Once lifted to fitting height, the final shaping and pre-attachment smoothing of the chock by Paul was all done high on the scaffold. Even the overturning (above) was done here.
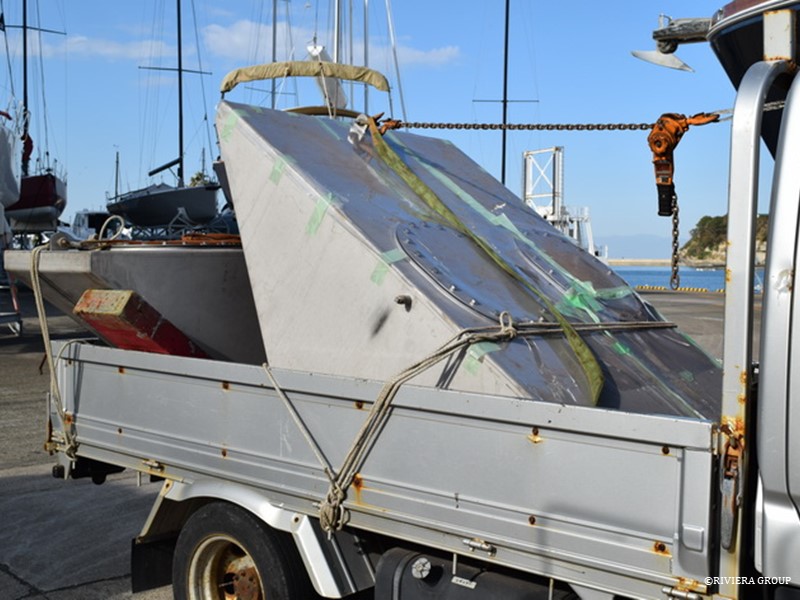
New tanks in stainless steel fabricated by a local manufacturer arrive.
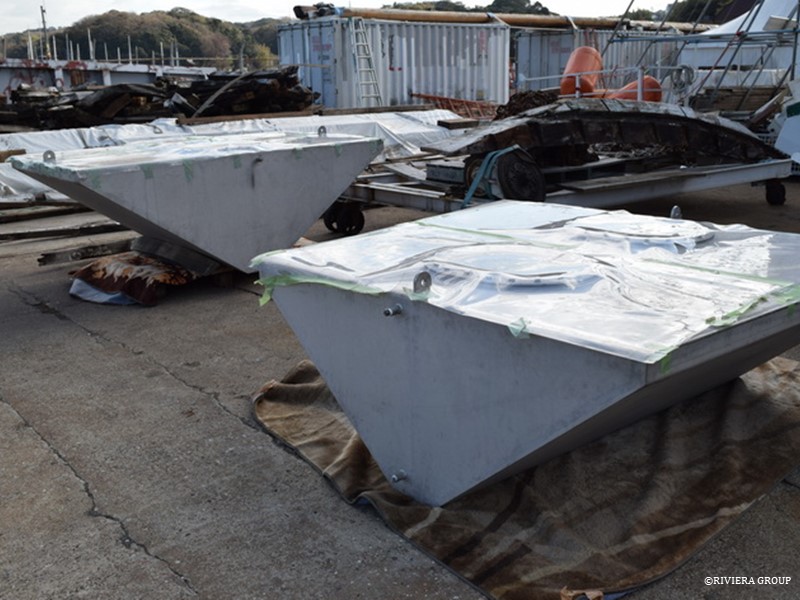
They will be pressure tested and kept clean while awaiting installation of tank beds in the bilge.
Follow Us

Restoration by RIVIERA GROUP
Restoration photos by Yoichi Yabe & RIVIERA GROUP
Text and photographs copyright © 2019
RIVIERA CO., LTD. All rights reserved.
Email : pr@riviera.co.jp