October 1-15 , 2018
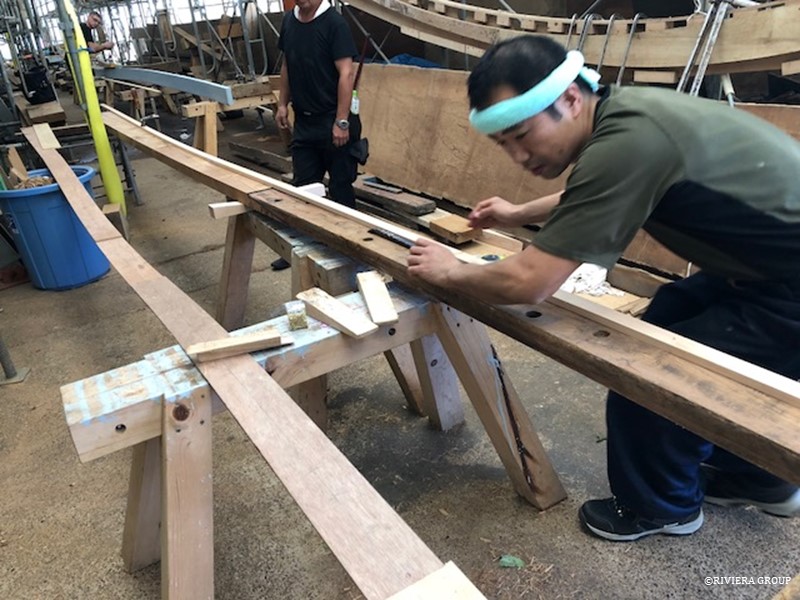
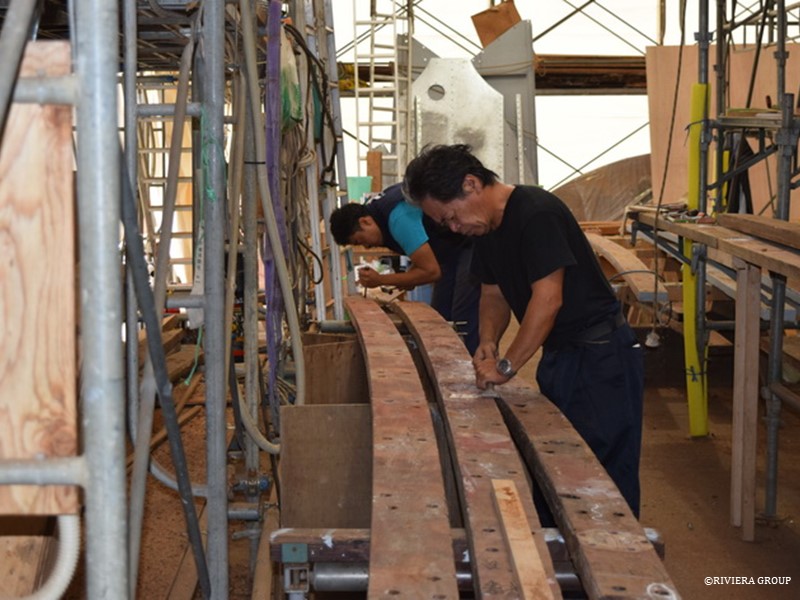
Kawashima is working on a plank that has had a new end scarphed and glued on. The scarphs are placed over a frame so that mechanical fasteners can be used through the joint into the frame. This ensures that should the glue ever fail, there would be a nail or a rivet to prevent the end of the plank from springing. We have confidence in the glue, but it’s always good to have mechanical fastenings to back it up. Kawashima uses a baton to check that the new plank section is fair with the old.
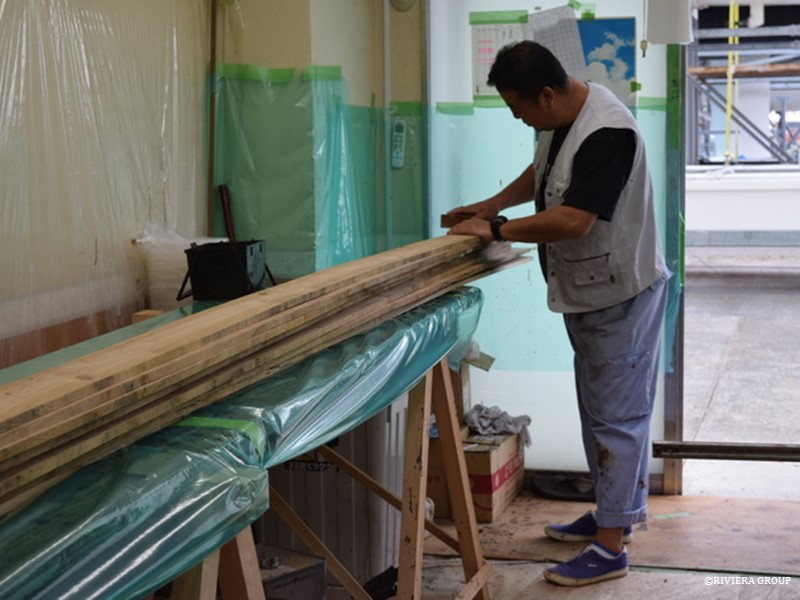
Deck beam laminations are now ready for the glue table. After carefully checking the moisture levels, the face of each laminate is scratched using a wooden plane with an old hack saw blade instead of a normal blade. The laminate face is scratched diagonally on both sides, creating a larger glue surface and allowing the glue to penetrate deeper into the wood fiber. Care is taken when setting the blade in the plane, because too deep of a scratch can break the fibers.
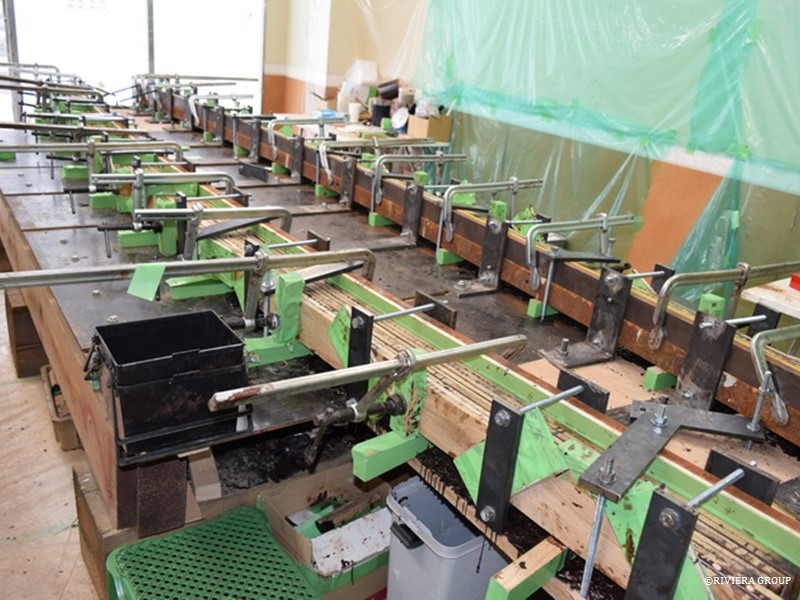
The first deck beams are in production
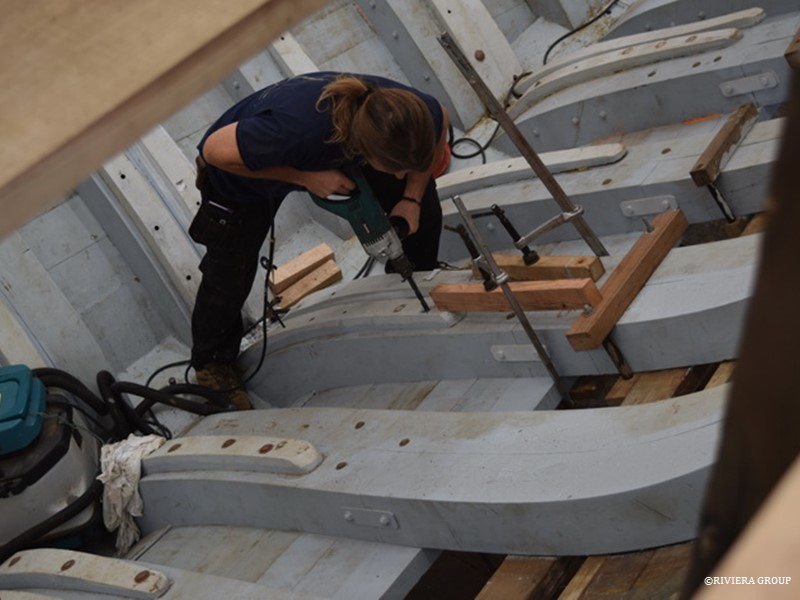
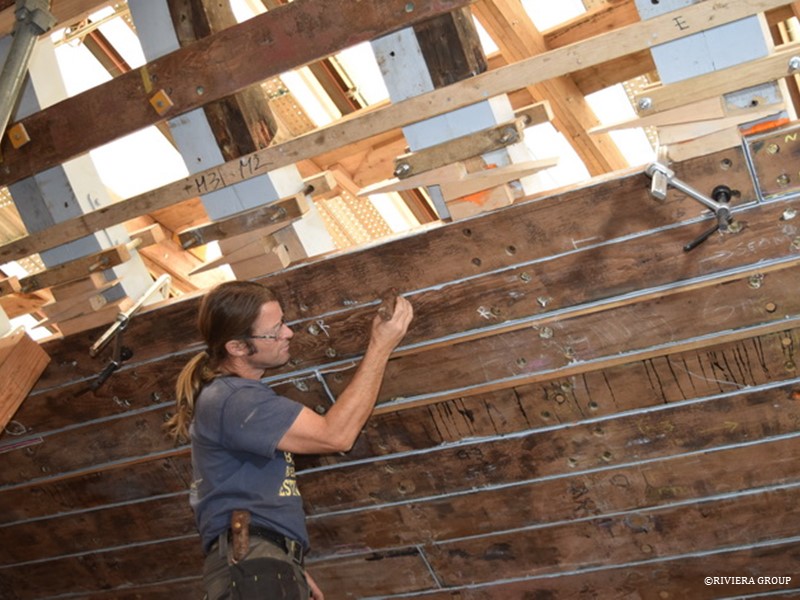
Graham Bailey, a highly skilled and talented Irish shipwright and experienced sailor has joined our team. Here he drills the holes through the frames that will take the copper rivets that hold the floors. The rivets will pass through the floor, the frame, and the plank—so great care is taken to miss any existing fasteners.
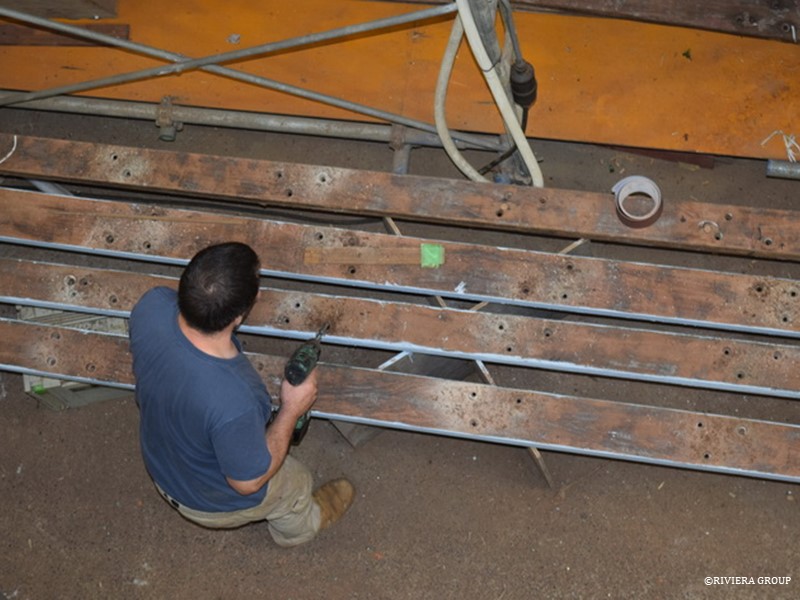
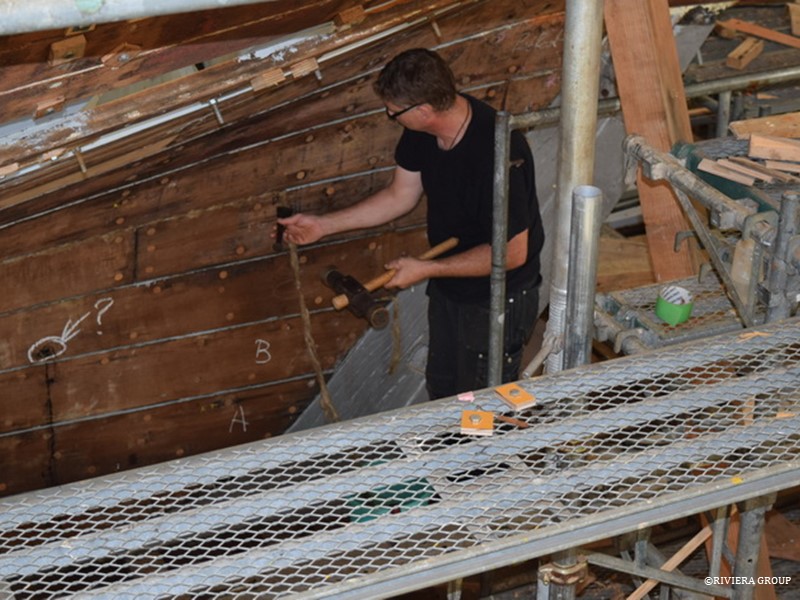
Before the planks are refastened, each existing hole needs attention. The hole must be clean and the counterbore that will take the bung must be clean, round and of a consistent size. If necessary, holes are bunged and re-drilled. Some holes may be filled and discarded completely. Each hole must be identified as to its purpose, whether it’s a dump or rivet. The copper rivets holding the hardware are larger than the naval brass rivets used to hold the planks so they need to be marked. Holes that have been bunged and repaired with graving pieces are re-drilled.
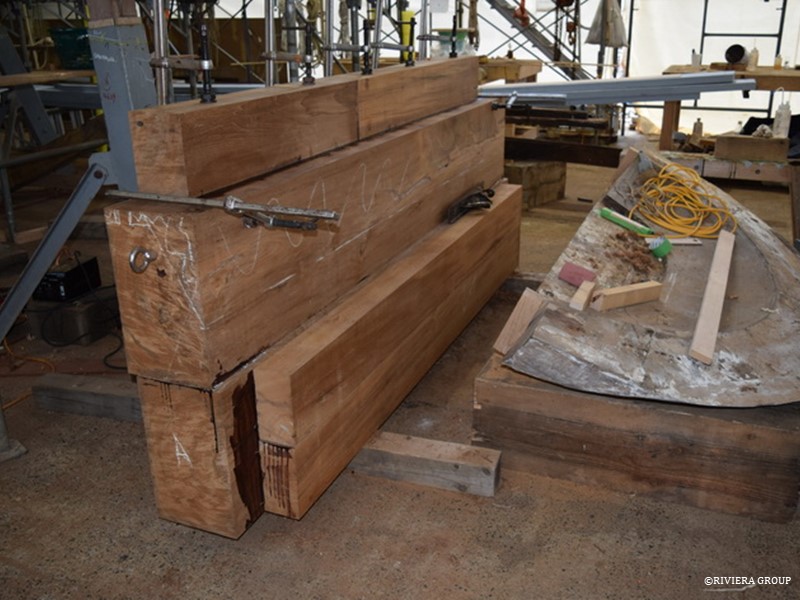
At the stern, the new chock is taking shape (above left) to replace the old one (right). Its weight is too much for one person, so a lifting ring is fitted at each end so that the pieces can be swung on a chain. Trying to keep waste to a minimum is a challenge. Although there are several pieces in this log, only one joint will be visible at the end in the same place as the original. The original stern chock (or archboard) was two pieces securely bolted together. Although we have used glue to bond the teak, bolts will be used again to secure the two main logs, as relying completely on glue for such an exposed and structural piece would be worrying.
Although the original chock looks to be in reasonable condition, it had some problems that were not practical to repair. Many cracks and splits emerged over the years and many local repairs were made. The area around the mortice that attaches the chock to the horn timber tenon had water ingress. So many repairs would have been necessary that it was decided to start fresh.
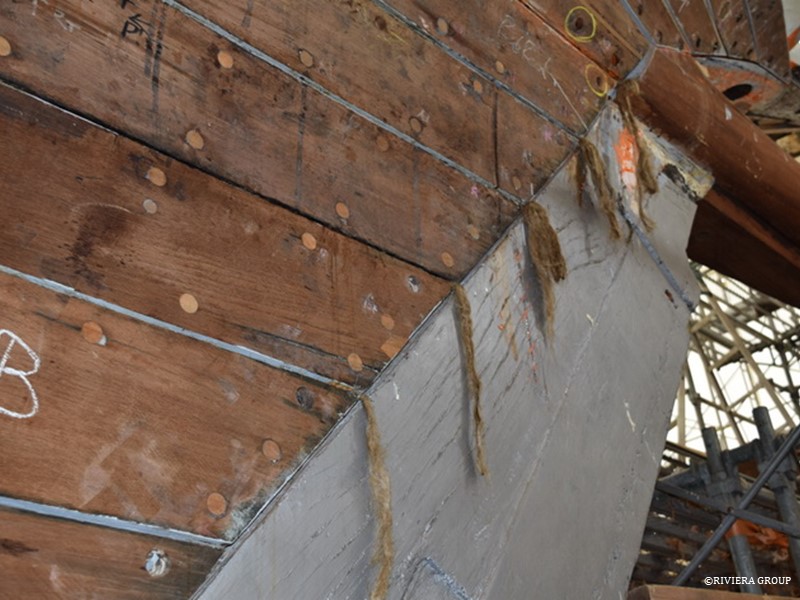
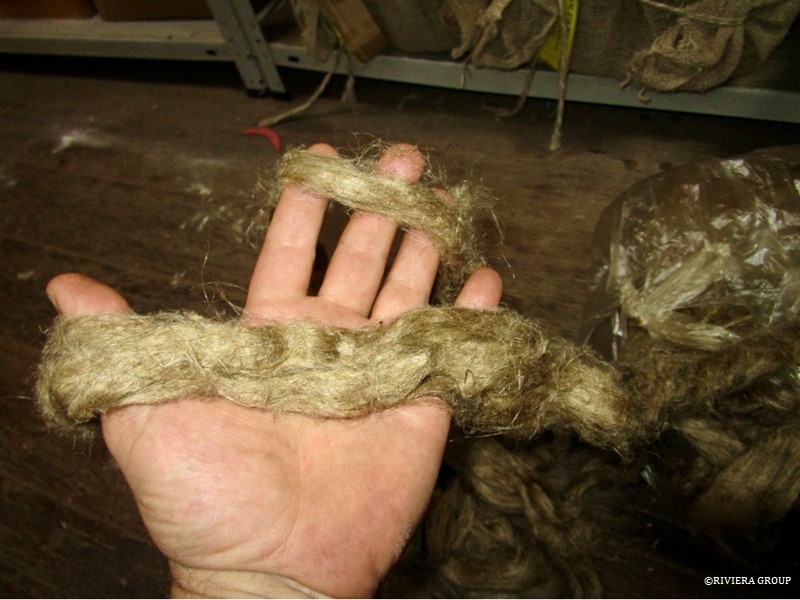
Jesper is doing some caulking at the stern (above and below). Although the planking is not finished the caulking process is started on some of the broad strakes at the stern and butt joints.
October 15-22 , 2018
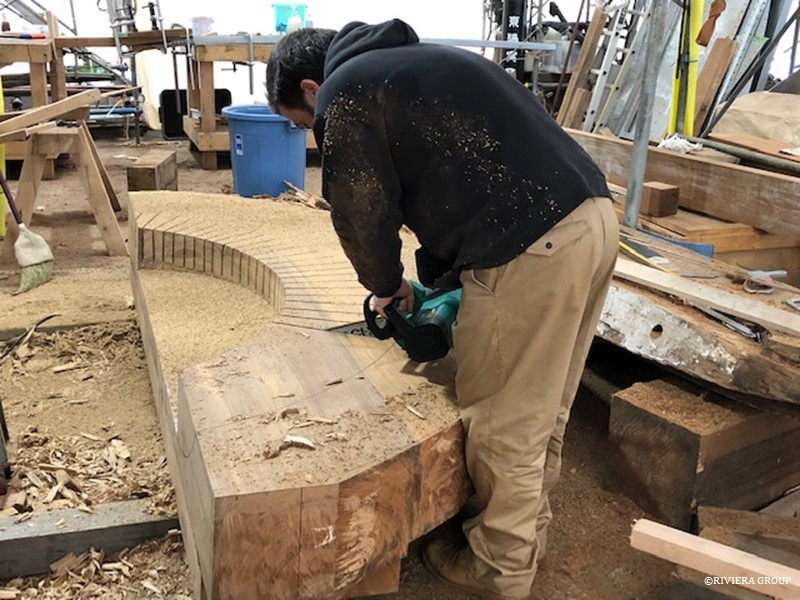
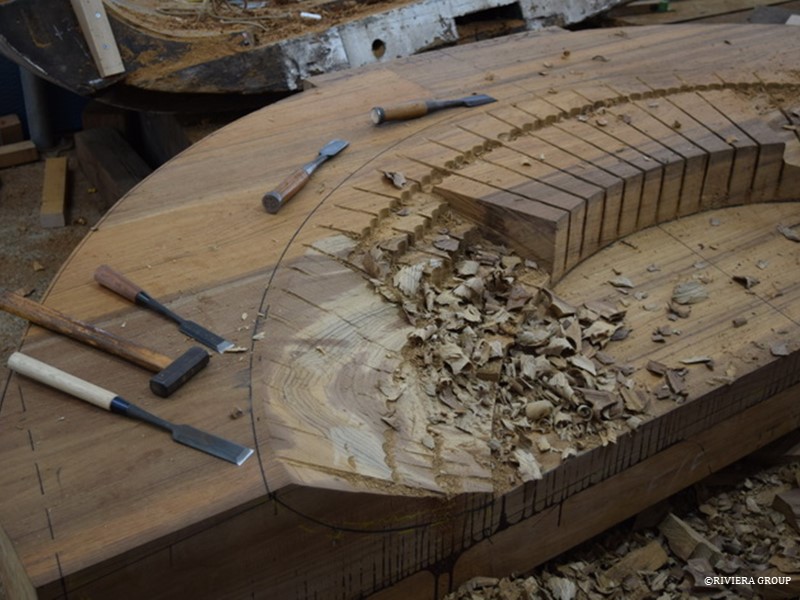
Paul has turned the stern chock over to cut away material and start the shaping process (above). A chain saw is used to kerf waste material so it can be removed quickly.

With Graham joining the planking team, the speed goes up a notch.
Makoto and masa have a system in place for plank repairs. Each plank is numbered and stacked in order. As each strake is fitted, the next set of planks are laid out and the necessary treatments are carried out. Each plank has its own unique issues and it’s a skill to identify each problem and come up with an effective and fast solution.
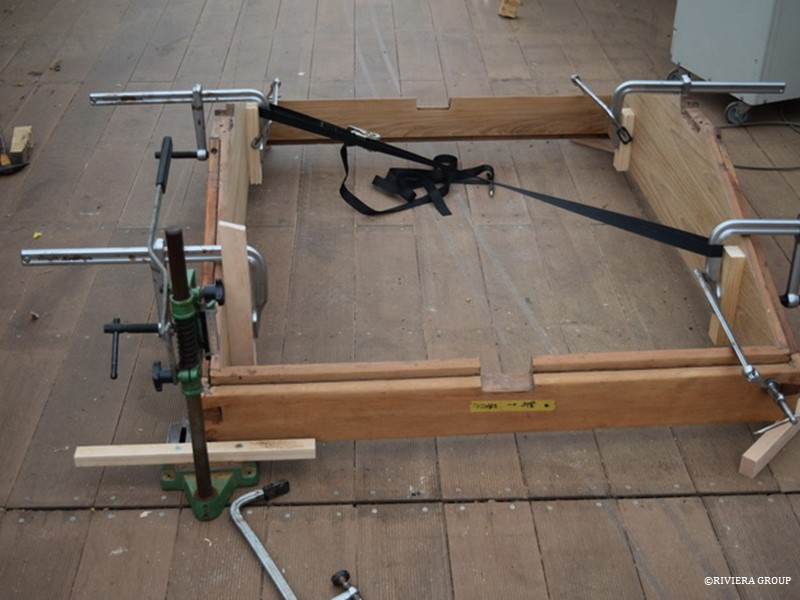
Work on the deck furniture is moving forward as original deck hatches and skylights start to be re-assembled. The passageway skylight (above) is held with clamps to keep it square. Wet varnish, red lead and linseed oil putty is used in the joints. A 3/8-inch Naval brass rod will be driven down through the dovetail joints to keep them from separating.
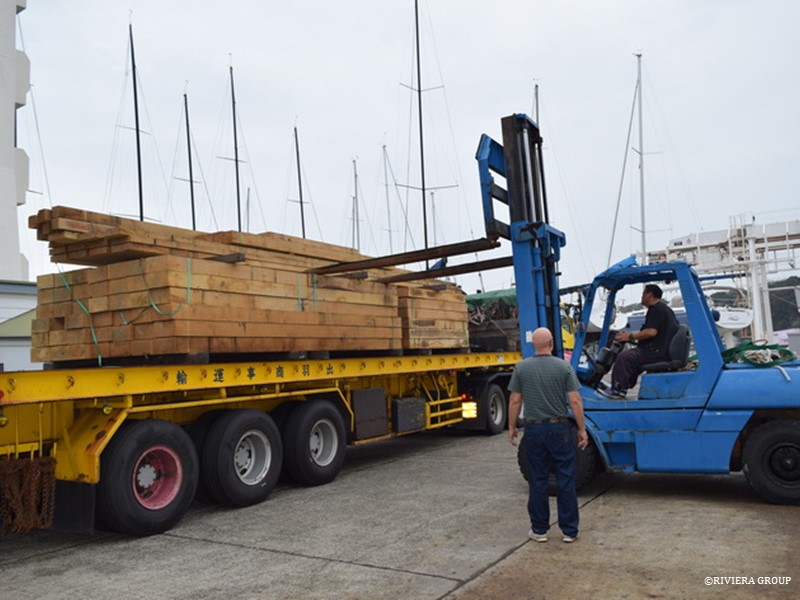
Fresh oak arrives from the UK to replenish our fast diminishing stock. The amount of lumber that goes into restorations is always surprising.
October 22-29 , 2018
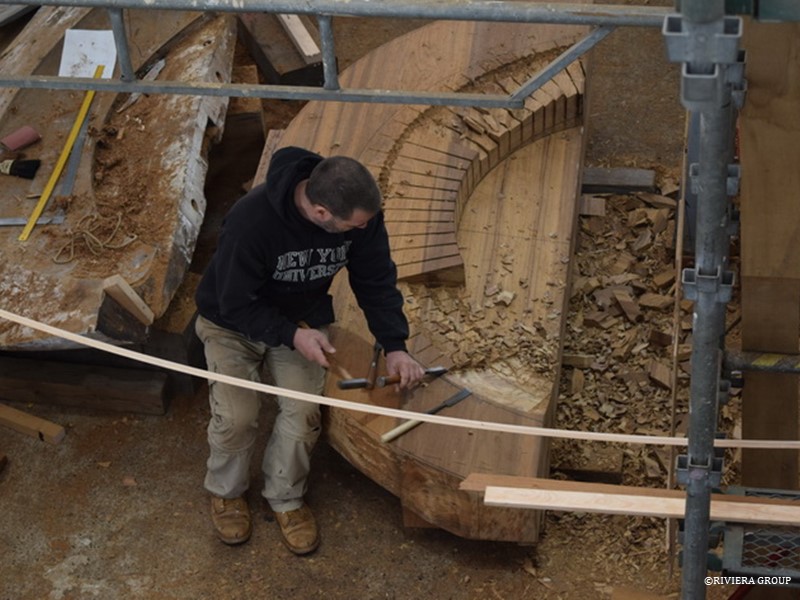
Paul at work on the stern chock (above and below).
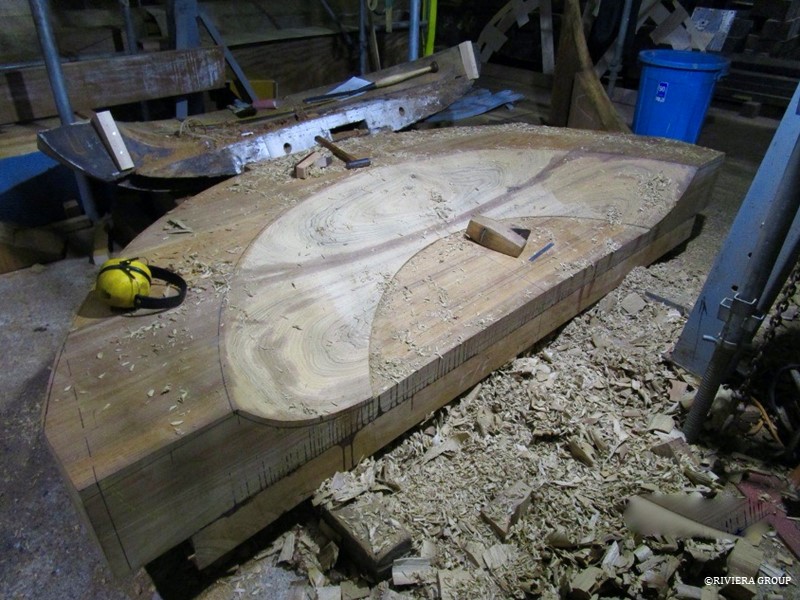
The lowest curved section (with the wooden plane lying on top) will be at the finished deck height. At the top of the gentle slope up is where the taffrail will sweep around the back of the boat. The brown oxidized line through the middle of the of the freshly cut timber shows the joint between the two logs that will be visible in the finished piece. Freshly cut teak is pale compared to older exposed surfaces and will quickly get darker when left to the air. It does help show the grain in these pieces nicely.
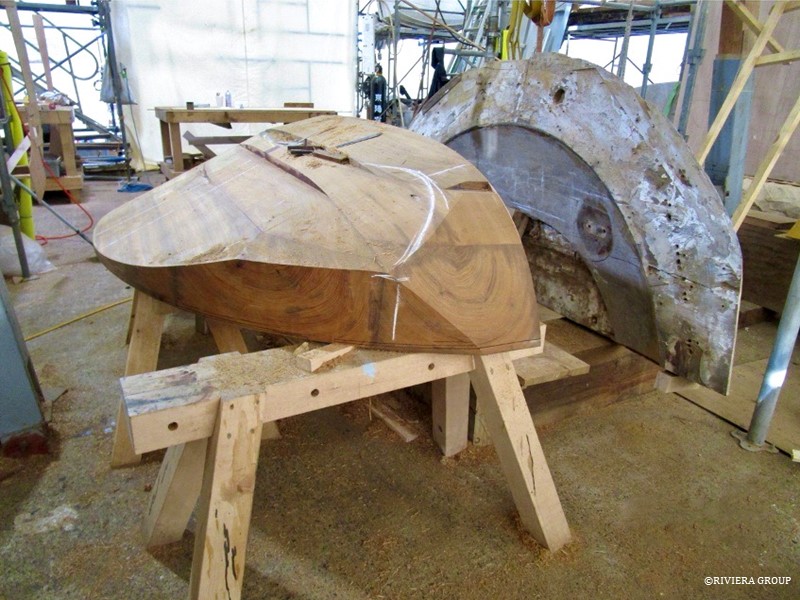
The chock is flipped and more material is removed from the back. It gets lighter everyday but it is still a weighty piece. The old chock stands by.
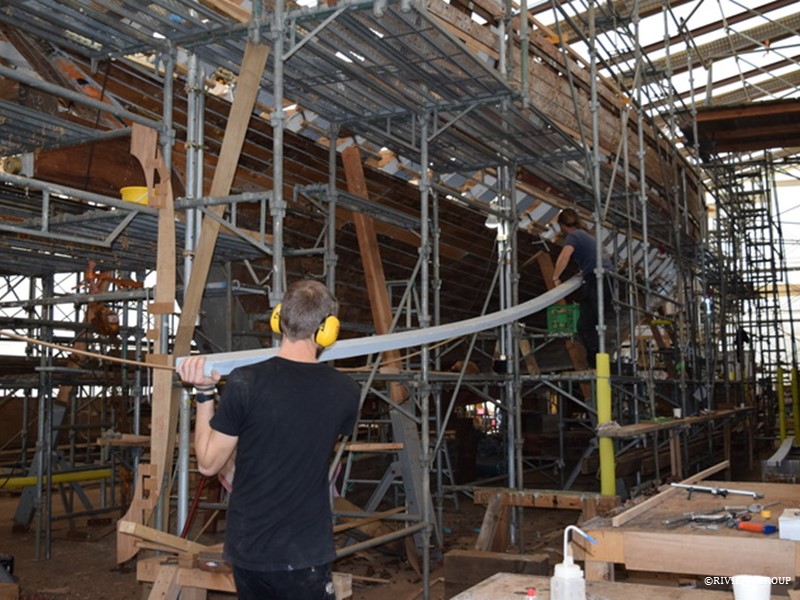
Mattis (foreground) and Graham thread a plank through the scaffold.
Follow Us

Restoration by RIVIERA GROUP
Restoration photos by Yoichi Yabe & RIVIERA GROUP
Text and photographs copyright © 2019
RIVIERA CO., LTD. All rights reserved.
Email : pr@riviera.co.jp