Blog — May 7-13 , 2018

Blog — May 7-13 , 2018

May 7 to May 13, 2018

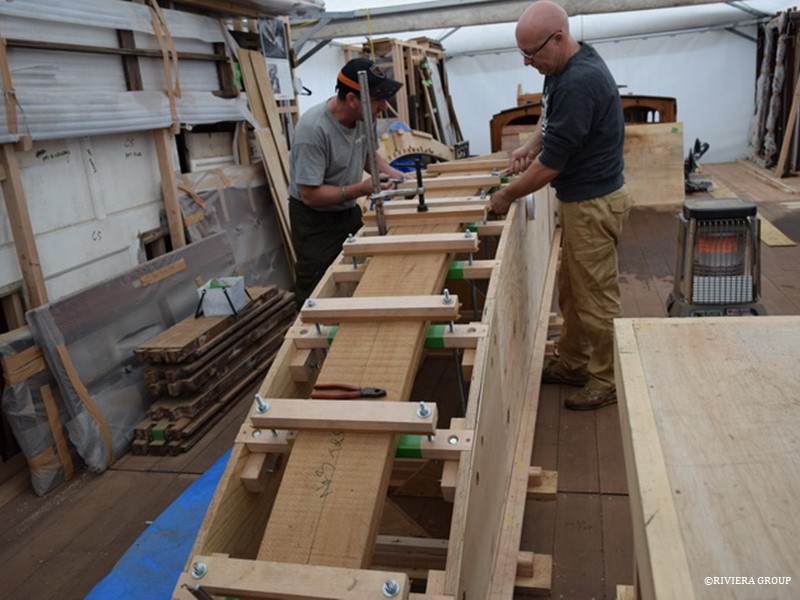
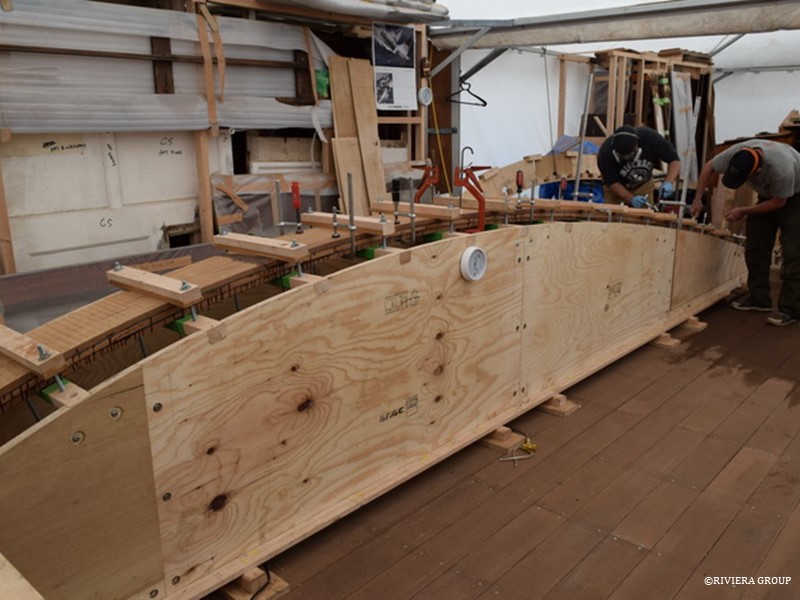
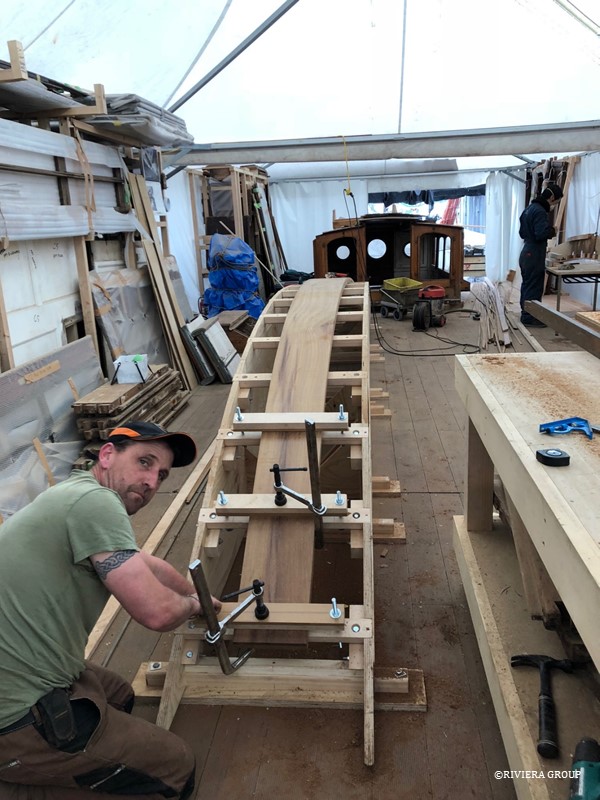
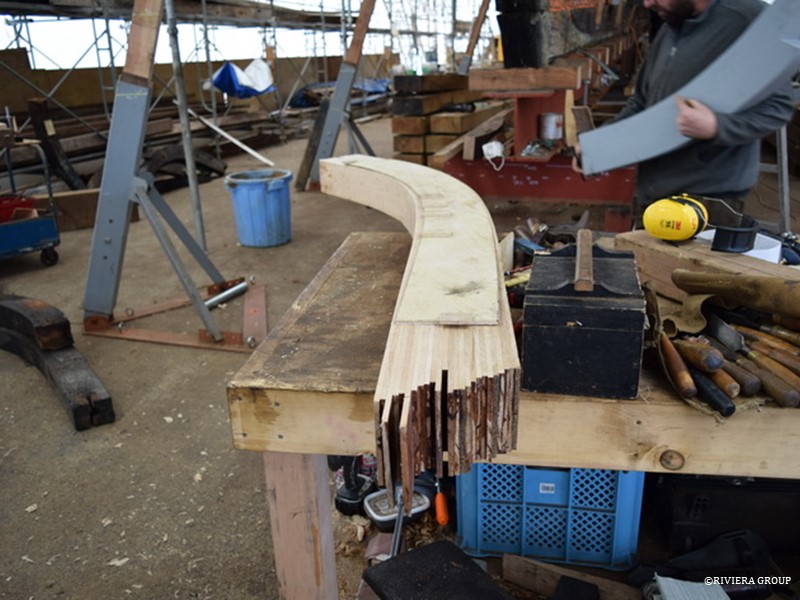
The first stage of the lamination of the stem . . .


. . . and more layers as the process continues.


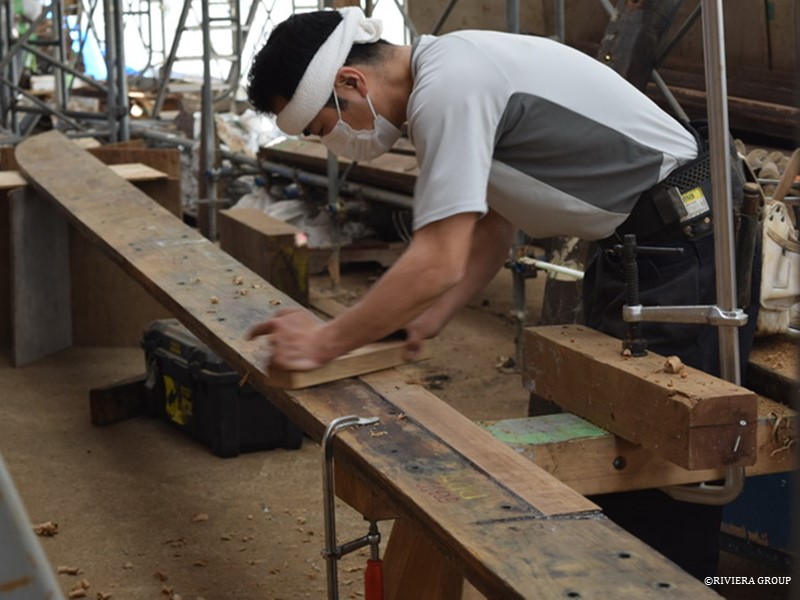
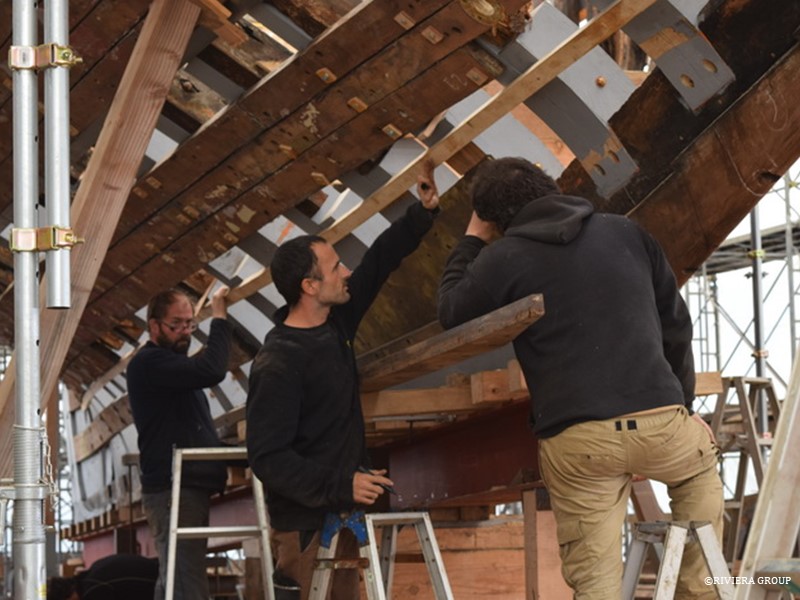
Paul and Keiji are checking the fairness of the frames where they are boxed into the stem. We used ribbands and stiff batons to fair the back of the frames in preparation for the next strake.


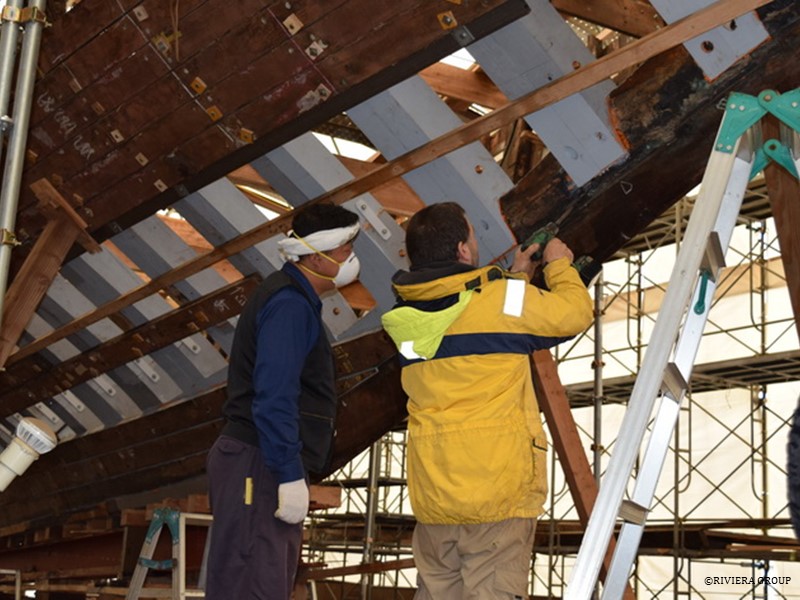
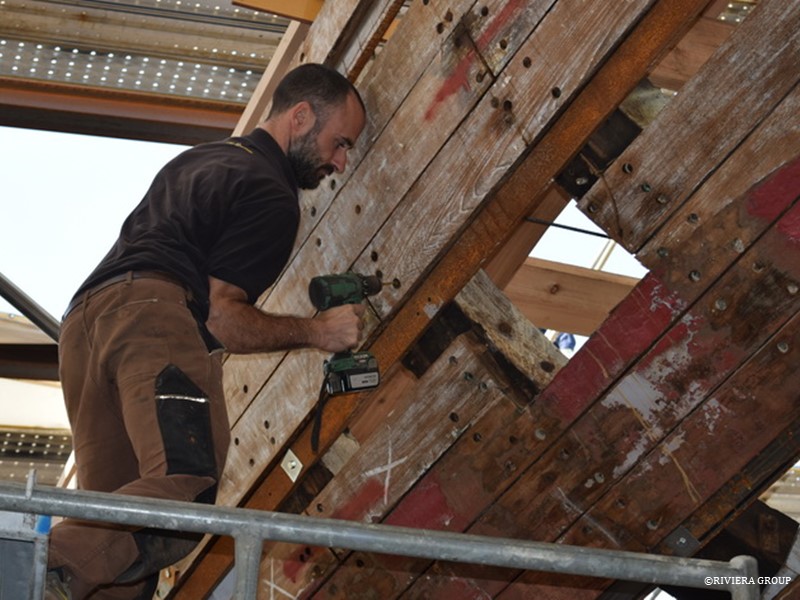
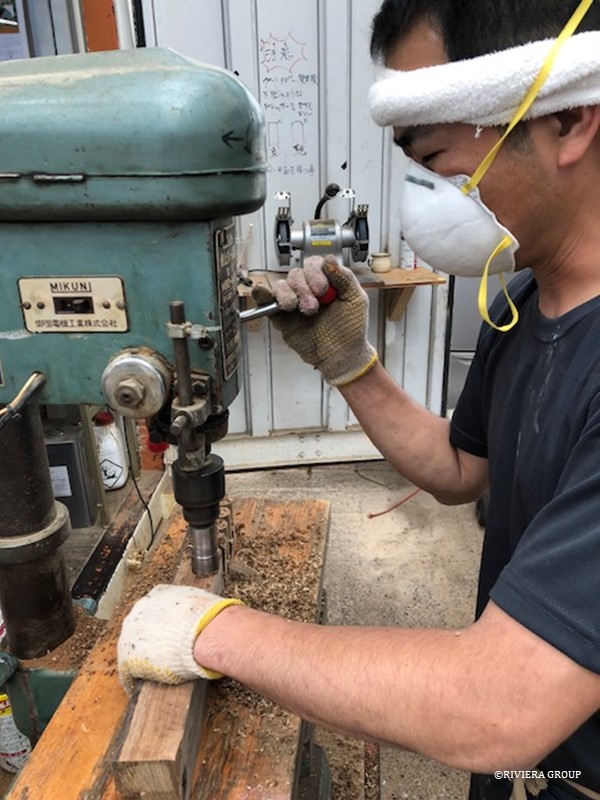
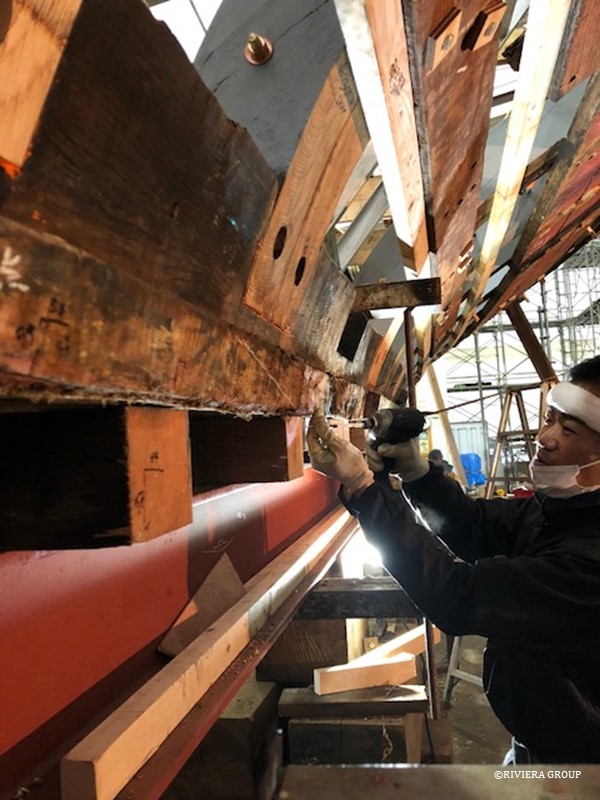
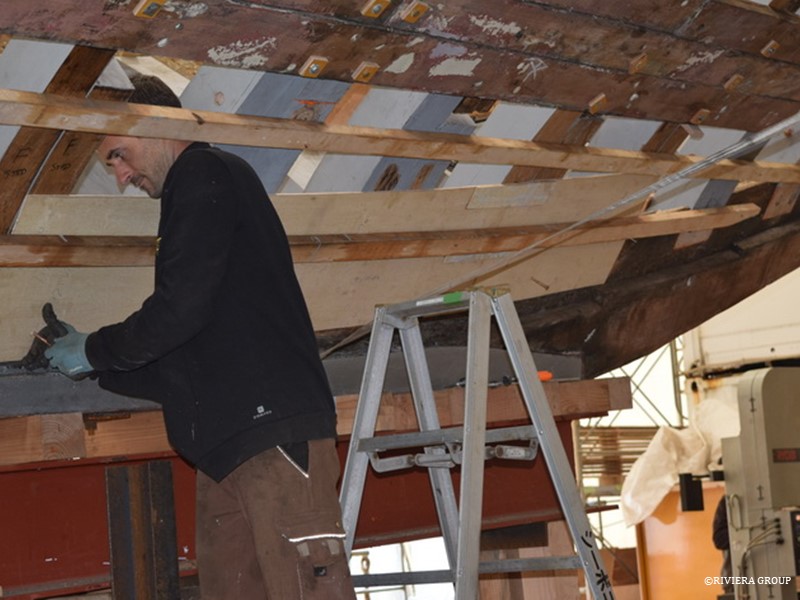
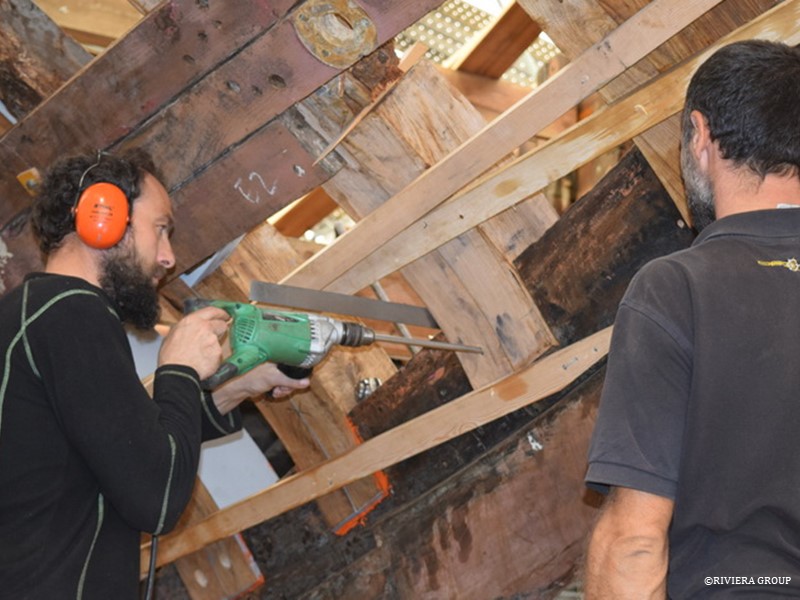
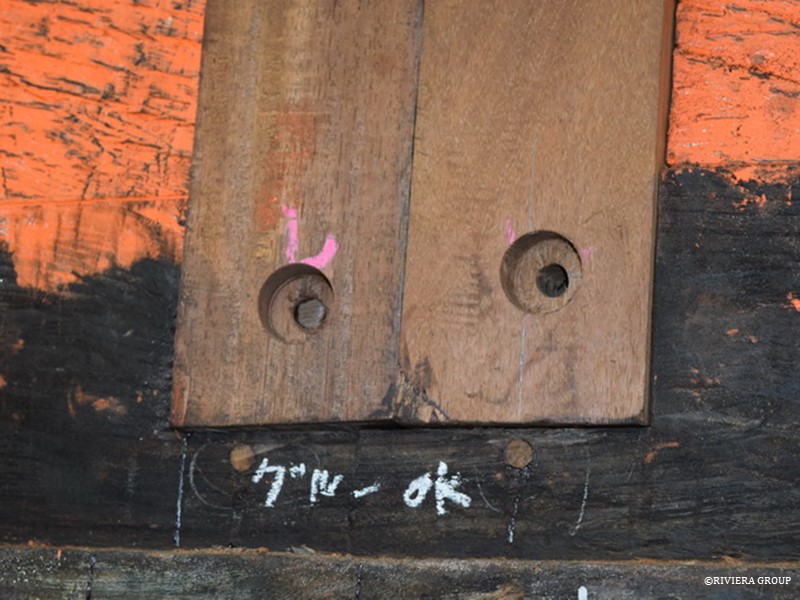
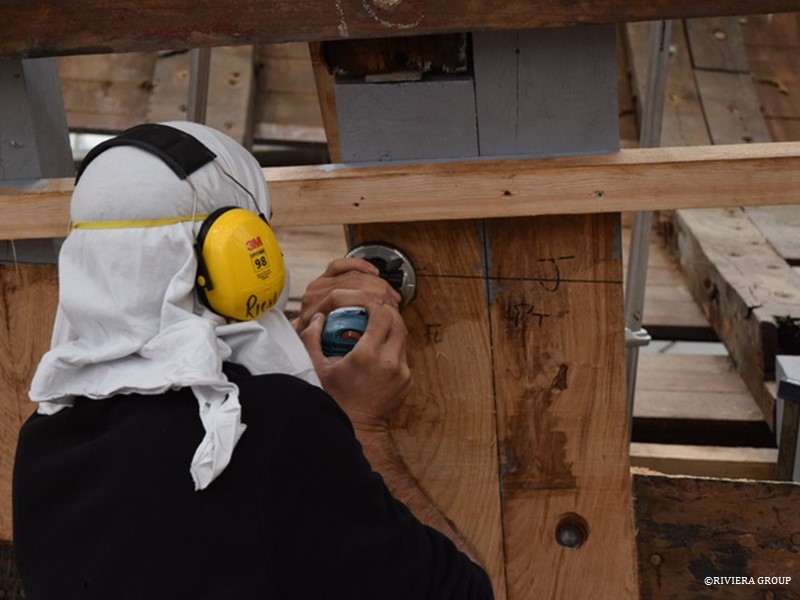
Richard is drilling out some fasteners higher up on the hull. The rectangular hole to his right is where the engine exhaust exited the hull. The plank that filled this hole was the shortest plant possible and the shortest plank on the boat. It was clear that the exhaust port was changed at some point in the past, and the solution was to cut the old plank and fit a short piece. We were utterly amazed to find that there were no fastenings in the plank, so we gave it a sharp tug and out it came. It was held in position with only caulking and luck. It was at the water line, so someone had great faith in the caulking. And, to be fair, it had kept the water out. Needless to say, this practice is definitely not recommended and this is one plank that would be replaced.


Pascal is helping Ben with the stem laminations.


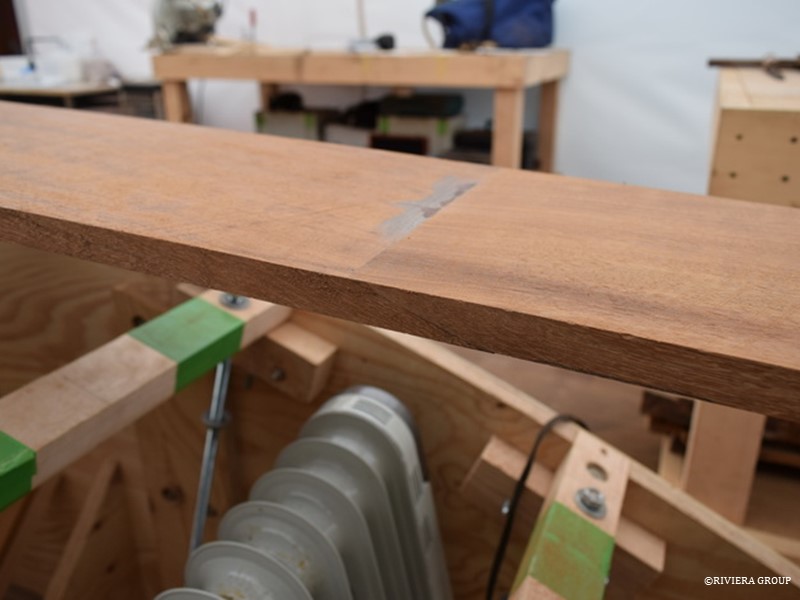
The glue is very sensitive to atmospheric conditions, so we installed a combined hydrometer and thermometer to monitor air moisture content and temperature.


We placed oil heaters below the jig to raise the ambient temperature. The gentle, dry heat produced by oil heaters are ideal for this type of work as they can be left running safely for long periods of time.


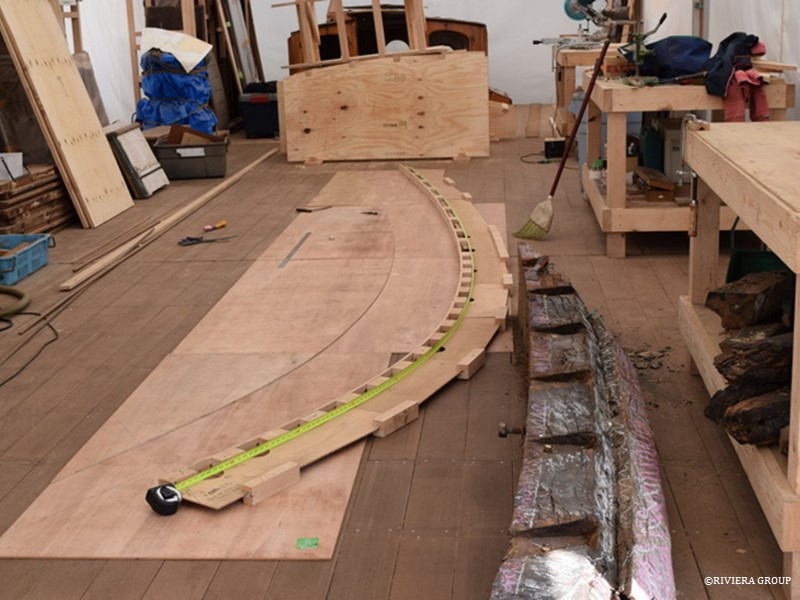
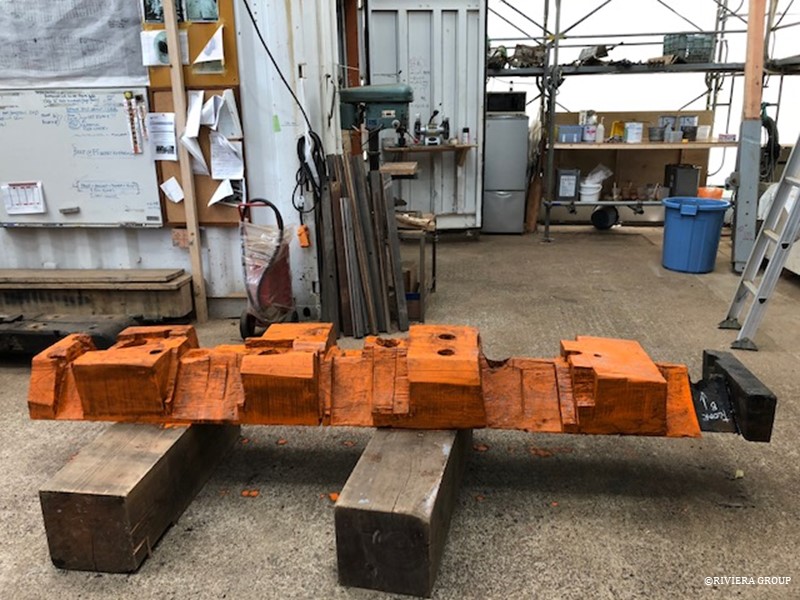
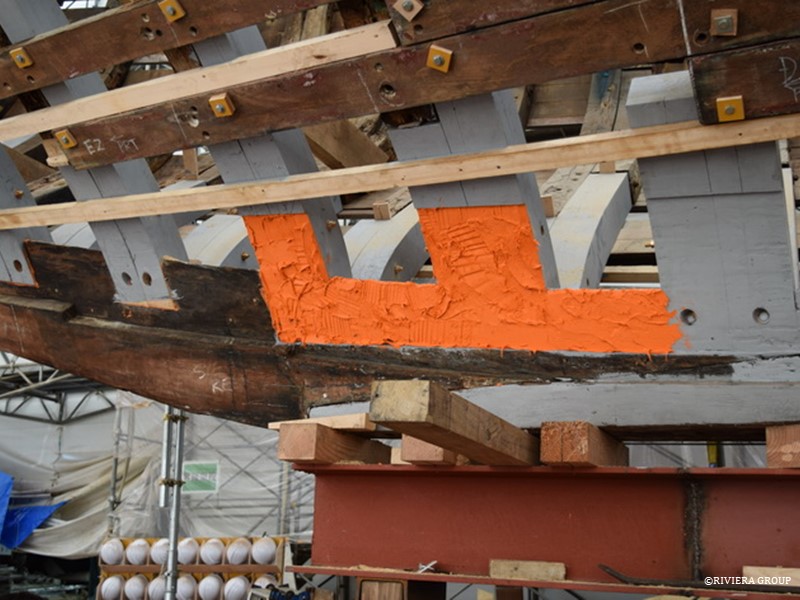
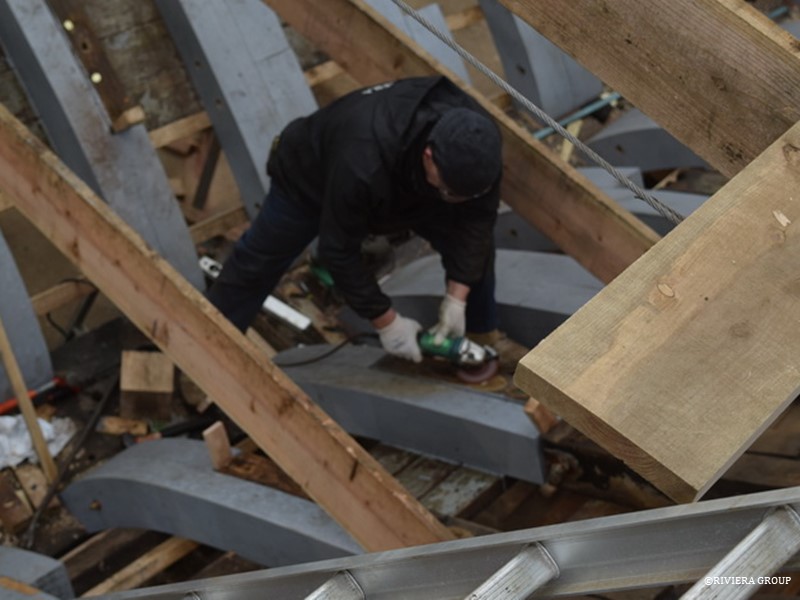
The main mast step has been soaked in linseed oil with red lead added, giving it this orange color. It is of English elm and almost unrecognizable lying upside down. The cut outs accommodate the shape of the boat, frames, floors and bevels, allowing it to fit snugly into the hull. We’re not sure if it’s original, since it would have to have been removed when the lower stem section was replaced in the past, but it’s likely so.

Follow Us

Restoration by RIVIERA GROUP

Restoration photos by Yoichi Yabe & RIVIERA GROUP

Text and photographs copyright © 2019
RIVIERA CO., LTD. All rights reserved.
Email : pr@riviera.co.jp

Blog — May 1-5 , 2018

Blog — May 1-5 , 2018

May 1 to May 5, 2018

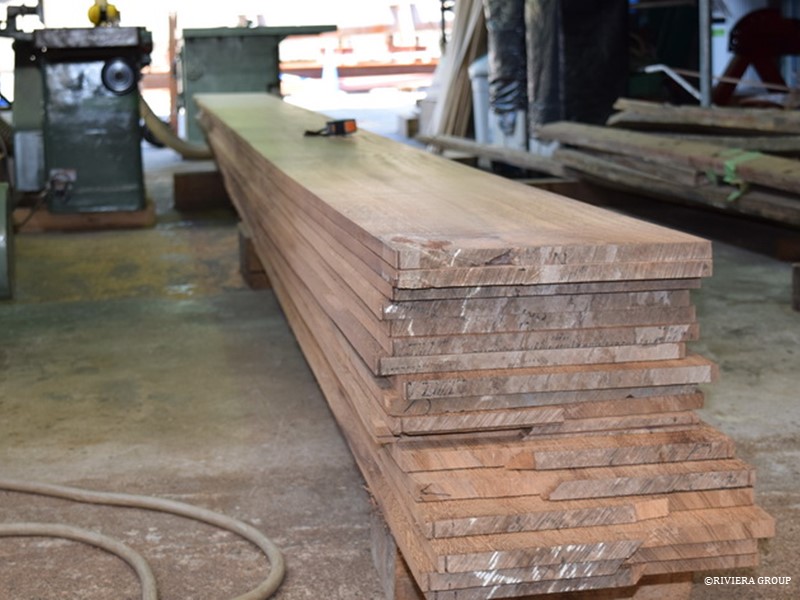
These large pieces of iroko have been re-sawn at Matsui, a local lumber mill for use in the new stem section.


Ben is starting the laminating process for the stem section using the iroko with staggered scarph joints.


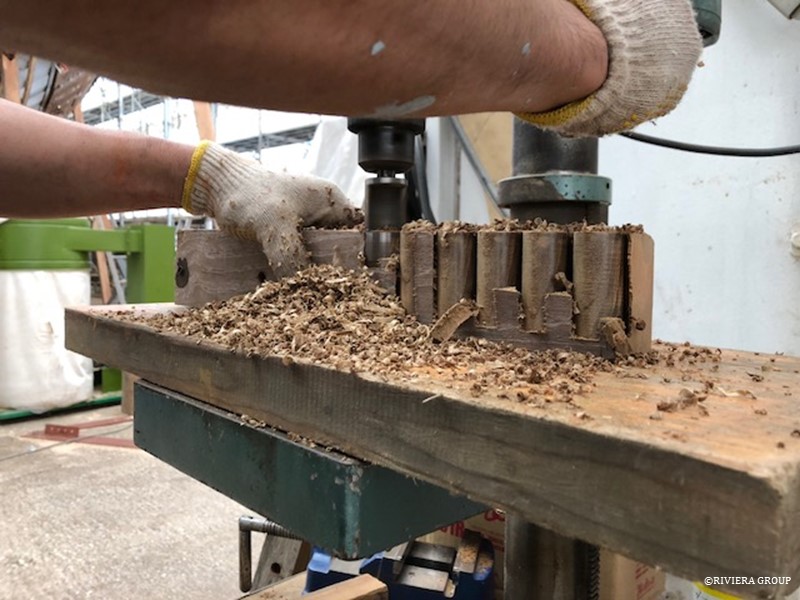
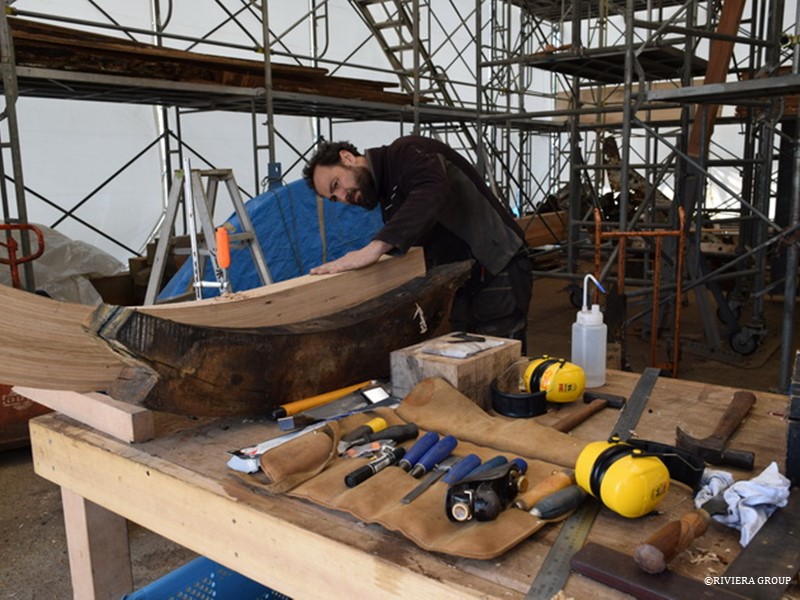
Keiji Kawashima is cutting some of the hundreds of bungs we’ll use from pieces of old teak decking (above and below). We tried to use as much of the old decking as possible for minimum waste.


Follow Us

Restoration by RIVIERA GROUP

Restoration photos by Yoichi Yabe & RIVIERA GROUP

Text and photographs copyright © 2019
RIVIERA CO., LTD. All rights reserved.
Email : pr@riviera.co.jp

Blog — April , 2018

Blog — April , 2018

April, 2018

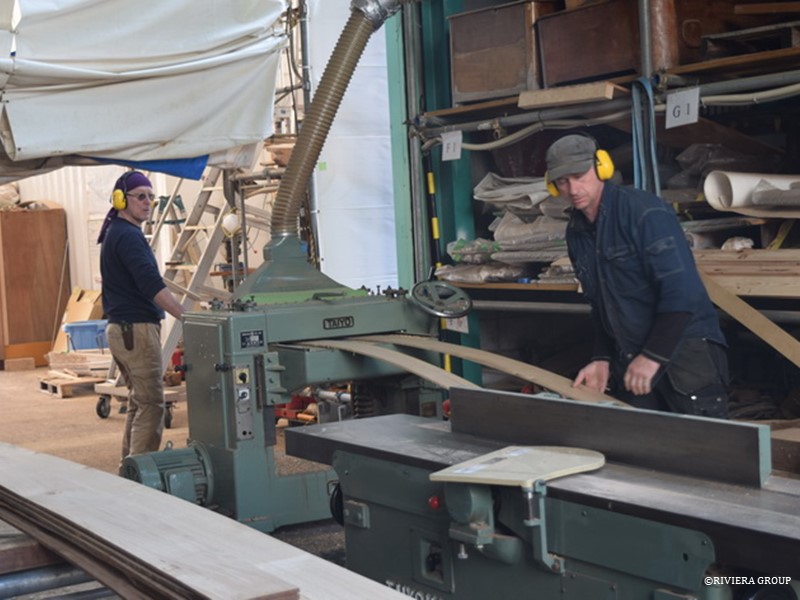
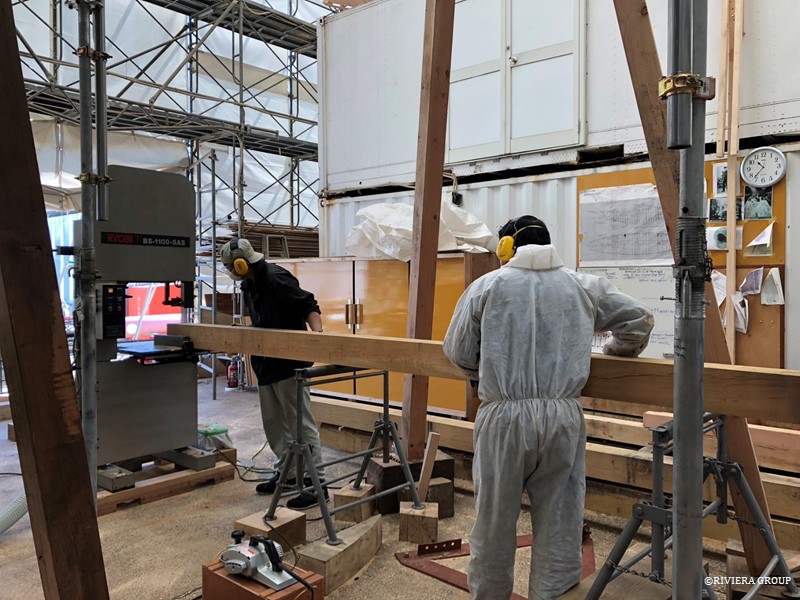
 The laminates for the deck beams are being rough cut on our bandsaw (above). The timber is heavy and awkward to manipulate even after it is resawn into manageable sizes.
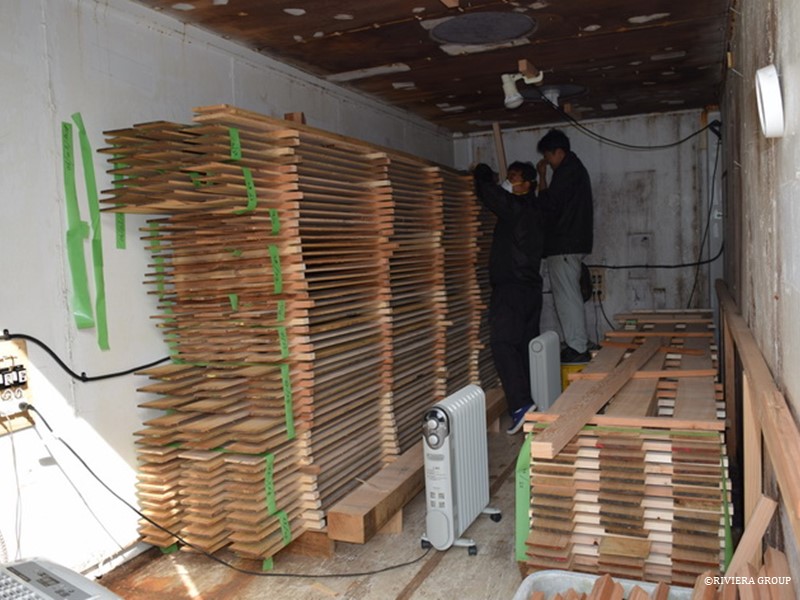
 

The laminates are stacked in our drying shed.
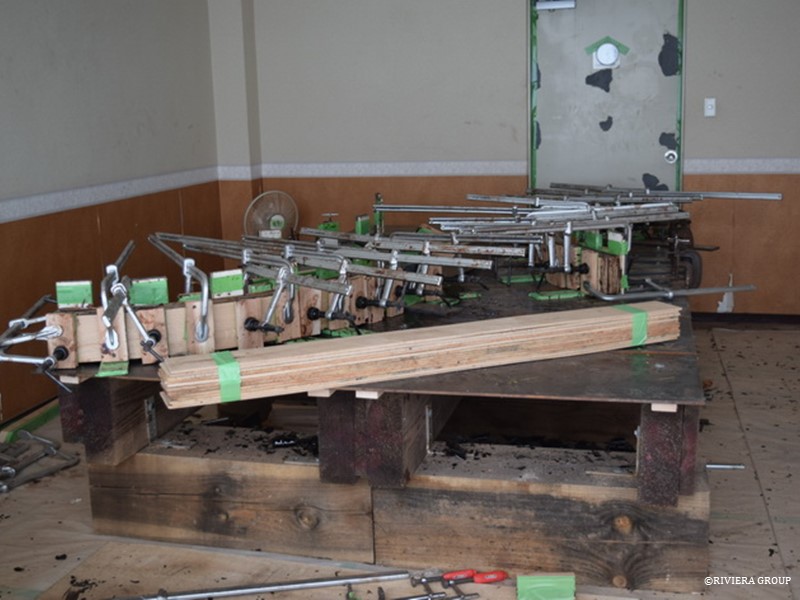
 

A very few of the futtocks have too much shape for our oak stock, so they have to be laminated to accommodate the curves.
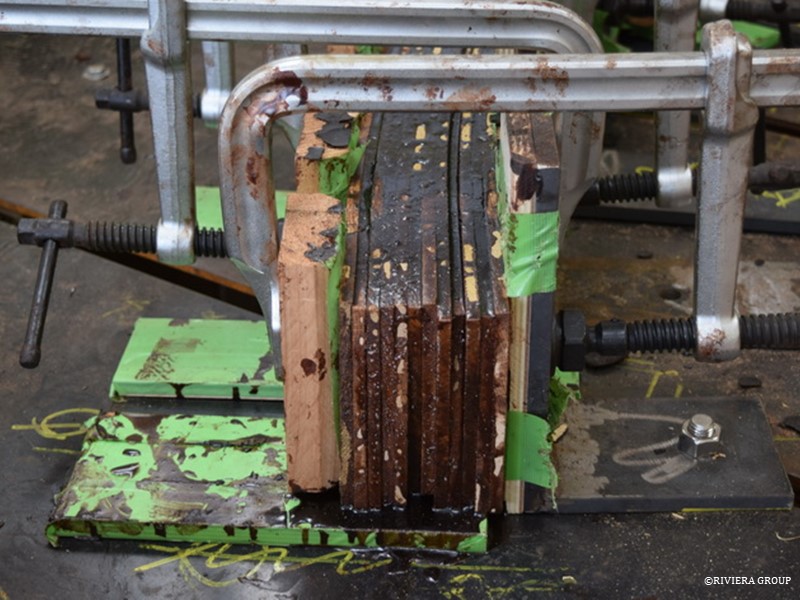
 

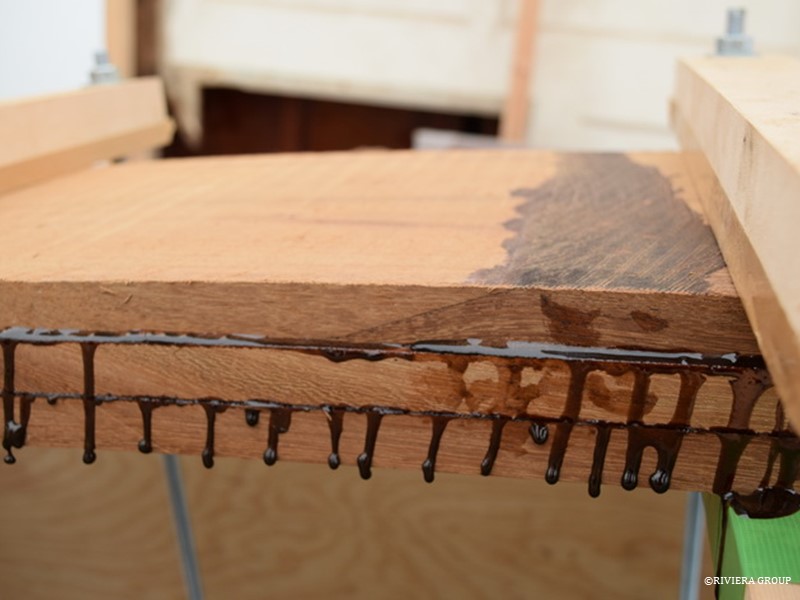
For the laminating, we use resorcinol glue, a formaldehyde-based glue introduced in the early 1940s. It has better UV and heat resistance than epoxies. While epoxy has been the “go to” glue in recent decades it is not always the best choice. We went with resorcinol because oak, with its high acidic and tannin content, resists epoxies. It is interesting to note that no glue was used when Cynara was constructed at Camper and Nicholson’s Gosport yard. Sealants made from tars, oils and lead compounds were used, along with various time-tested joinery and shipbuilding techniques to keep the components together (along with a lot of rivets, etc.) Glue is no substitute for good joinery, so we keep the use of glue to a minimum and use the same joinery techniques as when she was built. But glue does give us options, such as the laminated deck beams or plank repairs.
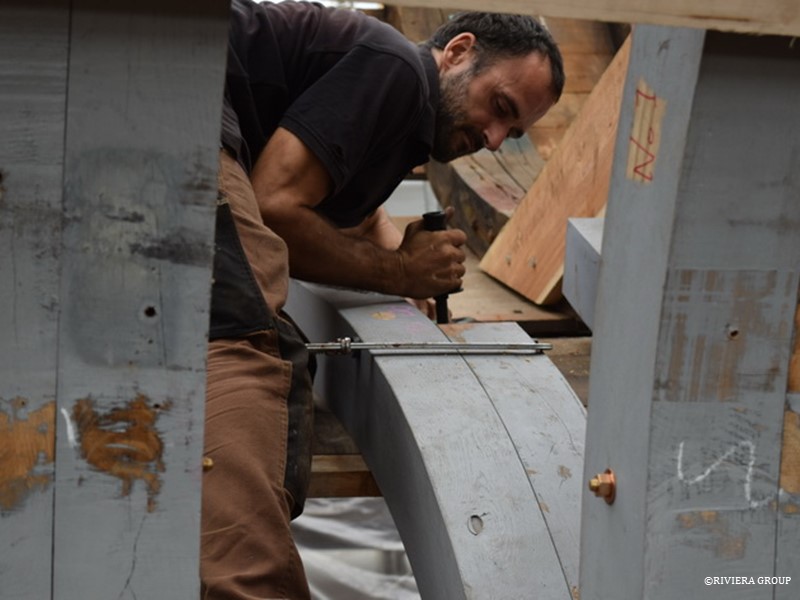
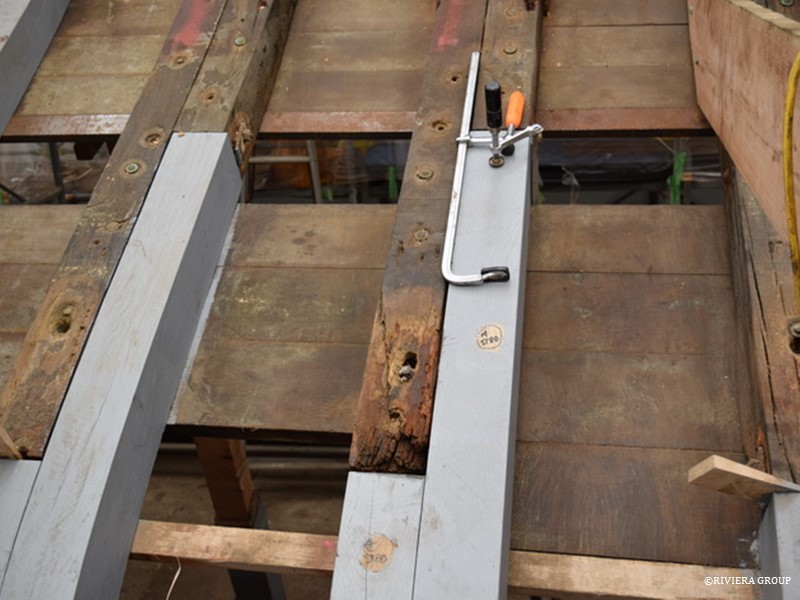
 

Now that the keel is straight and the lower frame pairs are fitted, frame replacement can move up the hull (above).
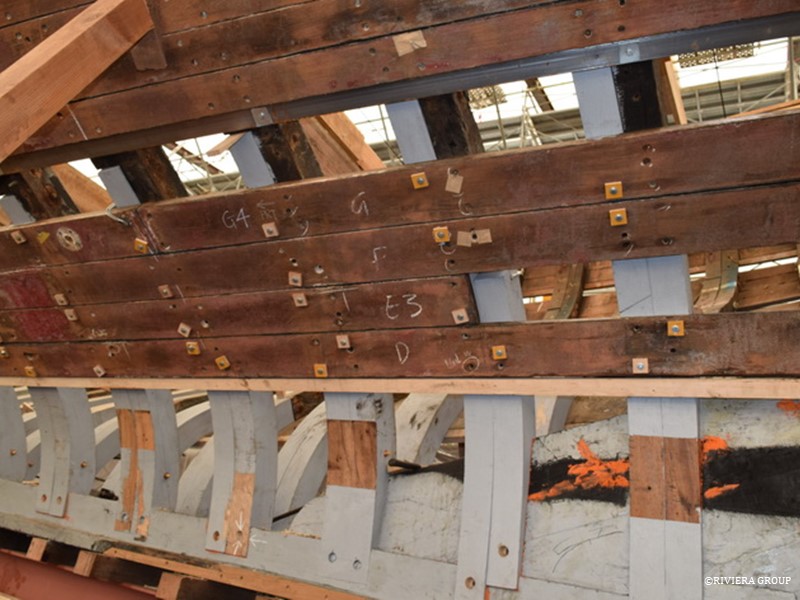
 

The frames are held against the old planking with temporary fasteners and the shape of the hull is constantly monitored.
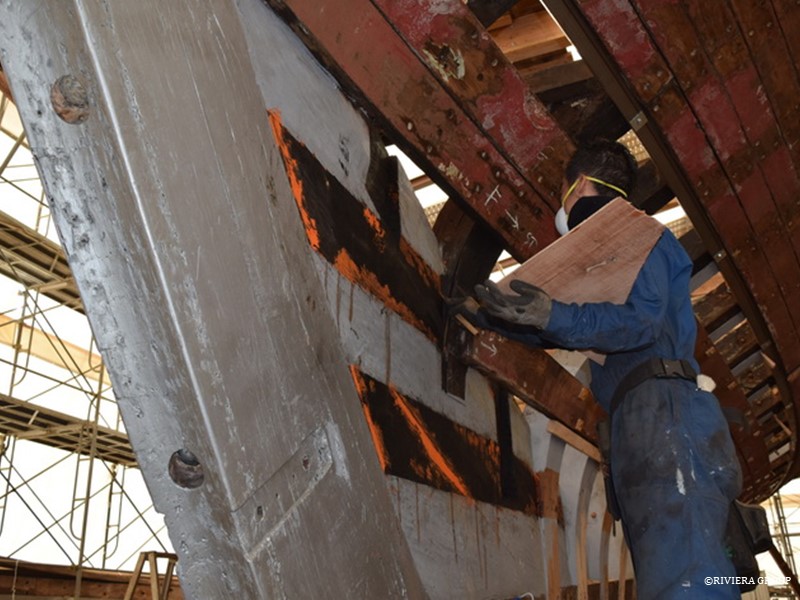
 

The stern post and stern knee are painted with an underwater primer, and gaps, frayed surfaces, etc., are treated with liberal amounts of linseed oil and red lead. Even after these precautions are taken, the saturated timber moves as it dries—we just hope to slow the process until it is encapsulated with fresh timber and new bolts to hold it. Red lead putty is used because it dries slowly, and it will not have an adverse effect when the timber swells again. Using hard compounds like polyester resins or thickened epoxy would harden in the cracks and act like wedges as the timber swells, potentially expanding the cracks even further. A soft compound is needed, so we use the linseed oil putty with plenty of red lead powder. The paint will most be lost during the fairing process later on.
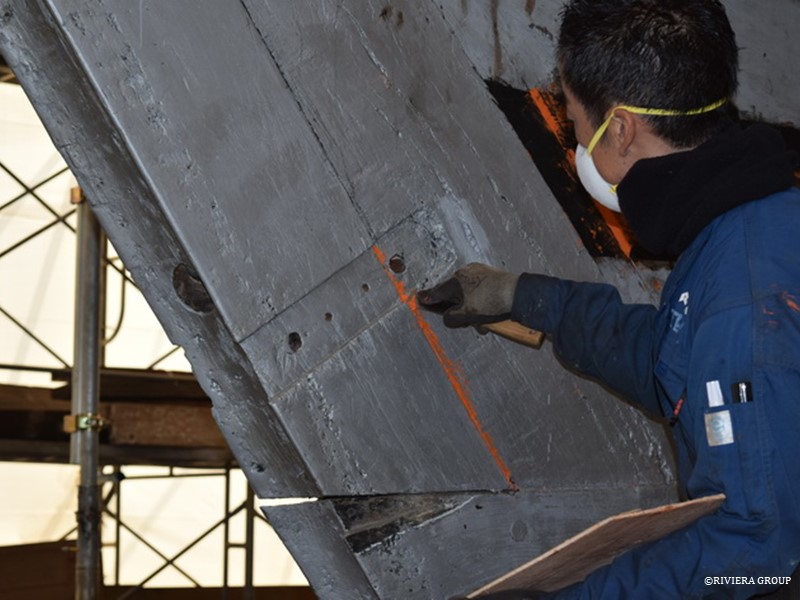
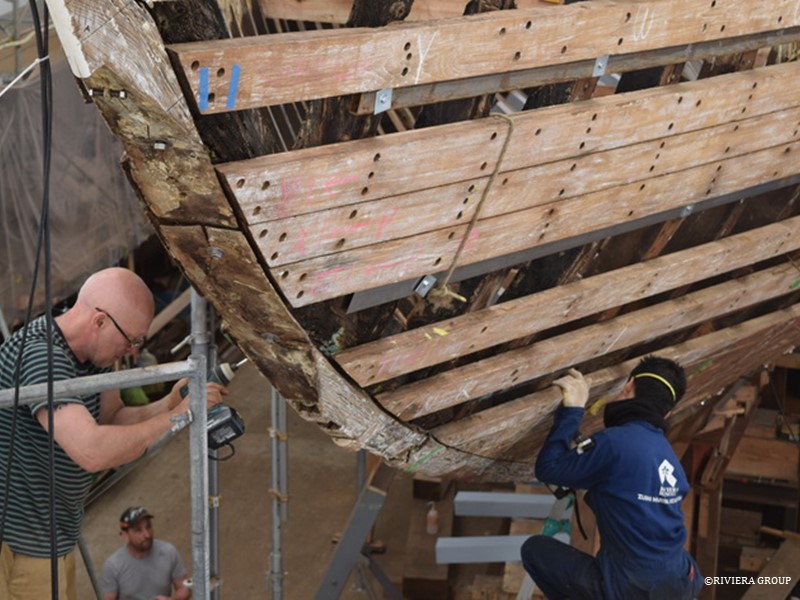
 

Preparing the stem for removal (above), and after it has been lowered to the floor (below).
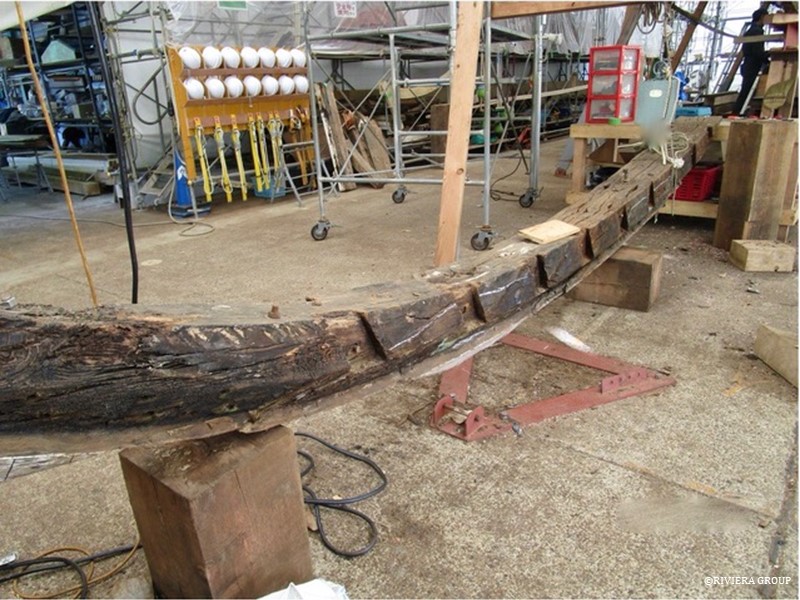
Unfortunately, after the planking was released and the stem was revealed in its entirety, large cracks were appartent behind the plank ends and the centerline. There was also significant fresh water ingress at the top of the timber. There was a previous repair that replaced the stem head and the lower half of the stem had also been previously replaced. It was also significantly distorted, meaning the boat would always have a “bent nose.” We decided to remove it and replace it so as not to disrupt other work. It was a tough decision to make but . . .
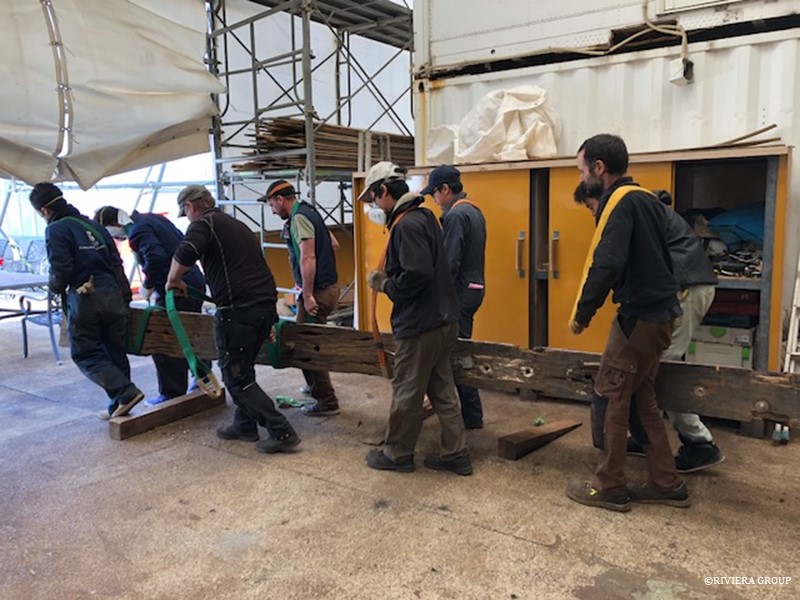
 

The heavy oak stem section was moved to the joinery tent where the new section would be made.
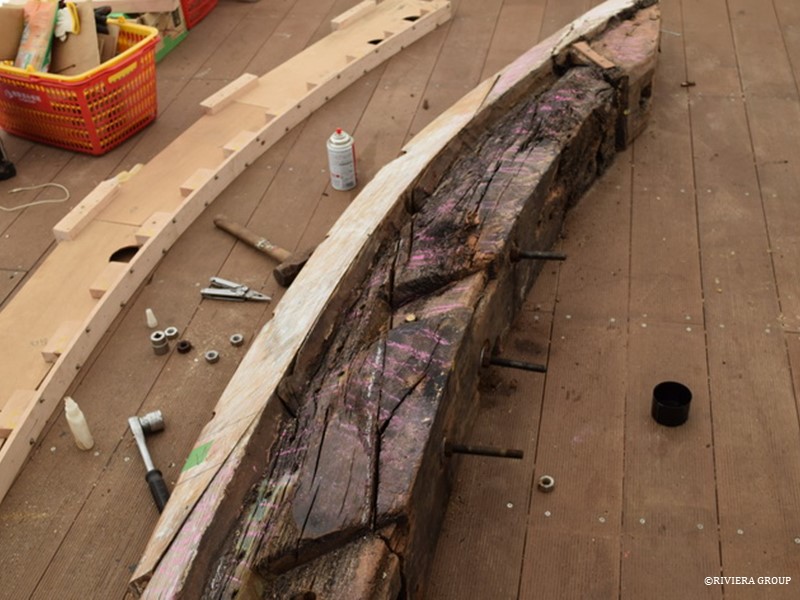
 

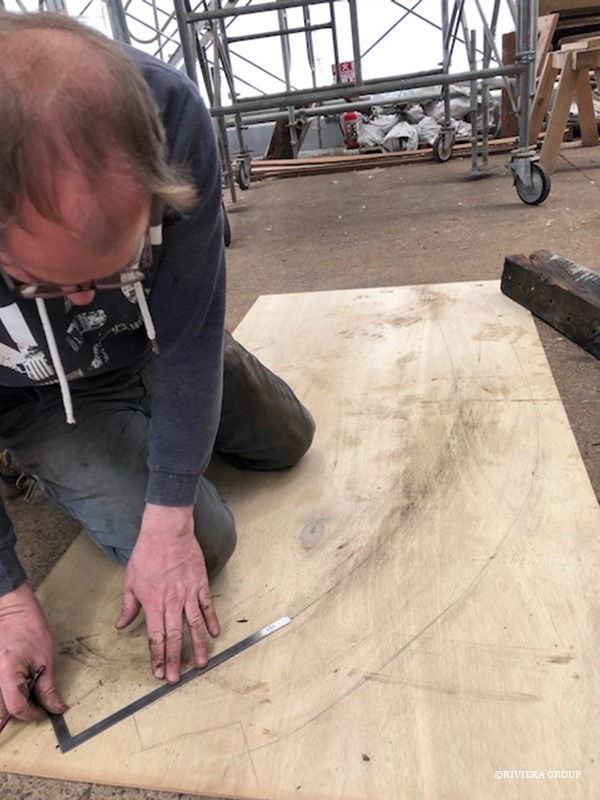
The stem issue had not been anticipated, and such a large and complicated part could not be produced from our oak stock. The long sweeping curve would have to be cut from equally curved wood, hand selected from a whole oak tree. Instead, this was going to have to be laminated in locally sourced timber. The lower section that had previously been replaced had been done in iroko and this seemed like a sensible choice. Iroko would be equally strong, if not stronger as the laminations would follow the long curve and leave no short grain. The stem was drawn full size on the joinery floor and a jig was built to bend the laminates over during the gluing process.
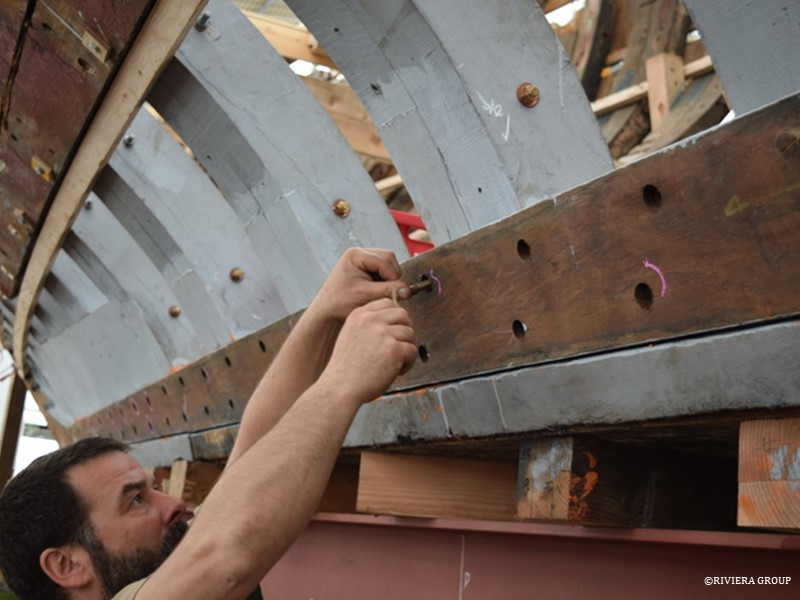
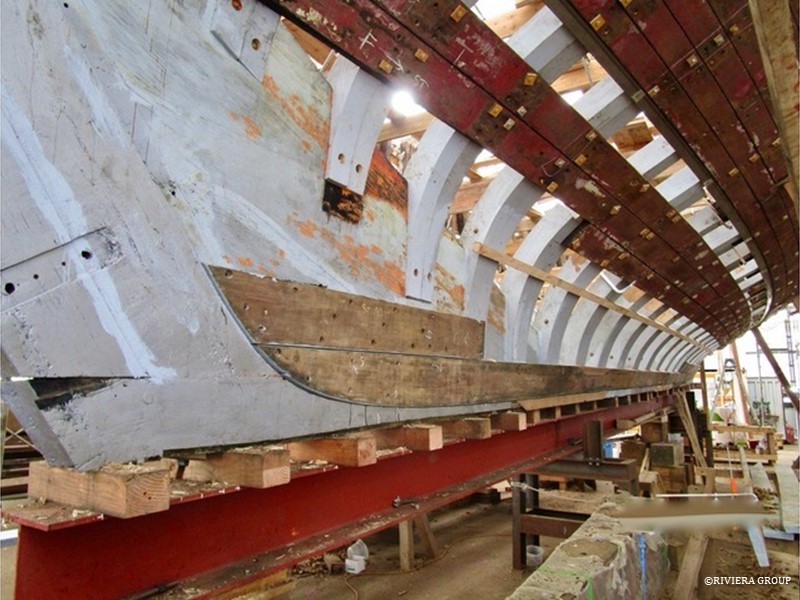
 

Now that all the lower frame pairs had been fitted and fastened we were in a position to fit the original garboard strakes. The individual planks had been cleaned and repaired it was a good sight to see them refitted and bedded in copious amounts of red lead putty, locking all the frame ends in place.
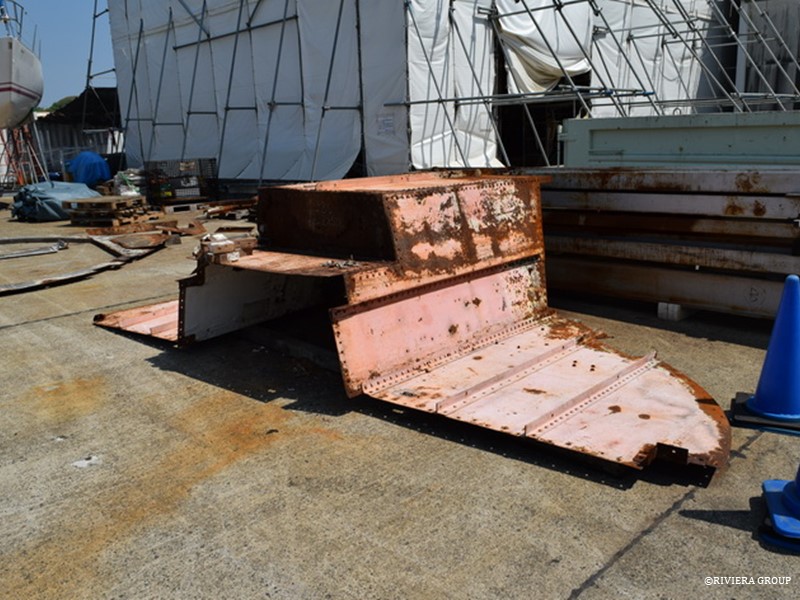
 

The engine room bulkhead was sand blasted by Sawamura, who was concerned by its condition. Paul thought that much of it could be retained, with the bad parts removed and cut away in sections with new parts welded. Sawamura preferred to replace the whole bulkhead and after the cost was calculated to be the same, that was the final decision. Sometimes authenticity has to be sacrificed, but building a new one would not be simple. . . .
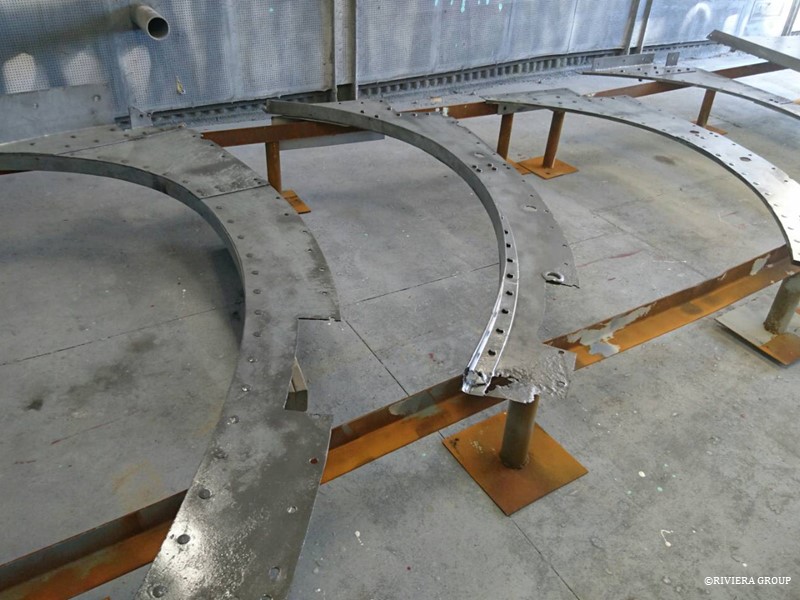
 

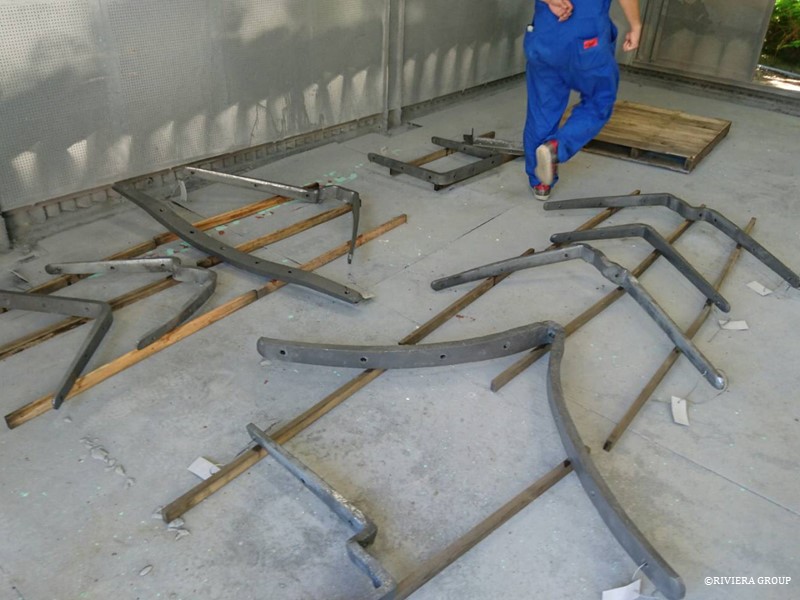
The web frames that are situated at the main mast and just after the main mast (above) were also sandblasted along with the floors and knees (below) that were good enough to reuse.
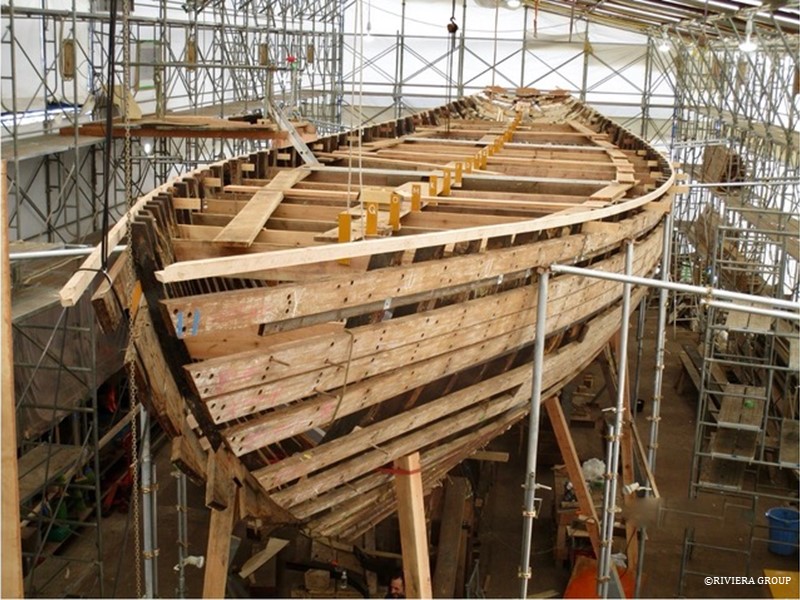


With the stem removed, Cynara was looking very fragile.
Follow Us

Restoration by RIVIERA GROUP

Restoration photos by Yoichi Yabe & RIVIERA GROUP

Text and photographs copyright © 2019
RIVIERA CO., LTD. All rights reserved.
Email : pr@riviera.co.jp

Blog — March 26-30, 2018

Blog — March 26-30, 2018

March 26-30,2018

Once the deck beam laminates were sufficiently dry, they could be machined to size before being set aside to rest the exposed fresh timber. These (above) are almost ready to laminate. The laminates have to be dry before final machining to get them within the glue tolerances.


Producing the first futtocks took time, but Nico now has the process down to an art, and they take shape quickly.


Lewis makes a plywood pattern to check the frame against the ribbands.


A final check of the alloy plate (above) before the rebate is cut in the backs of the frames (below).


The plate is bedded in on copious amounts of red lead putty that we made onsite from raw ingredients.


The site of Kawashima’s keel repair is ready for glue. The strange shape is due to its location adjacent to the scarph joint in the keel timber. We didn’t want to blue a patch over the joint.


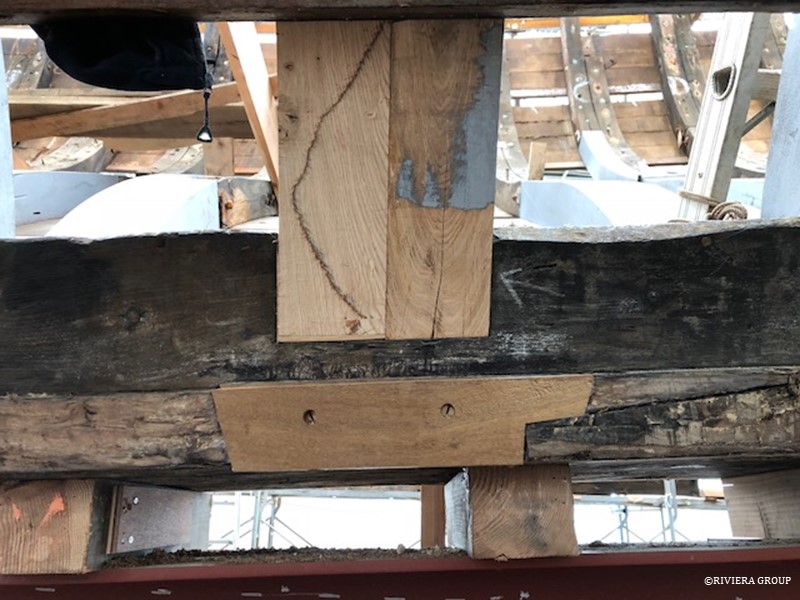
The lower edge of the keel timber had some damage from previous attempts to stop leaking with caulking. One or two areas needed to be cut out, and fresh timber was inserted.


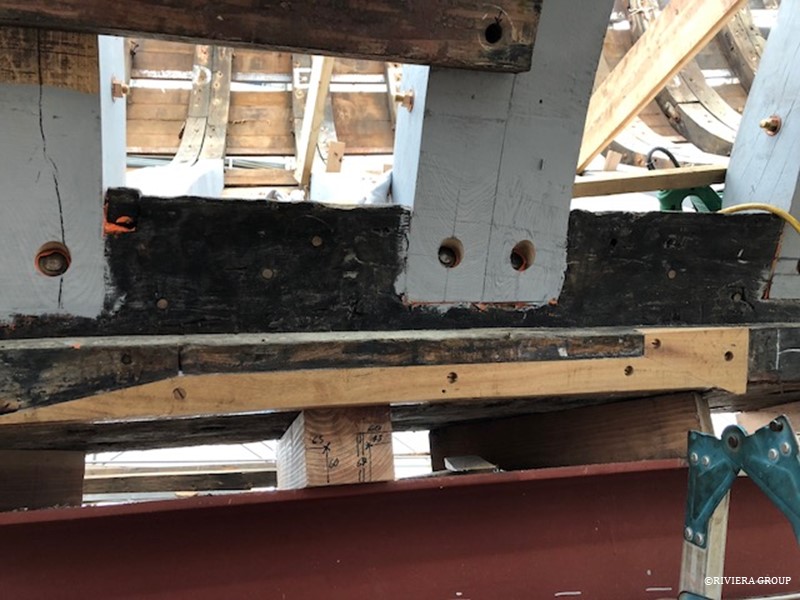
Repairing a damaged edge prior to refitting the garboard strake.

Follow Us

Restoration by RIVIERA GROUP

Restoration photos by Yoichi Yabe & RIVIERA GROUP

Text and photographs copyright © 2019
RIVIERA CO., LTD. All rights reserved.
Email : pr@riviera.co.jp

Blog — March 19-25, 2018

Blog — March 19-25, 2018

March 19-25,2018

One of the laminated frames, ready for its bevels.


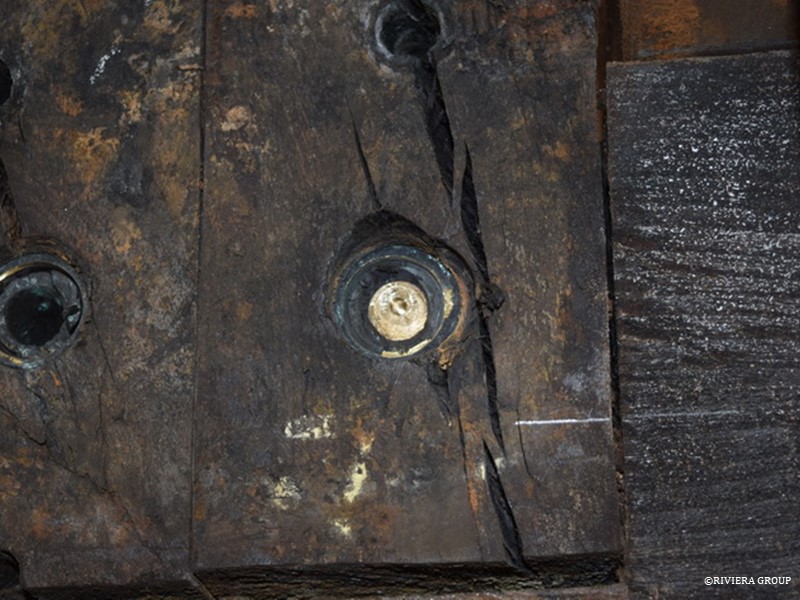
Pascal (above) grinds the head from a rivet. The bung hole is thoroughly cleared, and care is taken when the rivet is driven out not to damage the edge of the hole on the exterior of the plank. A spotter outside stops the work if it looks like the head of rivet might damage the hole. Our success rate of 99% wasn’t bad, since there are always one or two rivets that refuse to play by the rules.
 

Kawashima is making a repair in the keel (above), while Richard checks a plywood pattern of the bronze plate against the boat (below).


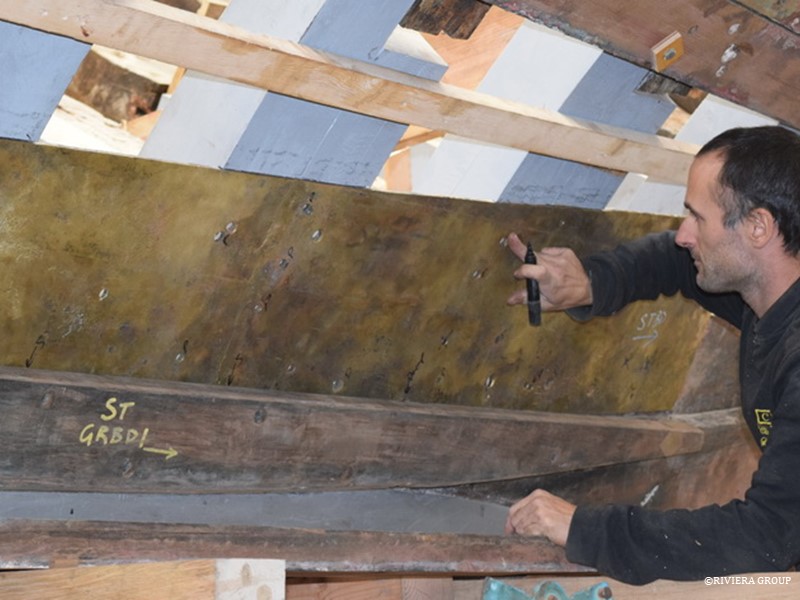
The copper alloy plate, probably naval brass, is a historical remnant of a repair done many years ago. We are refitting it to help reinforce the area around the mast base.
 

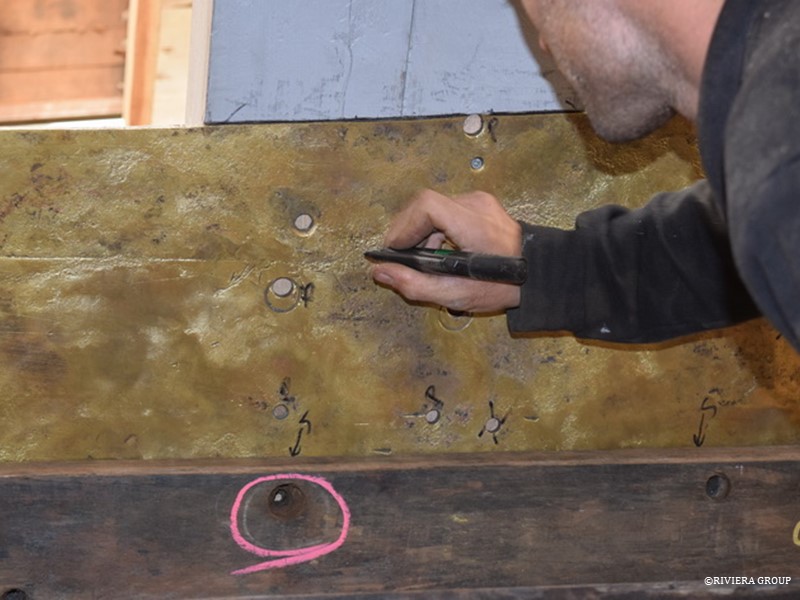
The plate presented some issues as we need to drive plank fastenings through the plate. Richard is marking the holes (above) so that the correct fastener can be used for each hole; some of them are for rivets and others for dumps.
Follow Us

Restoration by RIVIERA GROUP

Restoration photos by Yoichi Yabe & RIVIERA GROUP

Text and photographs copyright © 2019
RIVIERA CO., LTD. All rights reserved.
Email : pr@riviera.co.jp

Blog — March 12-18, 2018

Blog — March 12-18, 2018

March 12-18,2018

Nico drills for the naval brass drift that will be used at the base of each futtock as Richard guides the drill angle. Enough frame pairs are ready and faired to begin fastening them permanently into their sockets. The frames are bedded in red lead and linseed oil.


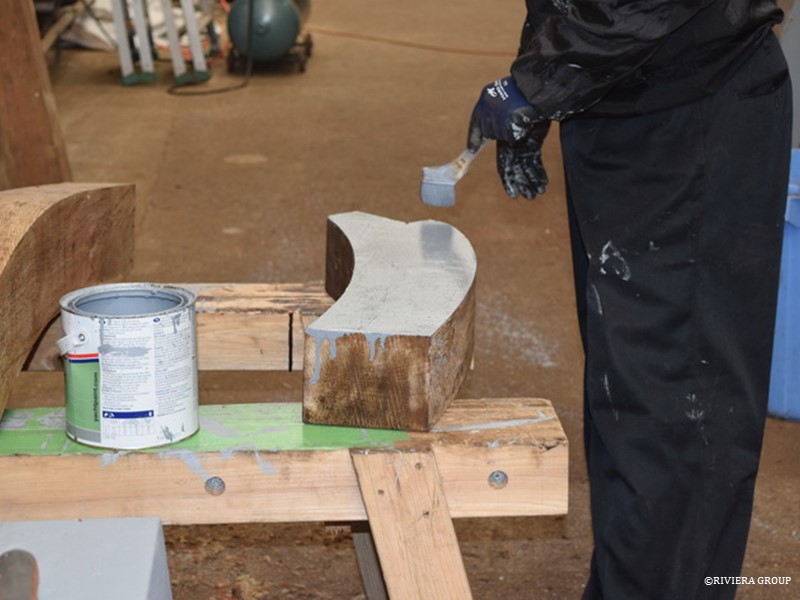
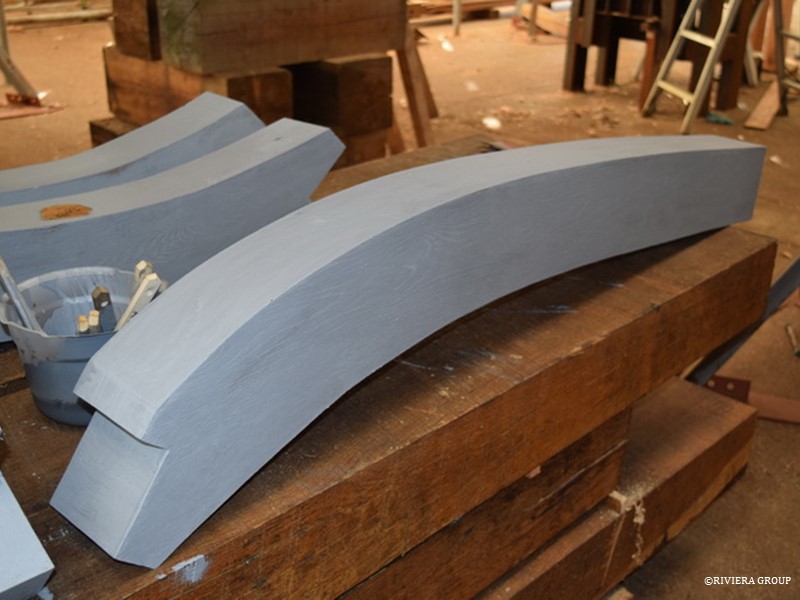
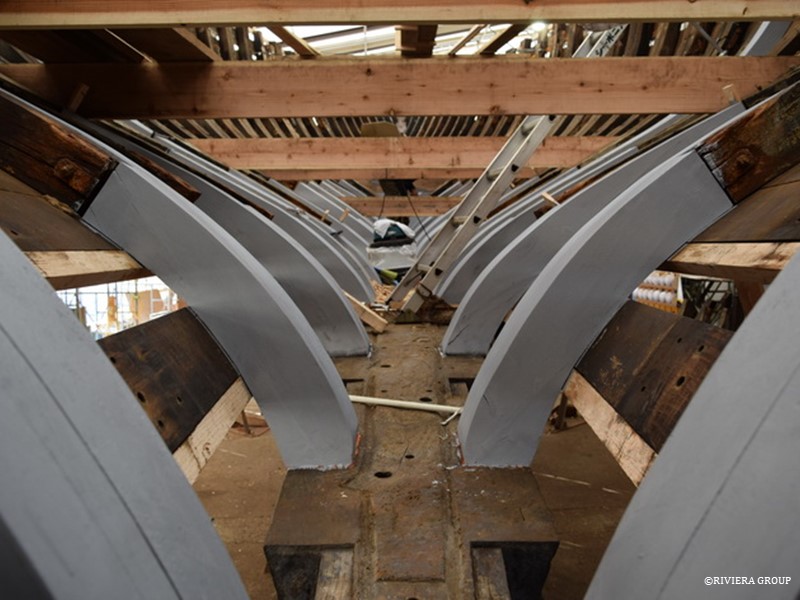
It was decided from the beginning to paint the interior of the hull. To help slow the drying and reduce shrinkage, a coat of good quality primer was applied. The primer is porous—so while not preventing timber from drying, it will show it down. As a bonus, the first coat of primer was in place before completion of the hull (below).


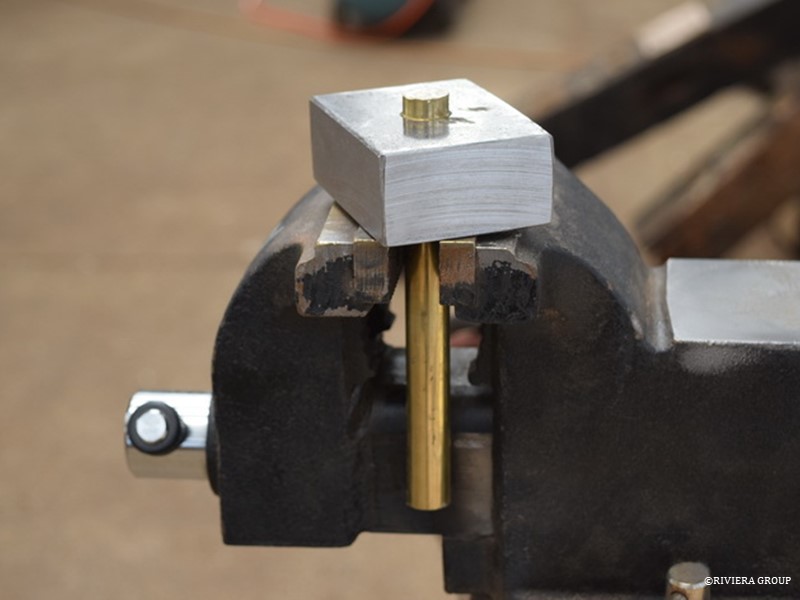
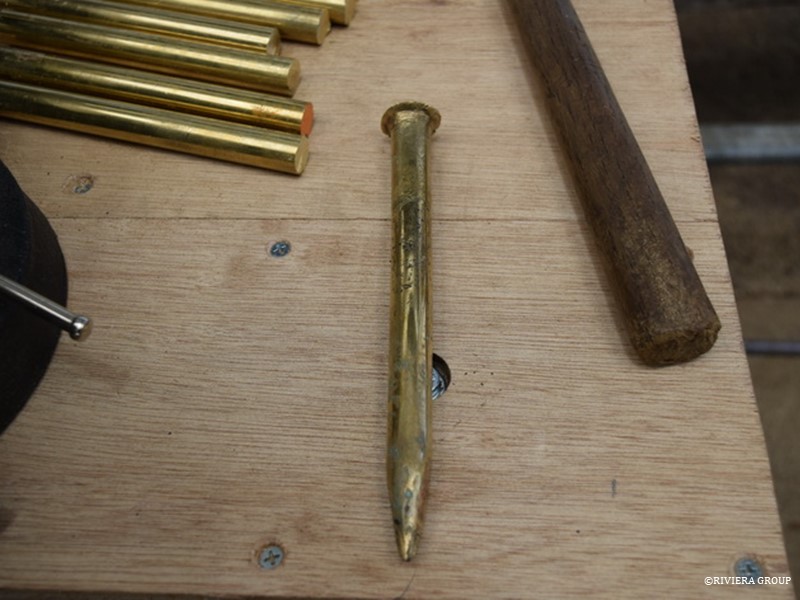
A rivet is fitted through a stout piece of steel (above) prior to creating a burr with a ballpein hammer. A production line has been started to complete the approximately 1500 rivets as well as the many drifts required to fasted the frame ends in their sockets. Each naval brass rivet and drift is handmade, and fitted with a very thick washer called a clench ring. Clenching is the process of turning a burr on the end of a rod with the clench ring, creating a head (below). Rivets hold the planking to the frames, while drifts are used to hold the frame ends to the keel timber.


Here are two drifts in place. The heads end up below the surface so they don’t interfere with the garboard plank when it is fitted over it.


The shank of an original drift that broke at a spot just below the head while it was being removed. This will be pulled out with a slide hammer and some colorful language.


Kawashima has finished the repair on one of the planks, and is finishing it flush with the plank surface.


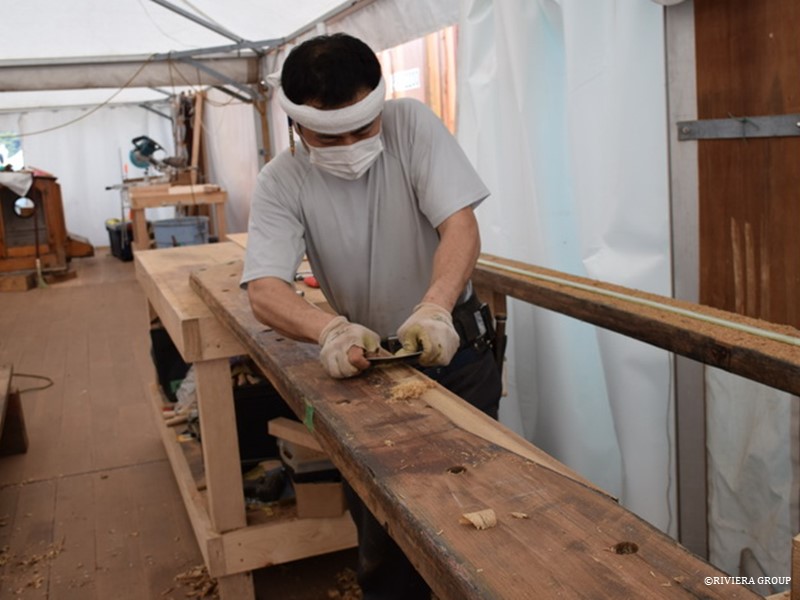
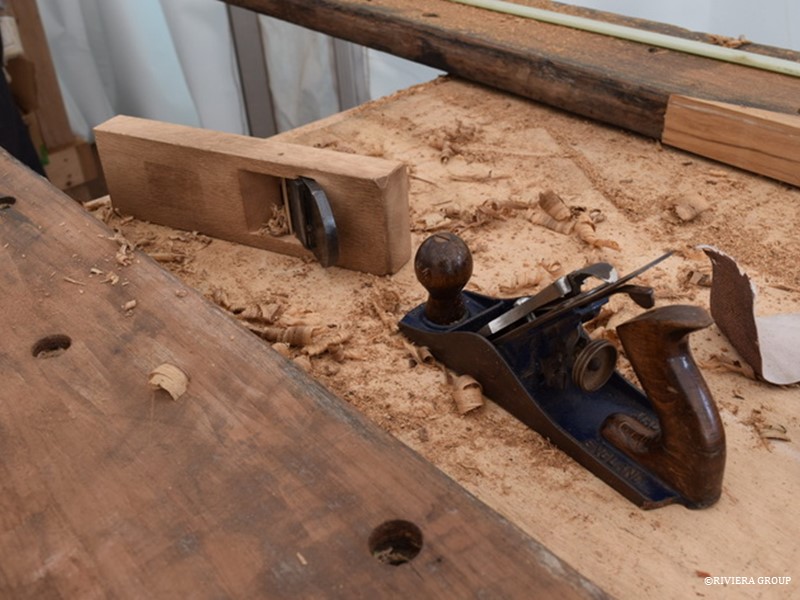
This Japanese plane (above) has been carefully laid on its side to protect its razor-sharp edge, while a western plane sits next to it, blade down. Shipwrights’ tools, especially in the early stages of restoration are prone to striking hidden nails, iron, and screws and a good edge is often quickly lost. This one has clearly lost its edge, and the owner is not concerned about leaving it blade down, a minor sin with a sharp plane.

Follow Us

Restoration by RIVIERA GROUP

Restoration photos by Yoichi Yabe & RIVIERA GROUP

Text and photographs copyright © 2019
RIVIERA CO., LTD. All rights reserved.
Email : pr@riviera.co.jp